
3.4 Final activities
Finally, before you read the following extract from Forensic Science about the ways in which latent fingerprints are developed, there are just a few more terms with which you will need to be familiar.
- Autoradiography is a way of photographing materials that contain radioactivity, so that the parts that are radioactive can be seen.
- Polymerisation is the linking together of small molecules to make a long chain of regular repeated segments - a polymer. Polythene, for example, is a polymer of the simple molecule ethane, and polystyrene is a polymer of styrene. Polymers often have very different properties from the simple molecules from which they are composed.
- Fat, grease and oil are different versions of similar substances and the words are used interchangeably in the book.
View document [Tip: hold Ctrl and click a link to open it in a new tab. (Hide tip)]
Please complete Activity 2 as you are working through the above extract from Chapter 4 of Forensic Science by Andrew Jackson and Julie Jackson (2nd edition, 2008).
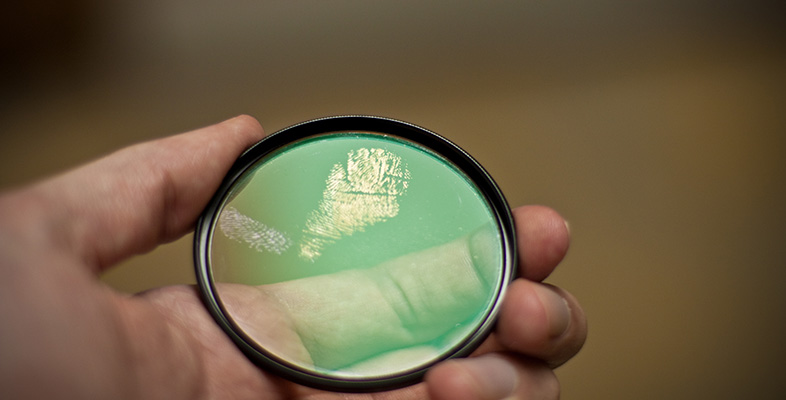
Activity 2 Summary of fingerprint visualisation techniques
Download and complete the following table as you read about the different techniques used to make latent prints visible. Once you have finished reading the extract, check your completed table with the version below.
Answer
Click here to see the completed table.
The flow charts in the Forensic Science extract you have just read show the sequence of processes that forensic scientists go through when visualising latent fingerprints in blood on porous surfaces and latent fingerprints on non-porous surfaces. Charts like this are critically important for people trying to recover fingerprints from crime scenes. As you see, various different routes can be taken, depending mostly on the type of article being tested, and the tests must be used in the correct order until a sufficiently good print has been recorded.
Question 16
If you were responsible for collecting fingerprint evidence at a major crime scene suggest what methods of visualisation you would choose if one of the likely objects for study was a small fragment of glass, not stained with blood or contaminated with grease.
Answer
The protocols that can be followed for a small fragment of glass, such as from a mirror or window, are shown in Figure 4.7 of the extract you've just read. The first step would be to make a visual examination and photograph the fragment (step 1). If the glass is dry, testing could proceed immediately; if not it would be necessary to let it dry at room temperature (step 2). The glass could then be dusted with a fingerprint powder, such as aluminium powder, and photographed or lifted with special adhesive tape or gelatine lifters (step 7 and p. 99 of the extract). An alternative route, which might be taken since this is a major crime scene where the maximum information possible is needed, would be to shine a laser or high-intensity light on the sample and photograph any fluorescence visible (step 3). If this did not give a good record, then the next step would be to subject it to vacuum metal deposition with metallic zinc or gold, or both. The results of this experiment would also be photographed (step 4). Then the fingerprint powder would be used (step 7). If the glass had needed drying, superglue fuming (step 8) would probably not be a success. Similarly small particle reagent (step 9) is unlikely to be successful since it is best used on wet or waxy surfaces.