
Sketching and prototyping techniques
Consider the examples we have discussed throughout this course. In Section 1 Activity 4, you were asked to provide some simple sketches of alternative designs for a device, such as a phone or a remote control. These simple sketches enabled you to explain how you were thinking of changing the device to one that would be usable by people with limited dexterity in their hands or people wearing gloves. When you started your sketch, you were possibly not entirely sure how you wanted the new device to look like and to work. However, by trying to sketch it, you came up with ideas and began to see new possibilities.
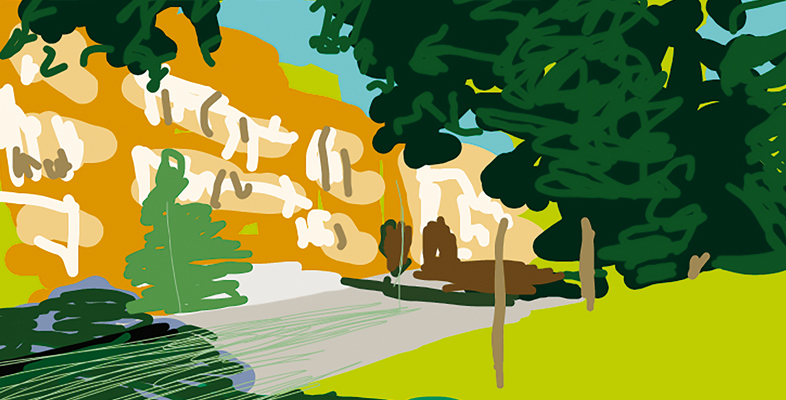
There is a wide range of sketching and prototyping techniques that can help explore different aspects of a design. Some focus on capturing design context by sketching typical users, actions, or settings. When discussing Jane and Craig in Section 3, you were provided with a photo of the user and parts of a conversation to help you understand and reflect on the design context. A similar effect might have been achieved with a simple sketch of two users, contrasting the way they carry out their activity, as shown in Figure 20.
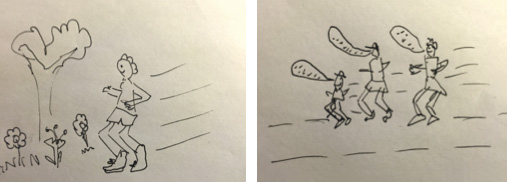
While simplistic and crude, the sketches can help focus a discussion around the important requirements of the two users and bring out their differences.
Other approaches focus on capturing designs, by sketching or prototyping interfaces and interactions. As designers’ conceptualisations become more concrete and precise, so do their sketches and prototypes, tending to develop from rough sketches to detailed prototypes. Prototypes are said to be of low fidelity or high fidelity depending on how similar their functional and aesthetic characteristics are to the finished product. Low-fidelity prototypes, often ‘rough-and-ready’ sketches of incomplete design ideas, are especially useful in the early stages of the design process, when ideas are still fluid. The sketch you drew as part of Activity 4 is an example of a ‘low-fidelity’ prototype.
At other times, designers might use higher-tech prototypes that only focus on a specific aspect of the interaction, so they are still relatively simple and low fidelity. For example, if you wanted to define or test the sequence of actions necessary to set up a weekly training plan in a running app for Jane and Craig, you might need to code a simple mock-up of possible sequences; or if you wanted to test whether vibration would be an effective way for a virtual coach to ‘talk’ to the users, you might need to hack together a simple physical prototype using a small vibrating motor.
High-fidelity prototypes are where the different functional and aesthetic aspects of an interactive product come together, in the later stages of the design process, to give users a more precise sense of what their experience with the finished product will be like. Sometimes, it is at this stage, when a prototype provides a more realistic experience, that certain limitations with a design might become apparent for both users and designers.