Document preparation
| Site: | OpenLearn Create |
| Course: | 3 Digital Skills |
| Book: | Document preparation |
| Printed by: | Guest user |
| Date: | Tuesday, 30 June 2026, 5:56 AM |
1. Introduction to document preparation
Word processing programs
2. Creating and saving documents
To create a new document in Word:
1. Open Word, then select the blank document or from the available templates.
2. If Word is already open, select File > New
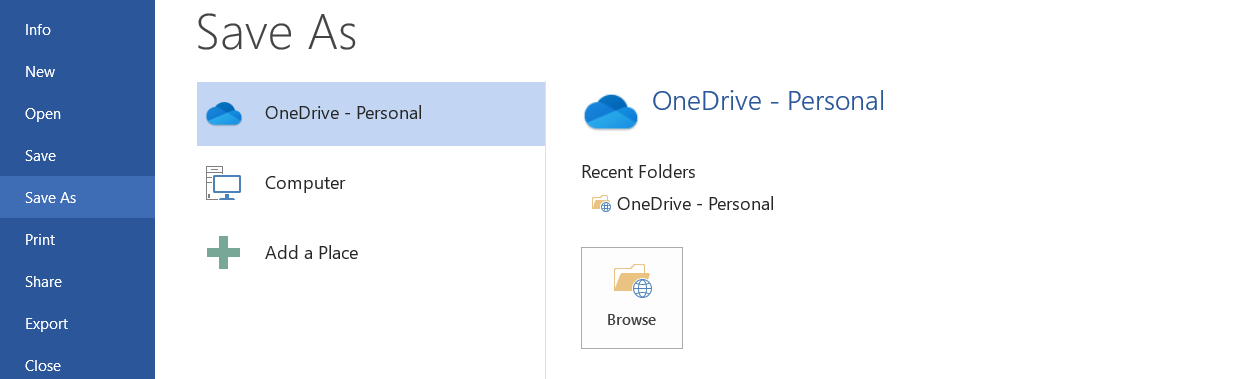
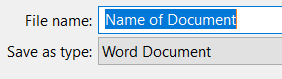
To save a new document in Word:
1. Click File > Save, pick or browse to a folder, type a name for your document in the File name box, and click Save.
2. Click the Save icon
3. Formatting documents
Navigating and selecting text using cut, copy and paste
Cut - deletes whatever is selected but stores it on a Clipboard. To cut, left-click and drag over the text to highlight it, then right-click and select Cut. The shortcut for this is CTRL + X.

Copy - stores a copy of whatever is selected on the Clipboard. To copy, highlight the text, then right-click and select Copy. The shortcut is CTRL + C.

Paste - places a copy of the last item stored on the Clipboard unto the document. To paste, right-click and select Paste. The shortcut for this is CTRL + V.
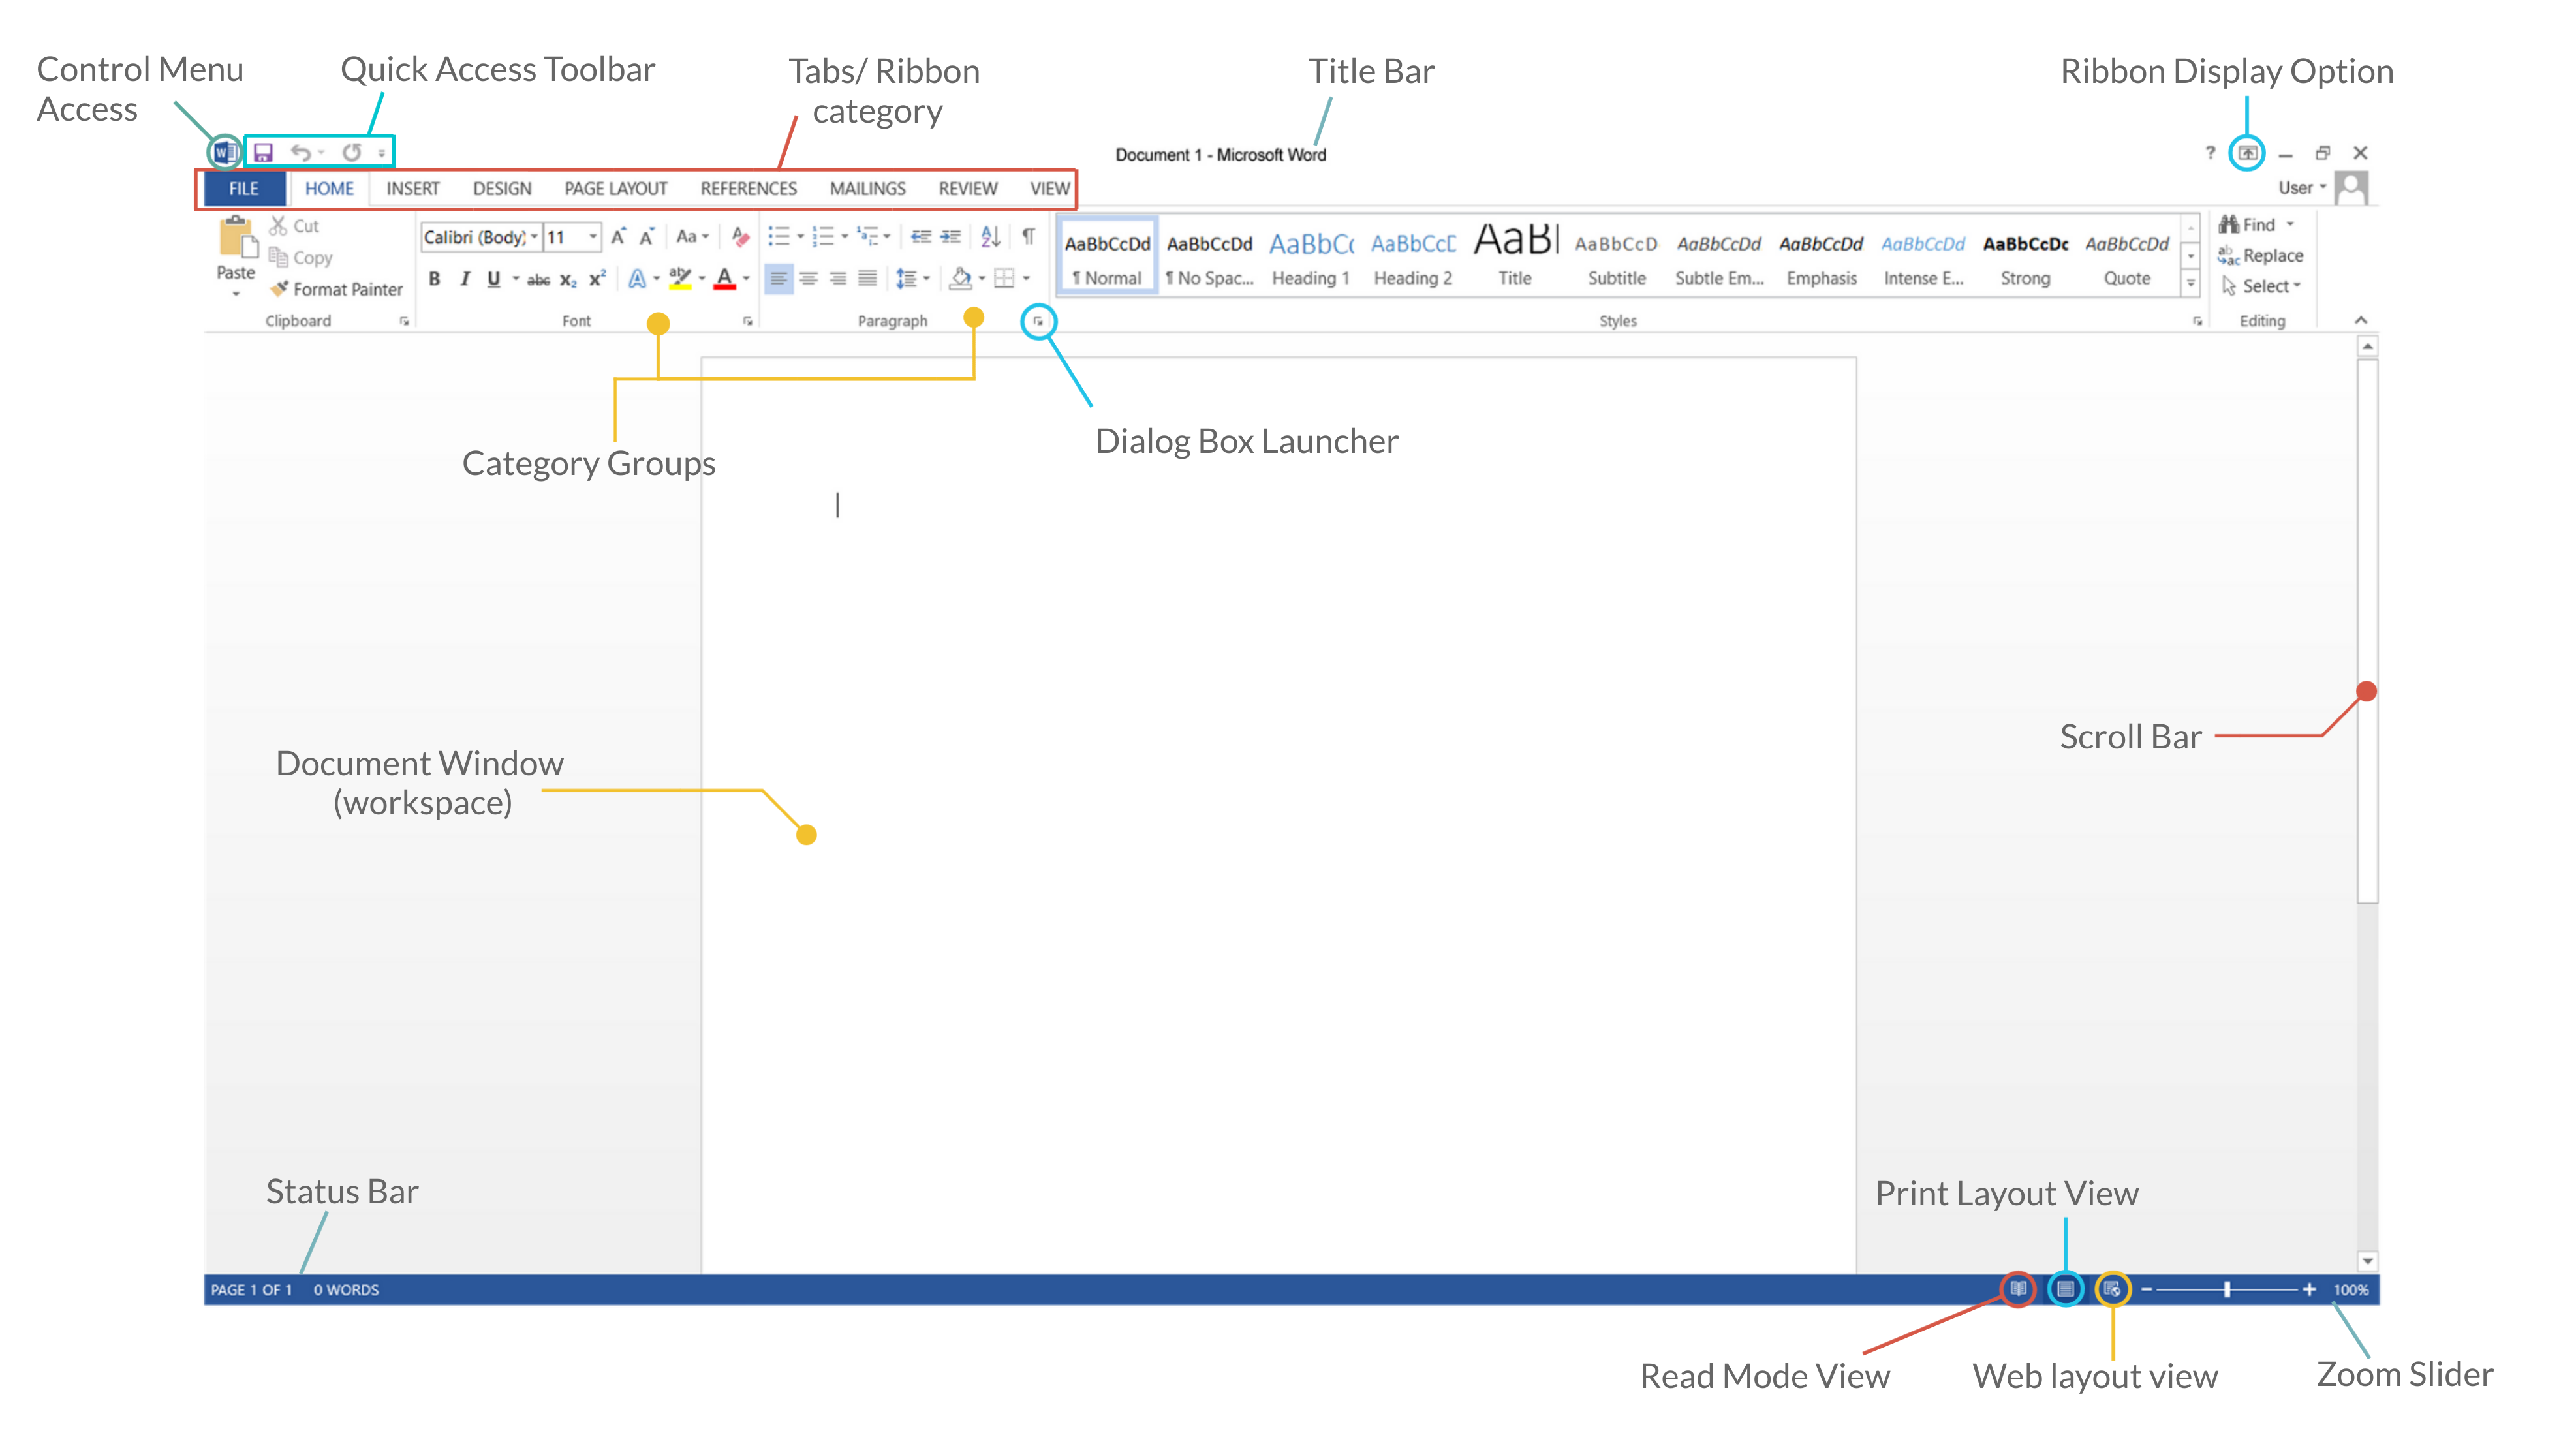
Character formatting
Font and Size - a font is a certain character style of character will be displayed on the screen and can be printed. The size of each character is measured in points. There are ~72 points to an inch. To change the font, select the text, then under Home on the toolbar, in the font group, find the Font box. It should display the current font name of the text selected. Click the small arrow on the right of the text to reveal a drop-down menu with a variety of fonts. Select the one you desire. Next to this box should be the Font Size Box which displays a number. To change the size of the text, click on the small arrow next to the number and select the size.
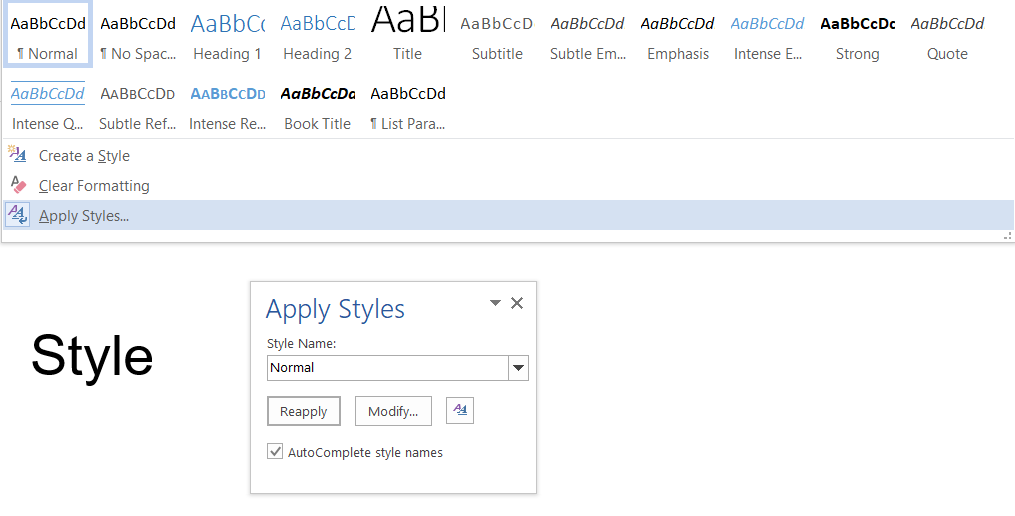
Applying styles - Use styles to format and tag/ identify parts of your document. This means for example text that represents a heading, a footnote, a hyperlink or simply the main body of the text. To apply a style, find the Home tab, then right-click any style in the Styles gallery and click Modify. In the Formatting section, make any formatting changes you want, such as font style, size, or color, alignment, line spacing, or indentation.
Creating lists - to insert a bullet point list, highlight the text you wish to edit. Under the Home tab in the “Paragraph” section, click the Bullets drop-down menu. Choose a bullet style or select "Bullets and Numbering” to create a customized bullet style.

Creating tables - find the Insert tab then click Table and move the cursor over the grid until you highlight the number of columns and rows you want.
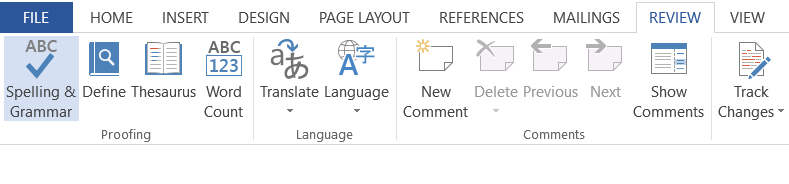
Checking spelling and grammar - “Spelling and Grammar” is located under the Review tab in the Proofing section. Click Spelling & Grammar. If the program finds spelling mistakes, a dialog box appears with the first misspelled word found by the spelling checker.
Now, after having finished this book, make sure to go back to the main page and complete activity 2.