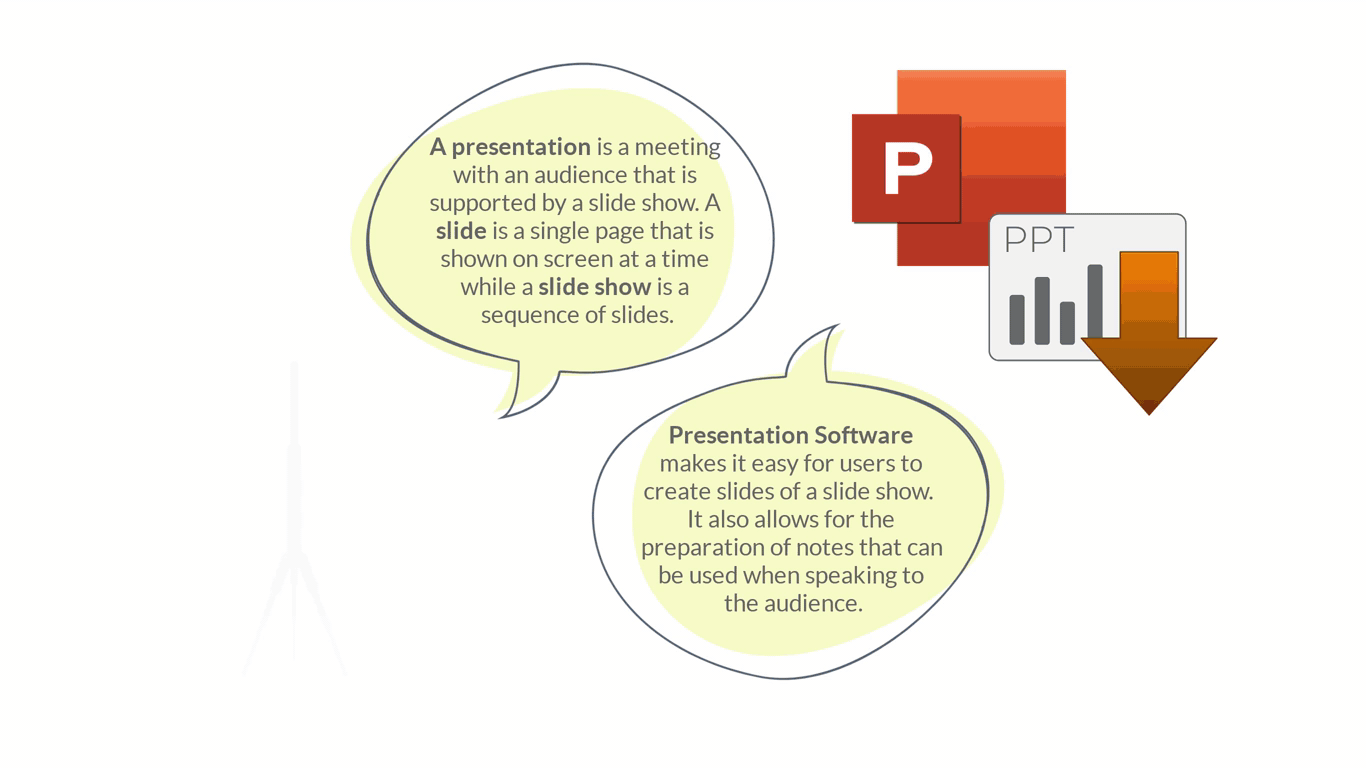
Presentations
| Site: | OpenLearn Create |
| Course: | 3 Digital Skills |
| Book: | Presentations |
| Printed by: | Guest user |
| Date: | Tuesday, 30 June 2026, 5:58 AM |
1. Presentation fundamentals
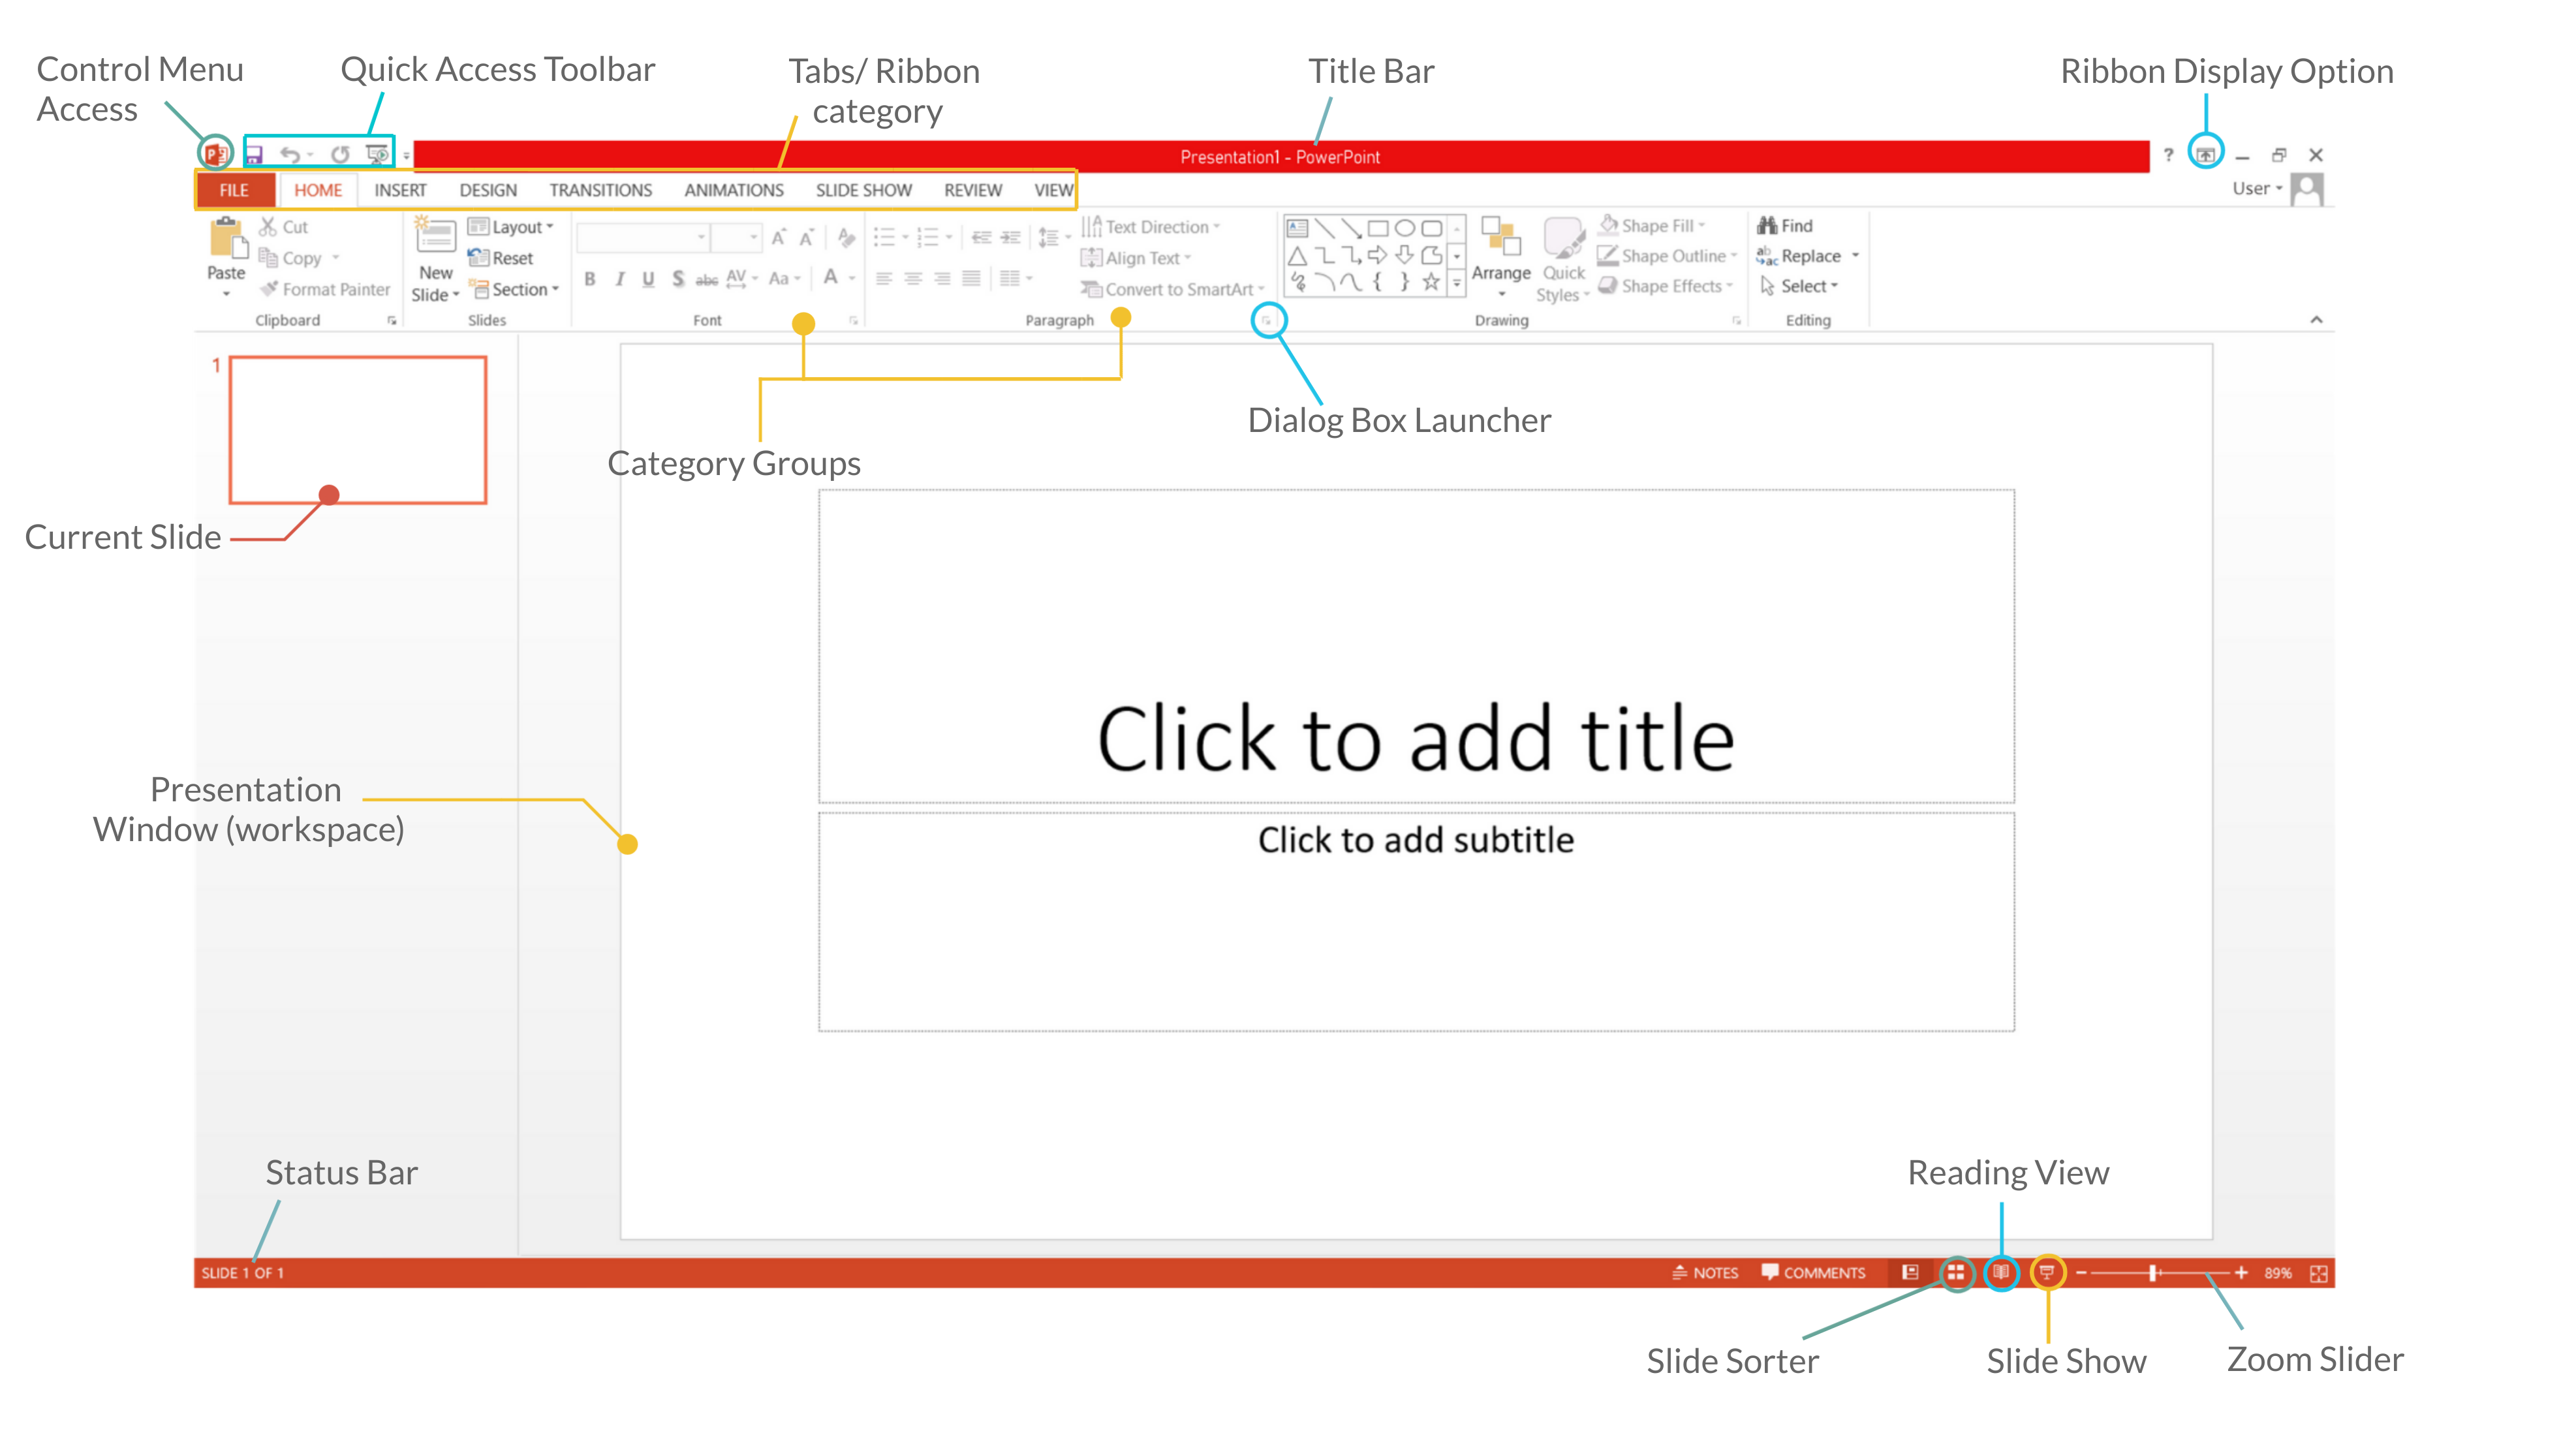
Microsoft Office PowerPoint
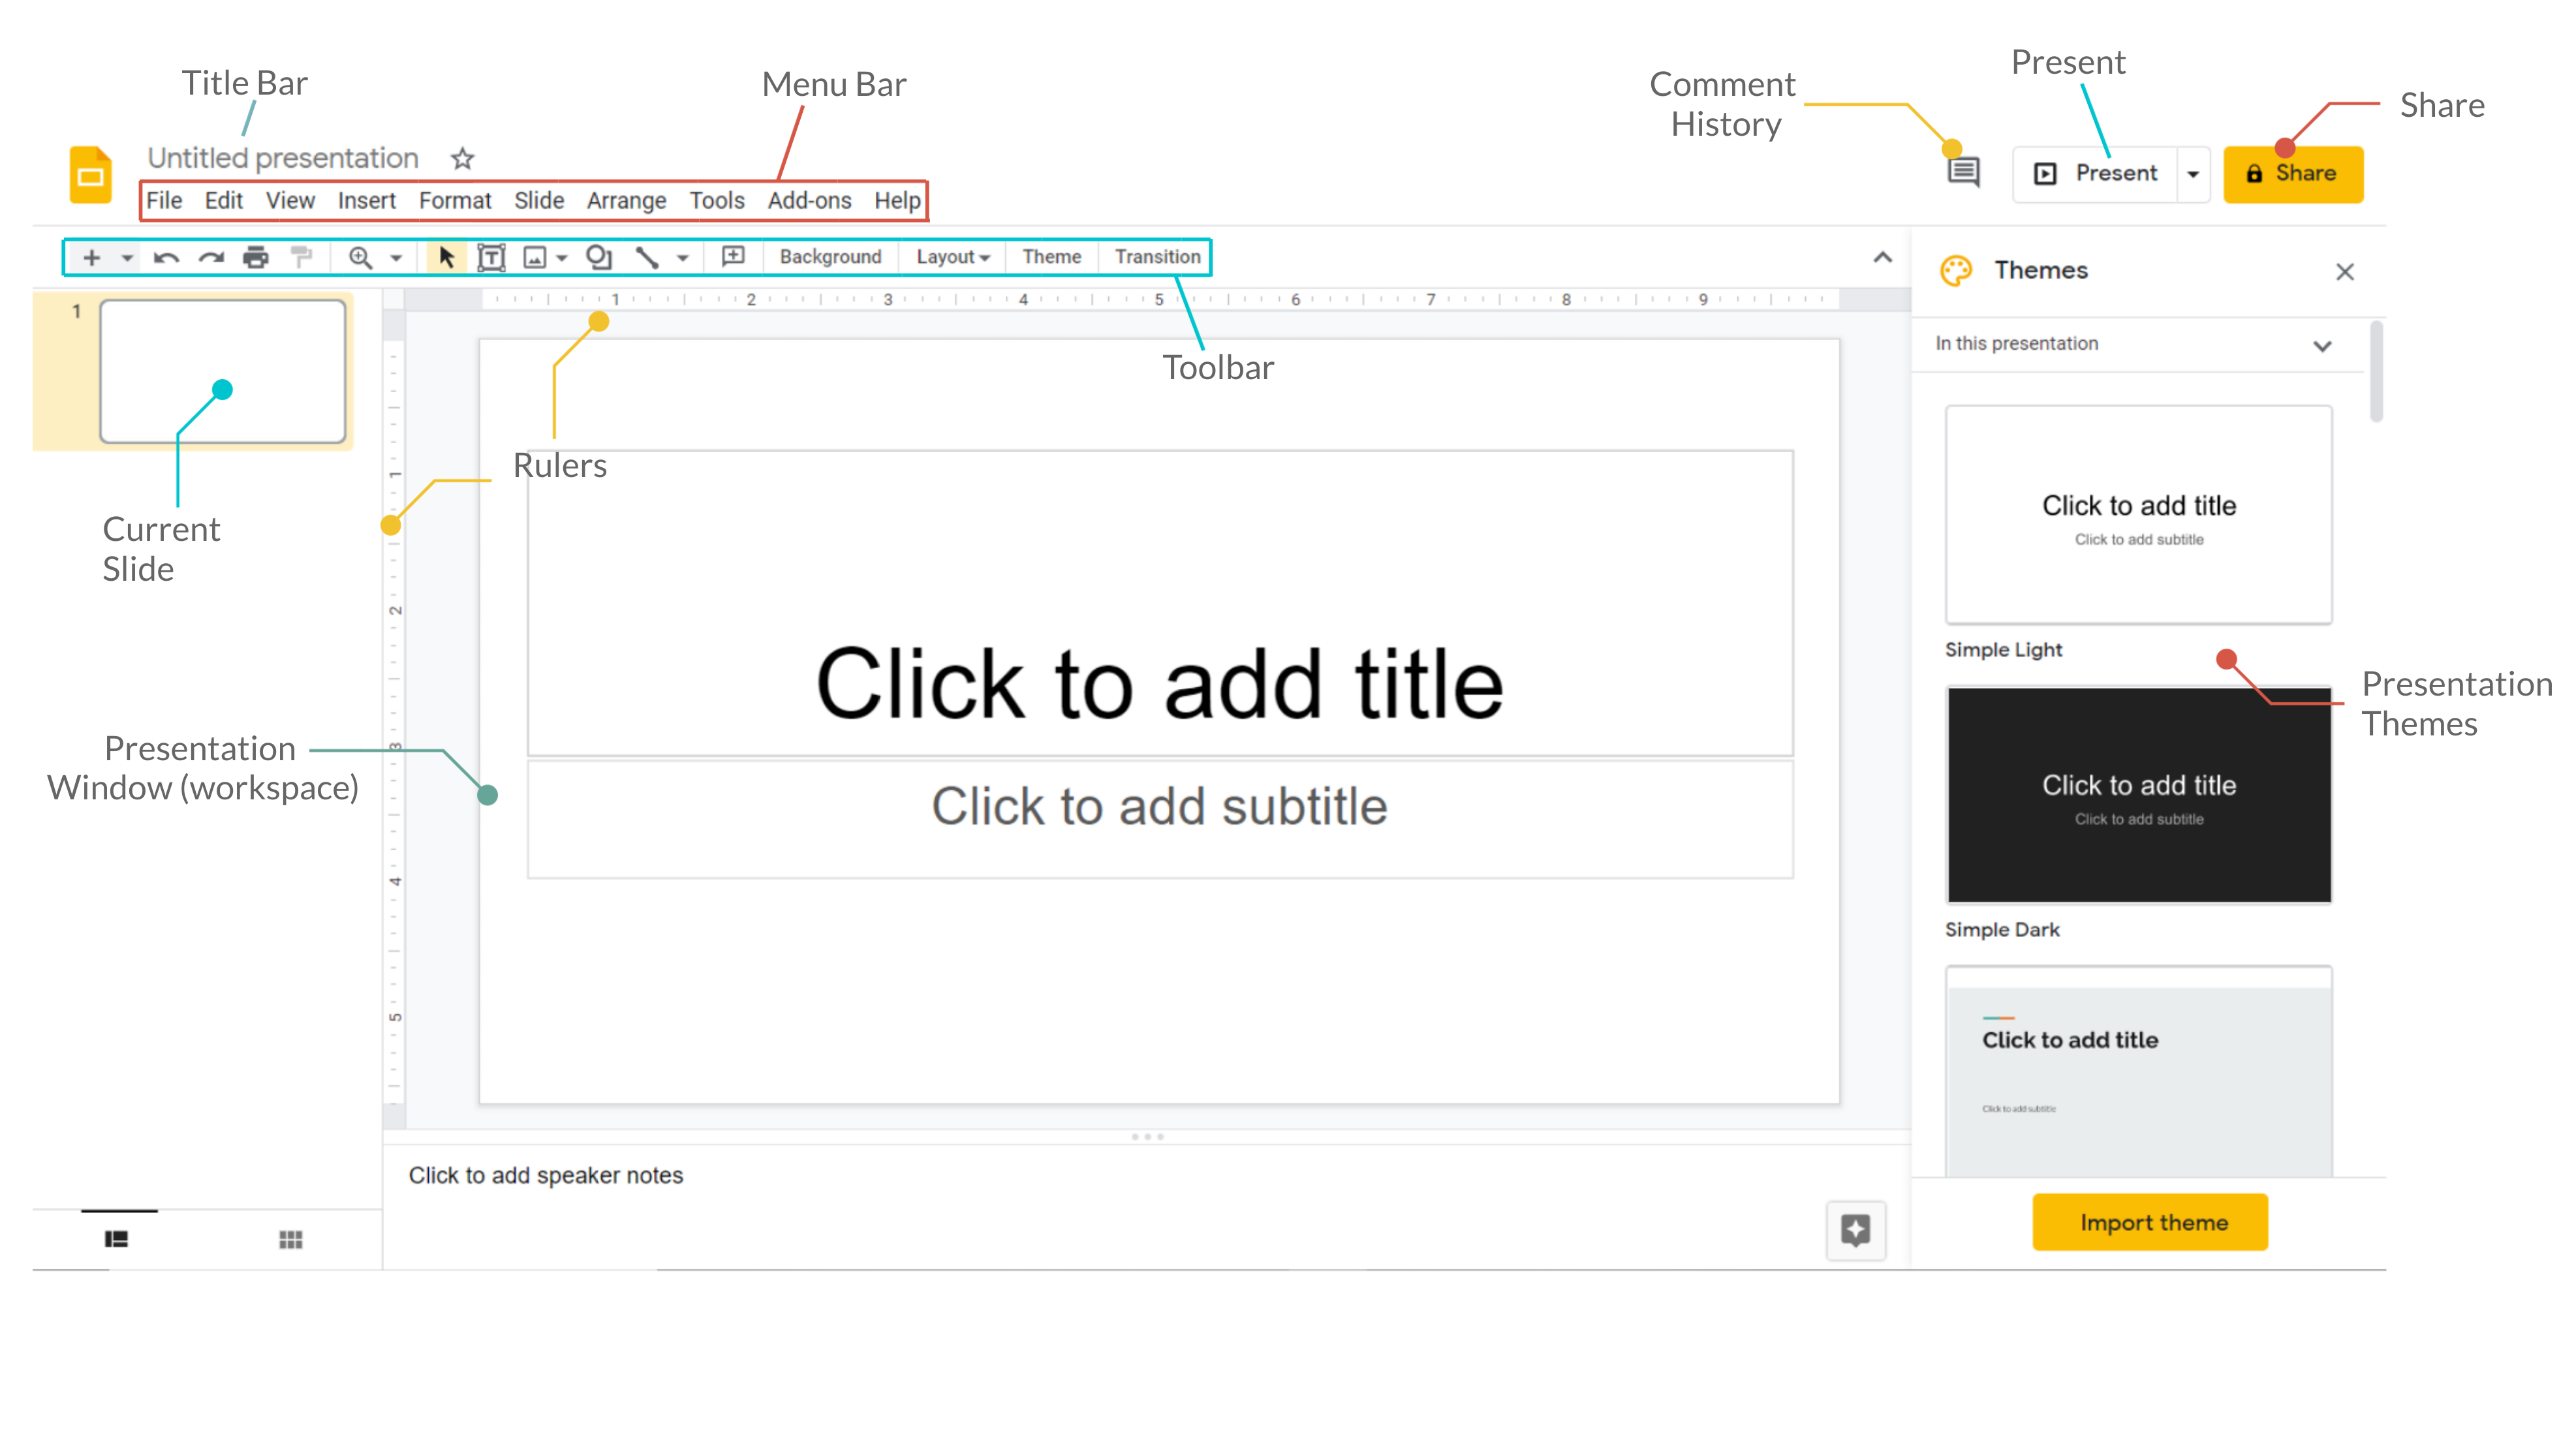
Google Slides
2. Creating and saving presentations
1. To create a new presentation, click the File Tab, then New. Here you can choose a blank presentation or from the available templates.
2. To save, click File > Save As. Browse the computer for a location to save the presentation.
3. After selecting a location, name your presentation and click Save.

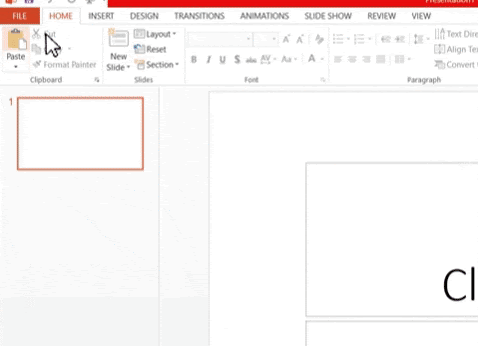
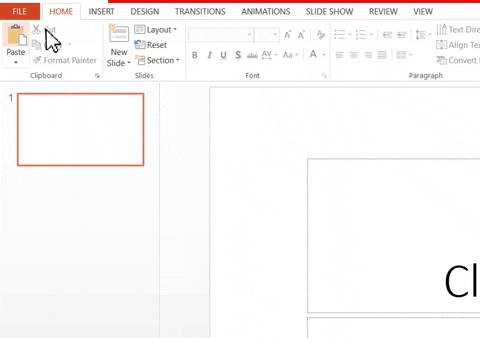
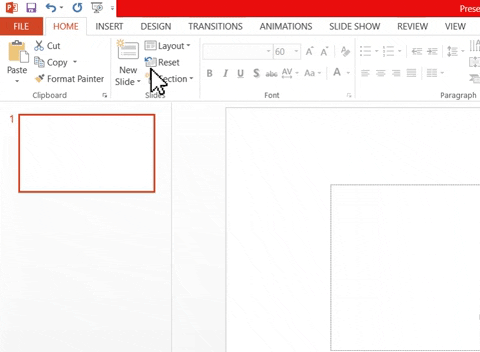
4. To add a new slide, find the Slide category under the Home tab and click New Slide.
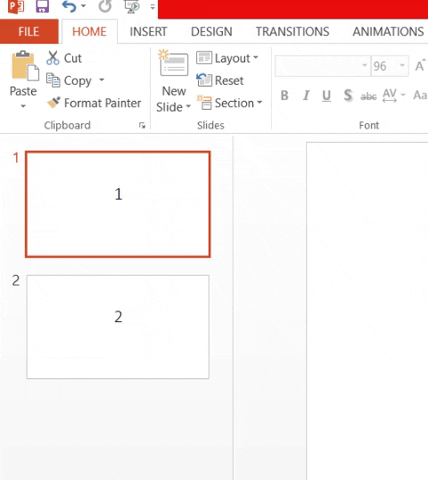
5. To move slides, click on the slide and drag it into position on the left.
3. Formatting presentations
Changing layout - when opening Microsoft Office PowerPoint, a default title slide appears. To change this layout, find the Slide category under the Home tab. Click on the arrow next to Layout to reveal a drop-down menu with a variety of slide layouts. Click on the desired slide layout to apply it to the current slide.
Applying transitions - to apply a transition on the current slide, select the Transitions tab. In the category that says Transitions to This Slide, click the arrow to reveal several transitions that can be applied. From there simply select your desired effect.

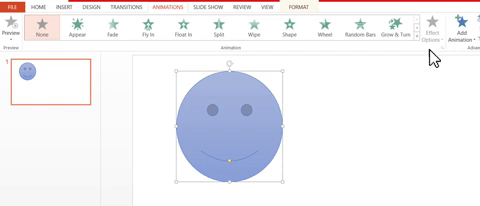
Applying animations - to animate an object, first select the object then select the Animation tab. Under the Animation category, click on the arrow to show the effects and select your desired animation.
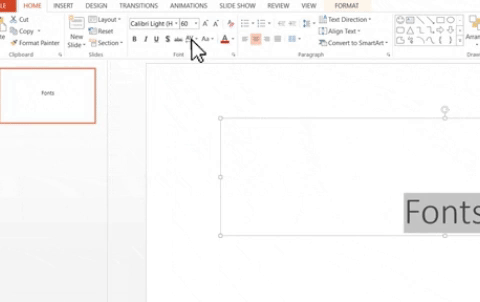
Applying fonts - to apply a font, highlight the text by left-clicking and dragging over it. Under the Home tab, look for the Font category. Click on the arrow next to the font box to reveal a drop-down of fonts and select the desired font.
Showing your presentation - To present your slides, navigate to the Slide Show Tab and click From the Beginning to start the slide show from the first slide. You can also click on the slide show icon next to the Zoom slider![]()

4. Integrating external media into your presentations
e.g. pictures, videos, tables, graphs/charts
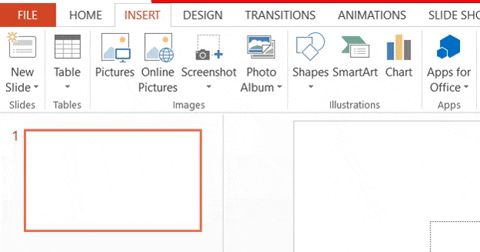
Pictures - To add an image to a slide, navigate to the Insert tab. Click on Pictures in the Image Category. A window will pop up where you can locate your image, select it and click OK.
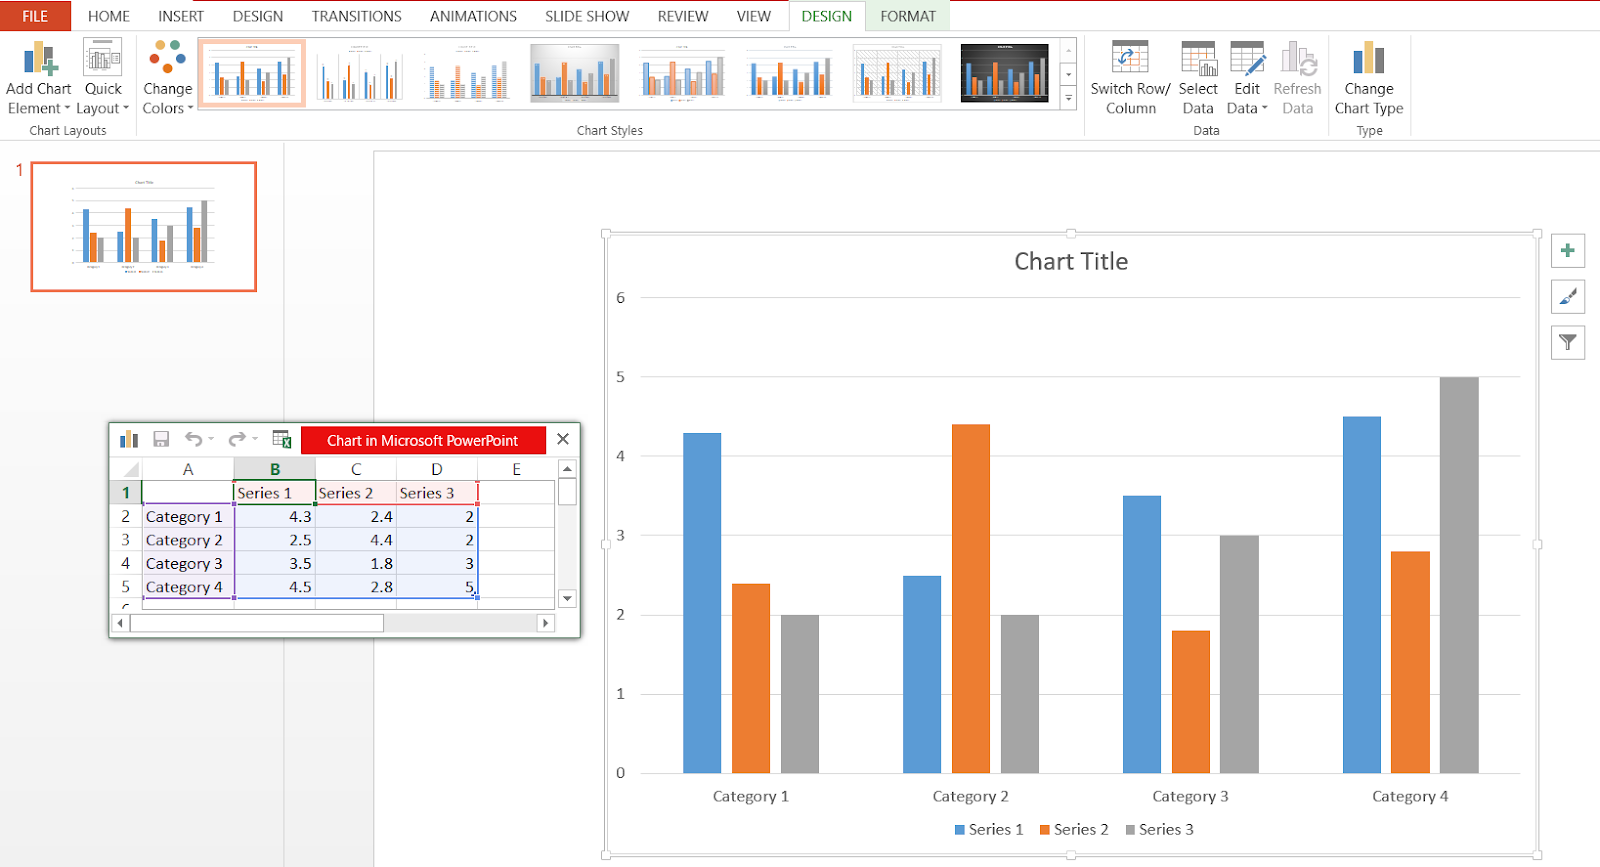
Charts - Chart and graphs are used to visually display information to your audience. To add a Chart, find the Illustration Category under the Insert tab and click Chart. This will open a window of options to choose from. On the left, you will see a list of different types of charts. Select the desired chart, choose from the templates and click OK.

After clicking OK, a minimized excel window appears. Here you can edit the values on the chart. You can also change the colour and style of the chart with the various options in the format and design tabs, which show up every time you select the chart.
Video and audio - look for the Media Category under the Insert Tab. Select Video or Audio. Then select the video or audio you want to add to the slide and click OK.

Now, after having finished this book, make sure to go back to the main page and complete activity 3.