Introduction to participatory techniques
| Site: | OpenLearn Create |
| Course: | 2 Participatory Techniques |
| Book: | Introduction to participatory techniques |
| Printed by: | Guest user |
| Date: | Tuesday, 14 July 2026, 1:46 AM |
1. What is participation and why use this approach?
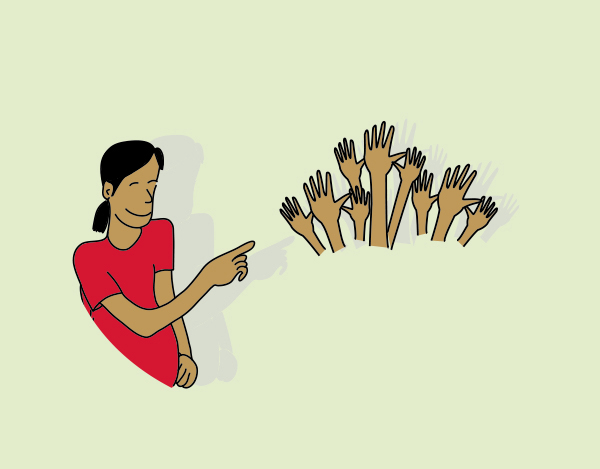
Participation means the active involvement of people from the community. To successfully identify community owned solutions, as many members of the local community as possible will need to be involved, allowing them to share their views, their knowledge and their ideas.
The key idea of community participation is to build trust and confidence within a group so that a wide diversity of ideas will be represented for community owned solutions. Participation starts with informing, consulting and gaining consent within the community you will be working with. The list below highlights a few key points that can help encourage people to participate.
How to encourage community participation
- Ensure people understand why you are asking for their opinion. You need to explain clearly what a community owned solution is and when it can be considered a best practice
- Explain how participating can be beneficial to the community. People need to understand that their opinion is crucial - you want them to find out about their best practices so that these can be further strengthened and supported
- Find ways for people to play an active role in activities. They should be clearly informed on the content and duration of activities
- Make sure activities are enjoyable and people feel at ease. They should not feel under pressure or forced to participate
In this course, you will find that there are different levels of participation with the community and different techniques can be used. Activities in this section can either involve a limited number of individuals, or engage the whole community, according to time and logistical constraints. The following gives information about the different types of approaches that can be used to engage people.
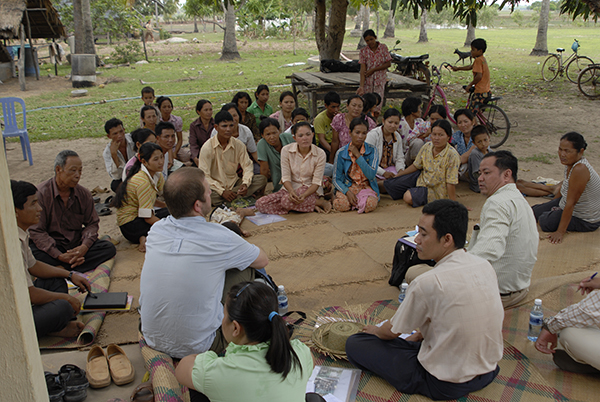
2. Workshops
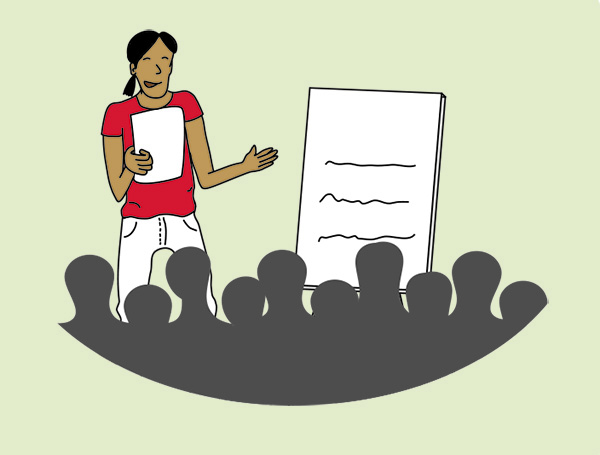
What is it?
- A meeting organised on a specific topic, to share information and discuss this topic with people. It can consist of discussions, lectures and other activities such as games or film projections.
When to use it?
- At the beginning of community engagement: to share information with the communities, to discuss the aims of the engagement and question the interest of the communities for participating, to gain information on specific aspects/themes.
- During the process of community engagement, to allow different opinions to come up.
- At the end of the process of community engagement: to share and discuss results, to evaluate the process, to agree on how to communicate the findings to an external audience.
Number of people
- Large group of people (from 10 to 40 approximately)
Time
- 2 to 5 hours
Benefits
- To actively involve a large group of people in reflecting over a specific theme.
- To give people information on a specific theme and to receive feedback and information from them as well.
- To foster discussion among participants on that theme, and to confront different views and perspectives.
- It is an effective process to reach out to a wider group of people.
Limitations
- Shy people might not participate actively in discussions.
- Can demand a lot of preparation and organisation.
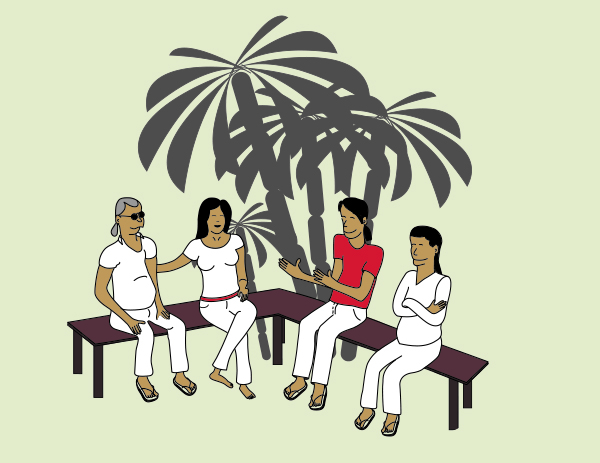
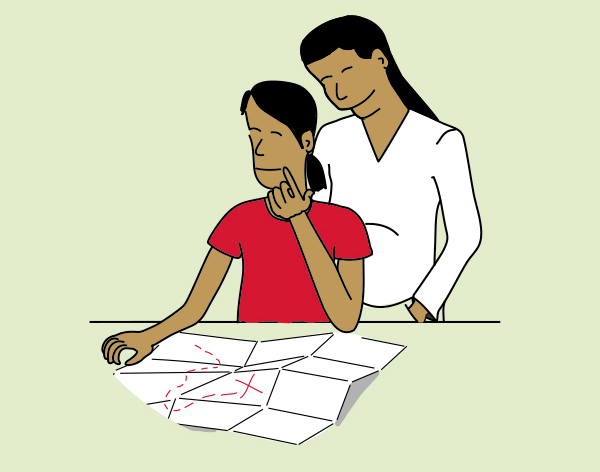
3. Focus groups
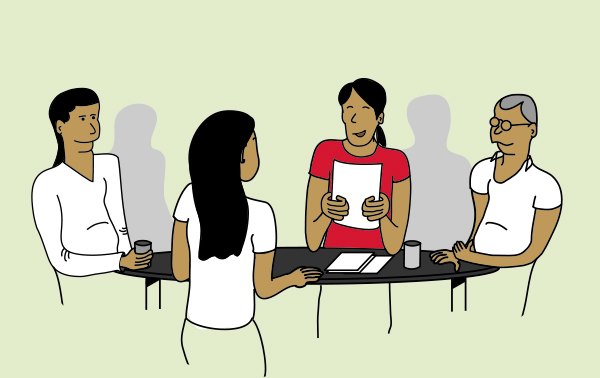
What is it?
- A small group of people focusing on and discussing one specific topic.
When to use it?
- At the beginning of the process of community engagement: to gain background information and opinions on a particular issue.
- During the process of community engagement: to explore in depth issues that have been raised during the project.
- At the end of the process of community engagement: to evaluate the project.
Number of people
- 6 to 8 people, preferably homogeneous groups (e.g.: women in the same age group, men from the same social background).
Time
- 1 to 2.5 hours. After that, people can get tired and lose focus.
Benefits
- It is participatory and empowering.
- People can dynamically exchange and confront their ideas. New positions can come up.
- Shy people can feel more comfortable expressing their views in smaller groups, provided groups are as homogeneous as possible, depending on the local context.
Limitations
- Can be dominated by some people.
- Shy people might still be uncomfortable expressing their thoughts. Some people might not express their deep feelings even in a small group.
- Outcomes might not be applicable to the wider community.
- Focus groups can create an artificial environment that can influence responses.
- The outputs rely mainly on the skills of the facilitator to make people at ease and willing to express themselves.
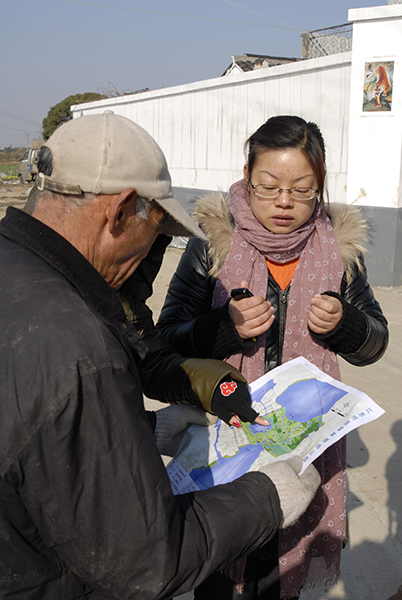
4. Interview
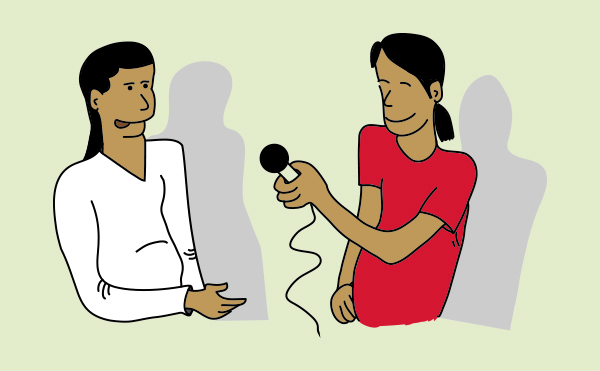
What is it?
- One-to-one conversation between two people, where the interviewer asks pre-defined questions. Normally, the same questions are asked in the same order to several different people in order to compare the answers and gather rich and complete information on a topic.
When to use it?
- During the process of community engagement: when precise and in-depth information from single participants is needed, with the objective of comparing answers.
- At the end of the process of community engagement: to evaluate the project.
Number of people
- 2 people
Time
- Ideally maximum 1 hour.
Benefits
- The range and depth of information: by comparing how different people answer we gain information of different ideas and perspectives.
- The information can be compared with information gathered in the focus group discussions.
- More intimate, less intimidating, allows people to express their position without being afraid of getting in conflict with other people.
Limitations
- Only one person's perspective.
- Interviewees and interviewers can get carried away and not necessarily answer the question.
- Time consuming.
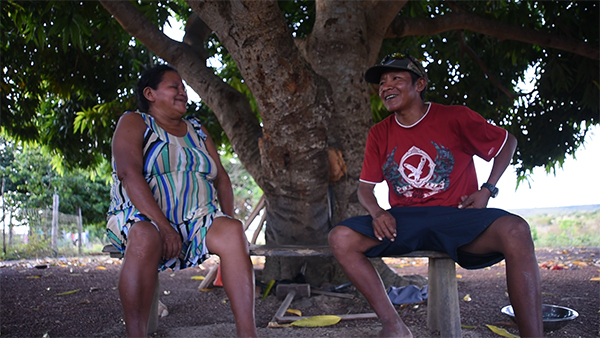
5. Informal discussion
What is it?
- A conversation more or less related to the initiative. It does not follow a predefined set of questions; can be considered as "off the record".
When to use it?
- Informal discussions happen any time and everywhere.
- At the beginning of the process of community engagement: to present a person with the initiative's goals, ask their opinion; to get to know the context and the people in an informal way. Informal discussions can be the first phase towards the definition of more structured interviews.
- During the process of community engagement: allows a great variety of information, and often unexpected information. People can express their doubts or problems in this informal context.
- At the end of the process of community engagement get people's views on the initiative without the pressure of a bigger group.
Number of people
- Usually a small number, less than 4.
Time
- Variable.
Benefits
- Hearing the voice of people who felt uncomfortable in formal contexts.
- Getting information you wouldn't have had within a predefined formal structure.
- Developing greater rapport and trust with interviewees.
Limitations
- The “off the record” context can limit the formal and accurate recording, and eventual use, of the information. If you find the information crucial and want to use it officially, ask for consent, and/or arrange for a follow-up interview or their participation in more formal workshops.
- Unpredictability.
6. Organise a workshop or a focus group

Step 1. Define the goals
- Many workshops or focus groups are a waste of time because there's no clear goal kept at the centre of the discussion. Therefore, the first step is to decide what topic you want to work on and what you are hoping to achieve.
Step 2. Decide who will attend
- This will depend strictly on your goals. If your goal is discussing a local practice that some people think could be a best practice for example, it is important to involve people who have different experiences and potentially different ideas and positions on the possible best practice. A workshop is a good time to share and discuss different points of view, so inviting people with different opinions about the topic can help to have a rich discussion.
- Once you have an idea about the people who need to be there, you should make a list of all participants. It is important to think carefully about who you want to attend to avoid wasting people’s time.
- Your list of participants should also have other important logistical information, such as the time of the meeting. Thinking about a good time for your workshop is important as people might have different schedules or commitments. Once you have set the date, the starting time and duration of the workshop or focus group this has to be announced ahead to allow people to organize themselves. Try to be as specific as possible with the people you invite but leave a few openings for last-minute additions and be aware that sometimes people drop-out unexpectedly.

Step 3. Choose the location
- Choosing your location depends on how many people are participating. The venue must be easy to reach for everyone, big enough to allow participants to sit comfortably, and quiet enough so that people can concentrate. Make sure this venue is acceptable for every member of the community. You should also already think about your activities and ensure that your venue has the resources needed to run sessions (board for writing, space to run exercises, enough chairs, etc.)

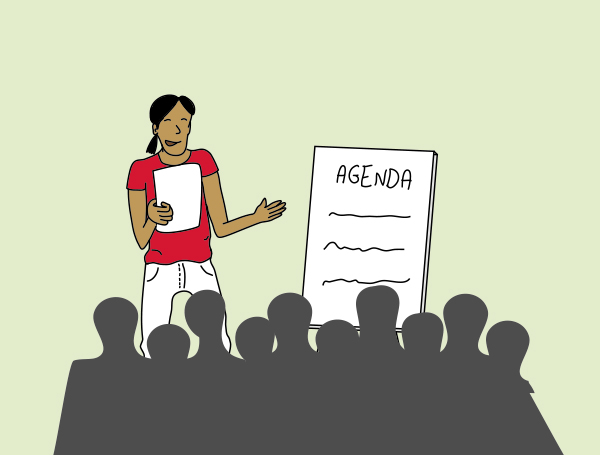
Step 4. Create an agenda
- Creating an agenda means to develop an outline of how you'll achieve the workshop's goals. It is very useful to create a list of main points to discuss, and then break down each larger point into details that you want to communicate to your audience.
- Taking pictures or video recordings of the discussions and activities is important to collect information from the workshop. It is also useful to make a list of which group discussions and activities you'll have and when you’ll have them to make sure you are on time. It is important to define how much time you will allow for each exercise. Make sure your activities are appropriate for the size of the group. Sometimes, it can also be helpful to share the agenda when you invite people to your workshop or a share it a few days beforehand.

Step 5. Conduct the workshop or focus group
- The facilitator should start by introducing themselves and briefly outline the purpose of the discussion. Within a small group, participants should be asked to introduce themselves to the group. This should be brief and clear (name, place where the person lives, their occupation for example). After this, discuss and ask the participants to sign the consent form at this stage. A good moderator is one who facilitates discussion among the respondents but who does not dominate or lead the group or gives their opinion.
- Focus groups are often recorded or video recorded to assist in the analysis of information and this should also be mentioned at the start of the group and clearly explained in the consent form. People should agree and be comfortable. The camera should be placed discreetly. There will be occasions where recording is not possible or people don't allow it, and then you may choose to employ a note-taker or write notes yourself. Materials such as display boards, images or music can be used to provoke discussion.
- It is good practice for you to remind the group of the basic 'rules' regarding confidentiality and anonymity of the topics or stories raised during the discussion. It is often helpful to remind participants that they should feel free to be able to debate, disagree and critique, and that there is no right or wrong way of thinking. Participants are also free to leave at any time.
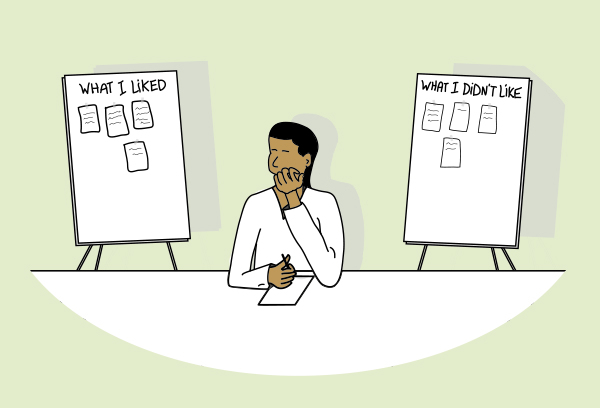
Step 6. Evaluation
- Evaluation of how your workshop or focus group went is very important. In order to evaluate the workshop you can create a questionnaire to give to all participants at the end of the event, and give them plenty of opportunity to share their opinions on how well it went. Evaluation can also be carried out as a debriefing at the end of the workshop or focus group. Evaluation is an on-going process so individual events should form part of the overall evaluation activities.
Step 7. Communication of insights emerging from the workshop
- It is also important to have a plan to communicate the information which emerged or the decisions that were reached during the workshop. People who participated need to know that their hard work resulted in a decision or action, and it is important to keep people who didn't participate updated as well. Also, you need to keep people informed about what is happening after the workshop has ended. You will need also to be incredibly careful about managing participants' expectations. Being transparent does not mean making plans that won't happen and it’s very important not to give promises that can’t be kept!

7. Organise an interview
Step 1. Recruiting the people you want to interview
- The question you need to answer is "Who might have the information I'm looking for?”
- Another important aspect is that you need to make sure that you have targeted a diverse range of people who might have different opinions or perceptions based on their own experiences and context.
Step 2. When and where to interview
- Interviews should be carried out when people have time and are not pressed by other activities. The best time for the interview should be discussed and agreed with the person you interview. When choosing the location you want to make sure that it is somewhere the interviewee will feel comfortable, such as in their own home, or in the place they are describing to you. If you are asking information about farming practices, for example, it can be useful to be at the farm; the person you are interviewing can show you places, farming techniques, etc. and they can be inspired by being in the environment they are talking about.
- Sometimes it can be very useful, instead of interviewing a person in one place, to take a walk with the person while interviewing them. In this way the person can take you to see the places/activities they are describing. This can help us to better understand what the person is describing and can help the person to be more precise in the description.
Step 3. Recording, video recording or taking notes
- Taking notes during the interview requires great skill to be able to note down the appropriate material, while also paying attention to the interviewee and thinking about your next question. If you have the possibility of conducting the interview in pairs, one can ask the questions and the other one can take notes. Another option is recording.
- Recording allows you to concentrate on what the person is saying without having to write. Video recording also allows you to keep track of gestures and expressions. But people can be shy and not feel at ease being recorded. You always need to ask permission. In the event of taking a walk with the person, make sure you can record the information almost in real time by taking notes right after or even better during.

Tips for carrying out an interview:
- It is important to make sure, before starting to ask questions, that the interviewee knows what the discussion is about. Make sure people you interview know everything they will say will be kept confidential unless they allow you to use it and that they have given consent to be eventually recorded.
- You should also establish how long the interview will last with the interviewee and stick to that time.
- Remember that an interview is not an interrogation; you should try making the other person feel at ease and enjoy talking to you.
- Even if you have a pre-set list of questions, try not to fire them at the interviewee. Give them a chance to develop their ideas and also to ask for clarification if necessary.
- Even if you are nervous, make sure that you listen to the responses and interact with the other person.
- Do not ask complicated questions at the start of the interview. Instead, open the interview with some uncomplicated, simple questions (for example name, profession, number of years lived in the area, etc.).
- When framing your questions, try to make them as open-ended as possible. This prevents very short answers and gives the respondent the chance to develop their own ideas on the topic. Try not to give your personal opinion, as the interviewee might stick to it and be afraid (or too shy) to say something different.
- When dealing with aspects which may embarrass the other person, be prepared to move on to another issue if the interviewee is clearly very uncomfortable with the direction of the interview.
- At the end of the interview, you should provide the interviewee with an opportunity to ask you questions and explain again if necessary how you will use the recorded material.