Part 1: Propagation by seed
| Site: | OpenLearn Create |
| Course: | Plant propagation |
| Book: | Part 1: Propagation by seed |
| Printed by: | Guest user |
| Date: | Friday, 10 July 2026, 9:49 AM |
1. Introduction

When a plant is propagated by seed it will not be exactly the same as the parent plant from which the seed was collected, but it will be similar. Like with people, a child is a genetic mix of both its parents and will develop characteristics from each; young plants are slightly different to their parents. New characteristics can be bred into plants by selecting which parent plants pollinate each other, for example, by selecting two particularly large parent plants, or two with unusual flower colours.
There are few tasks in the garden so satisfying as germinating little forests of seedlings in the spring but there are different techniques which suit the required germination environment for different species.
2. Sowing seed indoors
If you would like to try the techniques as you study them then you will need to prepare the following items:
Growing media, for example compost (see section on compost).
Seeds of your choice suitable for sowing indoor (this information is printed on the back of most seed packets or can be looked up online on sites such as RHS - Inspiring everyone to grow / RHS Gardening).
Containers such as cell trays or pots (see section on containers).
A clear propagator lid which fits over your containers (optional).
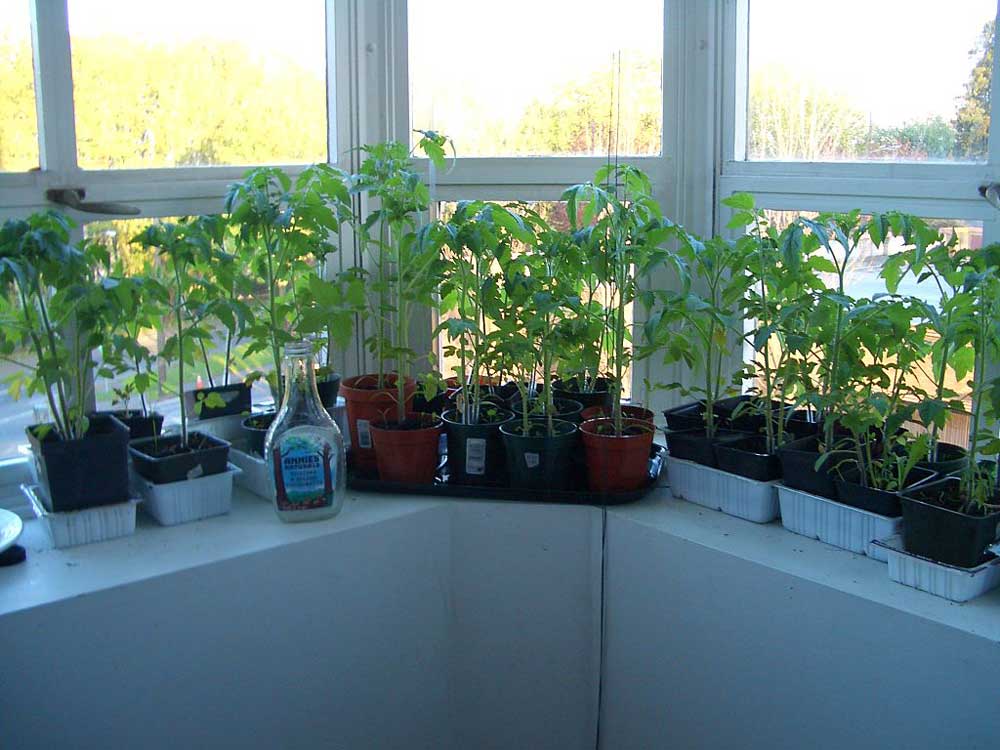
Sowing seeds indoors allows tender plants to be planted earlier in the season than if left to nature. Once they have grown into young plants, they can be hardened off and planted outside when the weather conditions are warm enough. In the UK some seeds can be planted as early as January, but most will be planted February, March and April, for planting out in May or June after the risk of frost.
A garden greenhouse or poly tunnel, or even a sunny windowsill will provide a suitable place for sowing indoors on a non-commercial scale. On a commercial scale the use of propagators, glasshouses and poly tunnels will provide controlled environments for seed sowing with use of mechanised sowing equipment as well as teams of employees.
Search a video site such as YouTube for ‘horticulture commercial seed sowing machinery’ and have a look at the commercial techniques for sowing seed in quantity.
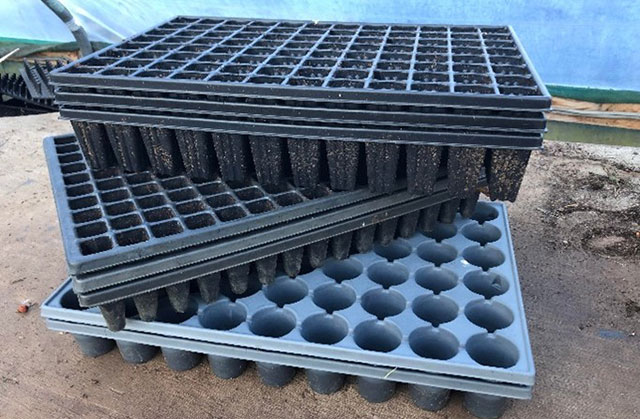
3. Containers
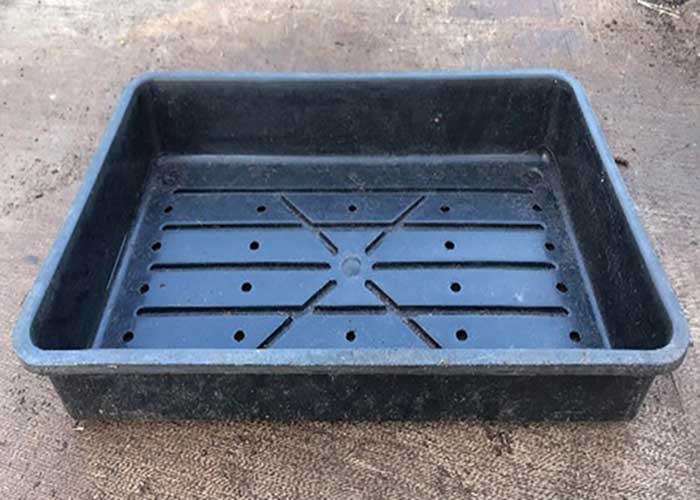
Simple, shallow trays with holes in the bottom for drainage.
| Pros | Cons |
|---|---|
|
|
Amber Crowley / public domain
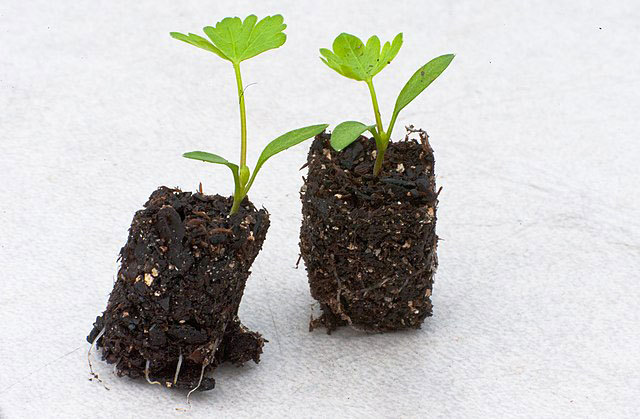
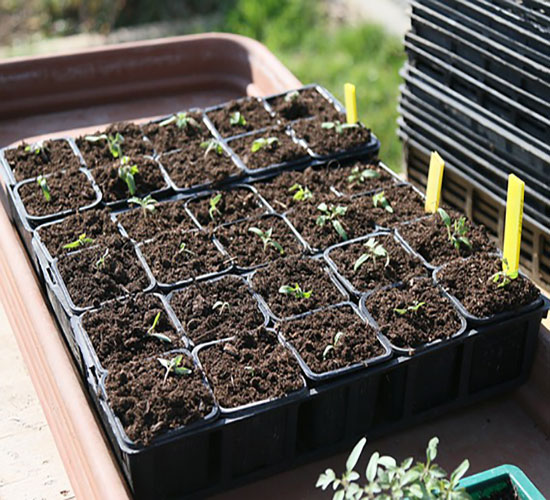
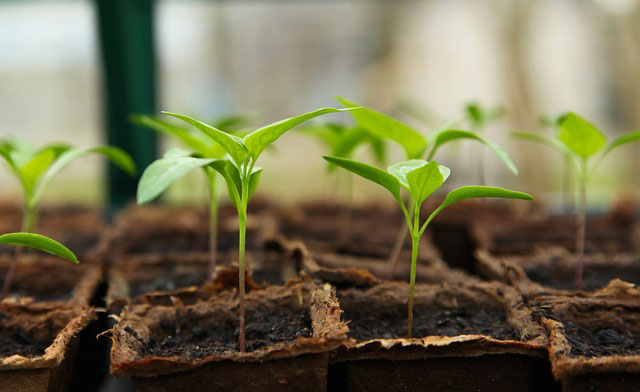
Trays formed with sections in, called cells. Designed so that one plant grows per cell. The resulting seedling with its round or square clump of compost attached is called a ‘plug’ or a ‘plug plant’.
| Pros | Cons |
|---|---|
|
|
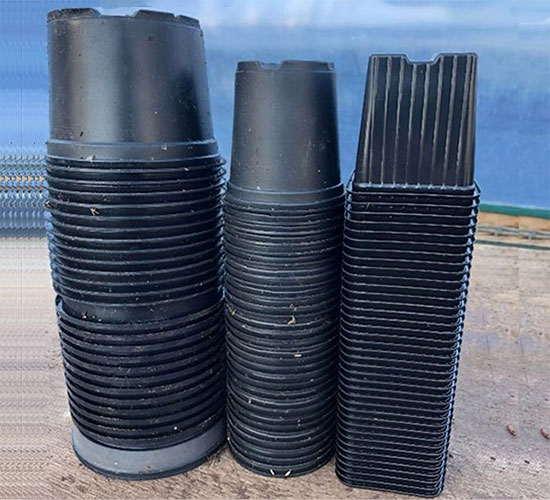
Individual containers, sometimes put into carrier trays for ease of handling.
| Pros | Cons |
|---|---|
|
|
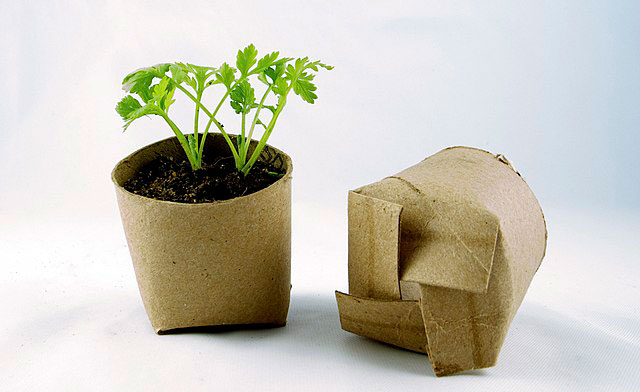
Individual plant containers made from (usually) recycled paper. They can be hand made by folding paper or toilet roll tubes or bought from commercial suppliers who form them from paper pulp.
| Pros | Cons |
|---|---|
|
|
Research suppliers of seed trays, cell trays and different types of pots online. See how the availability and prices compare. Which would you choose to use if you were to start a commercial propagation nursery?
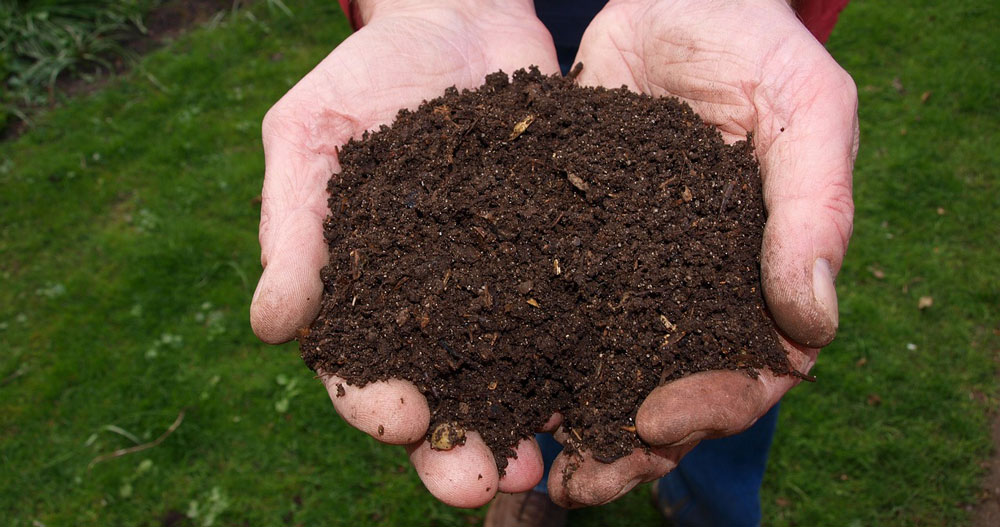
4. Compost
Compost is a spongy and fibrous growing media which is ideal for seed sowing.
It can be made up from either a single substance or a mixture of substances such as:


Peat is harvested from natural peat bogs. It is partially decomposed sphagnum moss and plant material which forms in layers in acidic and anaerobic conditions (without oxygen).
| Pros | Cons |
|---|---|
|
|
MatiasMiika via Wikimedia / CC BY 3.0
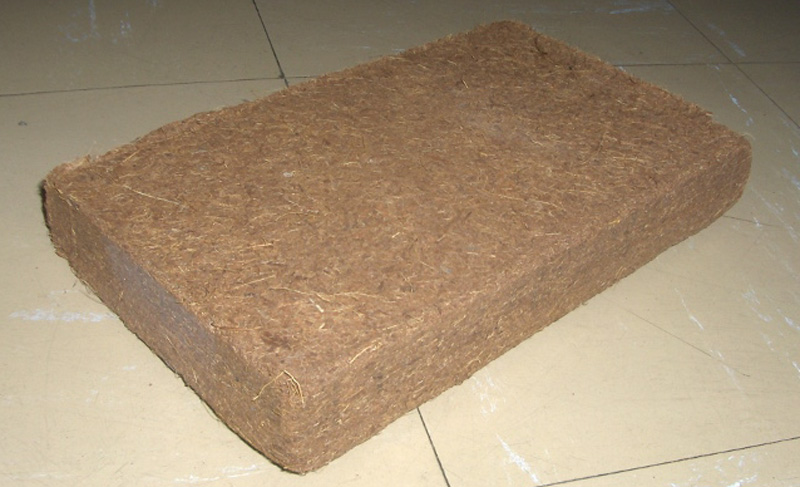
Coir is a natural fibre taken from the outer husk of coconuts. It is pre-treated by being soaked in a calcium solution to remove natural sodium and potassium salts which are high in the pith and then fluffed up and bashed in a mechanical tumbler to break the fibres apart.
| Pros | Cons |
|---|---|
|
|
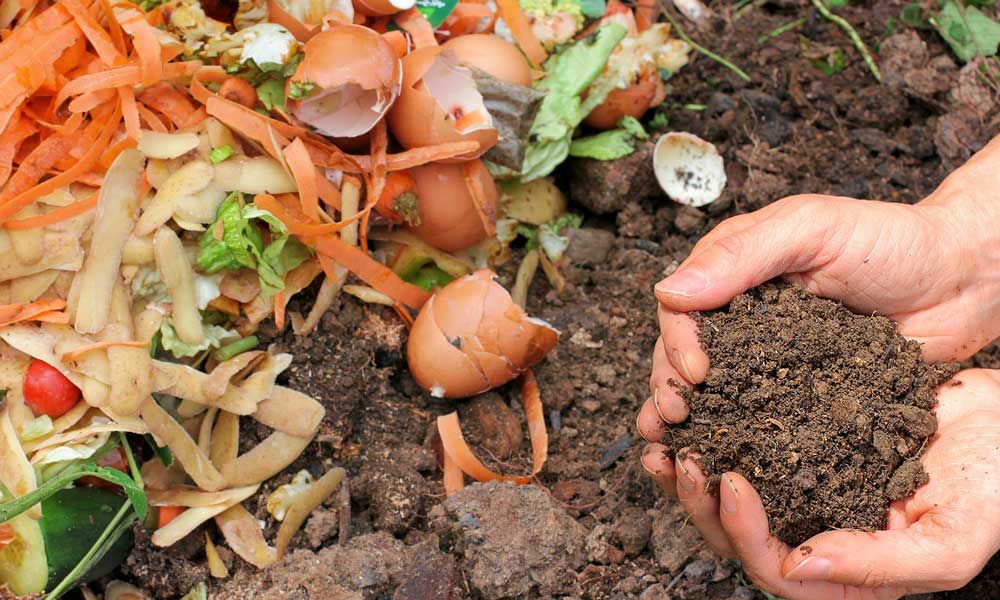
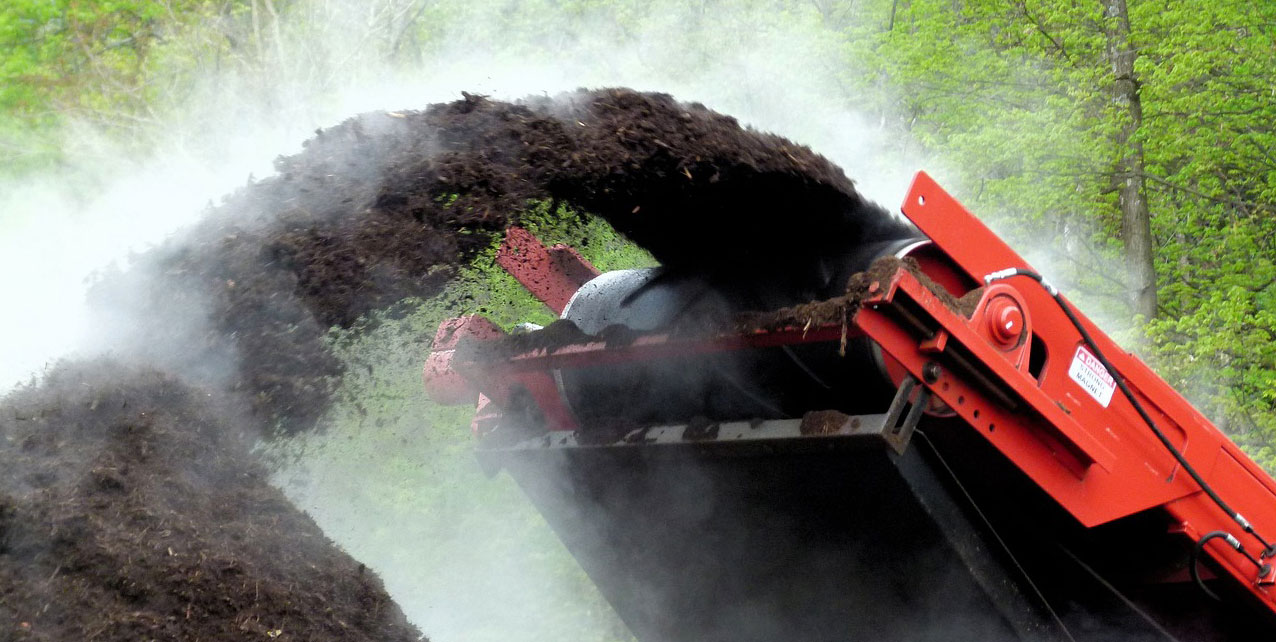
Compost made from decomposing organic waste such as kitchen waste and garden weeds. This can be produced on a home scale for home garden use or on a commercial scale. Some cities provide wheelie bins for garden waste which are then collected and composted to produce excellent compost for sale.
| Pros | Cons |
|---|---|
|
|
There are a range of branded peat free options, most of which are mixes of growing media such as coir, composted wood chip and wood fibre.
| Pros | Cons |
|---|---|
|
|
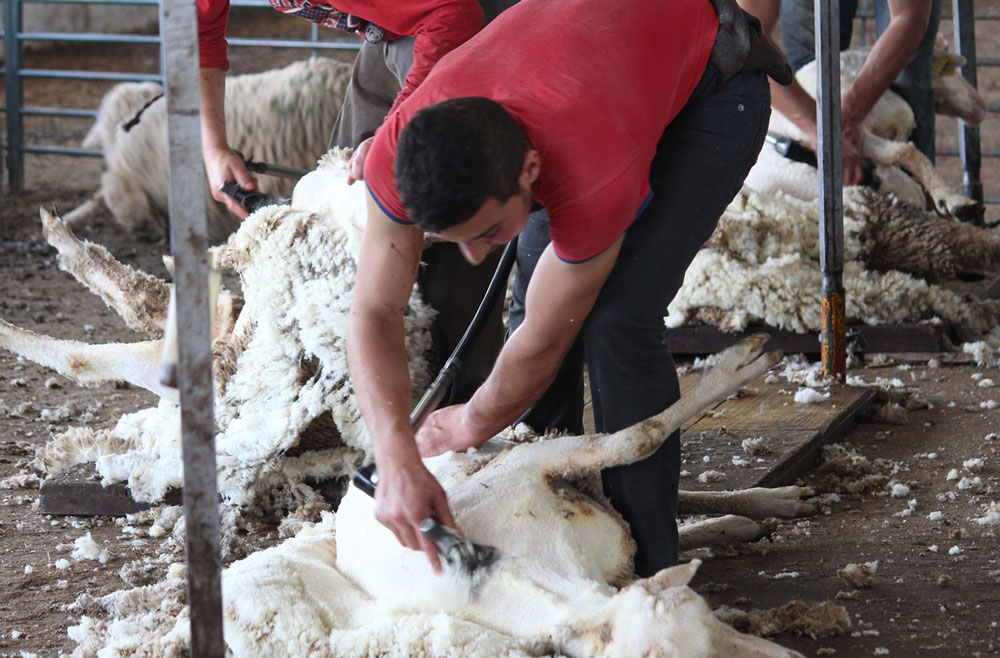
When wool prices are low, sheep’s fleeces are composted to produce a growing media.
| Pros | Cons |
|---|---|
|
|
Research on the internet the environmental impacts of using peat in horticulture. Make notes on what you find. Search an internet video site such as YouTube for ‘harvesting peat in Ireland’ to see the scale of the destruction caused by the use of horticultural peat.
Research sources of peat free compost in your area. How much do they cost? What type of compost would you choose for a commercial seed propagation nursery?
5. Irrigation
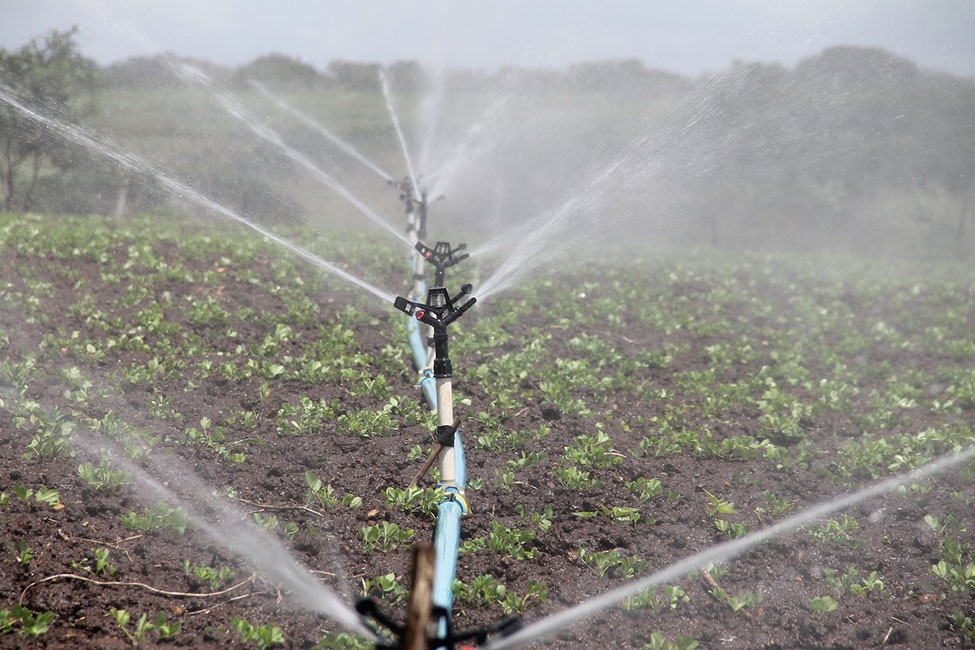
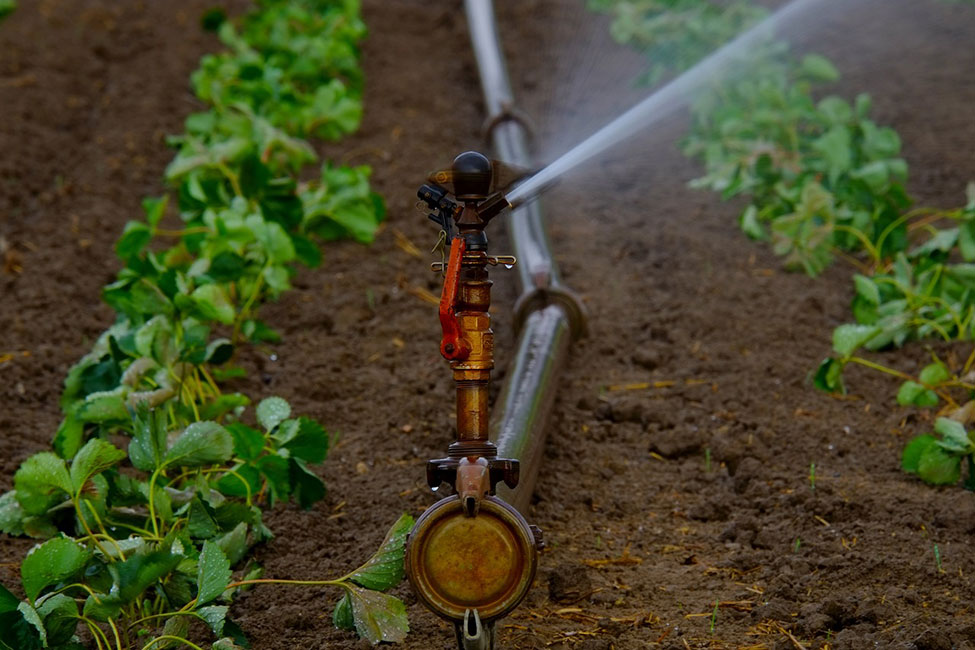
Seedlings are very susceptible to drought because they start life with very small root systems and so a reliable watering system is essential. Many systems can be set up on a timer, or even with a sensor to automatically water when compost dries out to a certain level.
| Standing sprinklers |
|
|---|---|
| Overhead sprinklers |
|
| Capillary bed |
|
| Flood irrigation |
|
| Drip irrigation |
|
| Hydroponics |
|
| Hand watering |
|
6. Sowing
Basic seed sowing instructions.
- Fill your containers with compost and water until damp but not flooded.
- Follow the instructions on the seed packet! A lot of specialist knowledge, trials and research goes into those sowing instructions on the back of that packet. It is in the seed company’s interest for you to get a good germination rate, so they do give the best advice possible. Even commercially sourced wholesale seed comes with sowing instructions.
- Usually, it speeds up germination and reduces the seedlings drying out if you cover the container with a clear propagator lid to keep humidity high until germination has occurred.
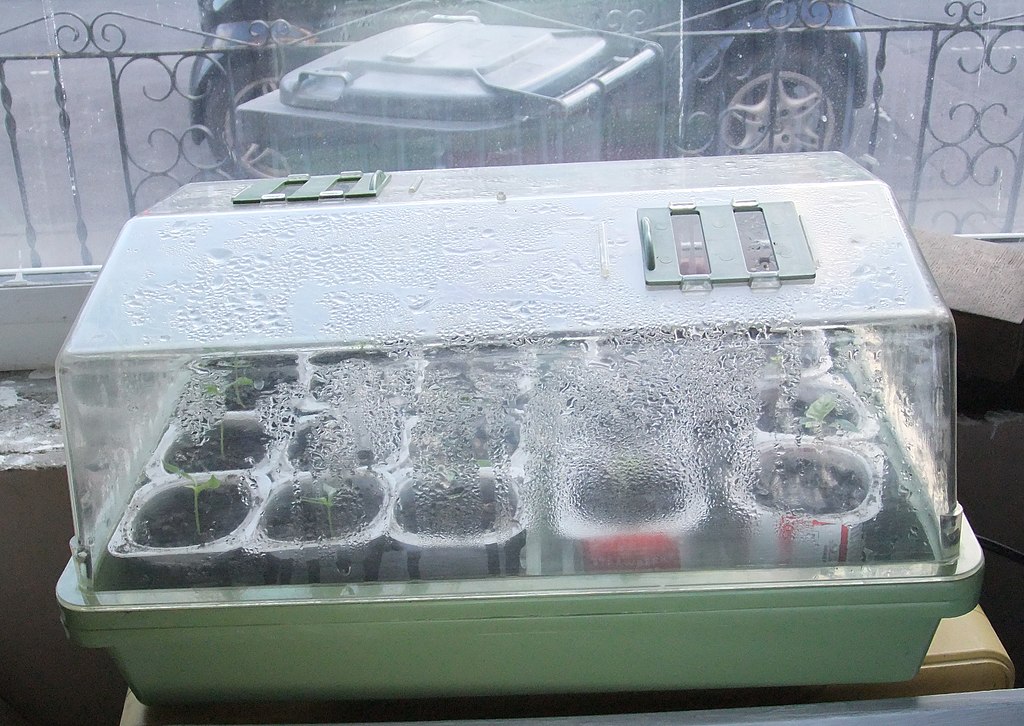
Simon Speed via Wikimedia / CC0 1.0
Top tip from a commercial wholesale propagation nursery
If you want to be able to leave your seedlings in their containers for longer to give you a more flexible planting out/potting on date, then when you are filling the containers before sowing:
- Fill to about 2cm deep with compost (just a thin layer to cover the holes in the bottom of the pots or trays).
- Sprinkle a thin layer of slow-release fertiliser over the compost.
- Fill the containers to the top with compost.
The seedlings then germinate in the compost without being affected by the fertiliser below (which could prevent germination), grow their roots down until they reach the fertiliser and can remain growing in that container for a whole season, if necessary, as the fertiliser provides the nutrients they require.
Seed sowing by hand is labour intensive and so often not viable for a commercial enterprise.
Search on YouTube for ‘seed sowing machines’ and watch how commercial nurseries speed up the process.
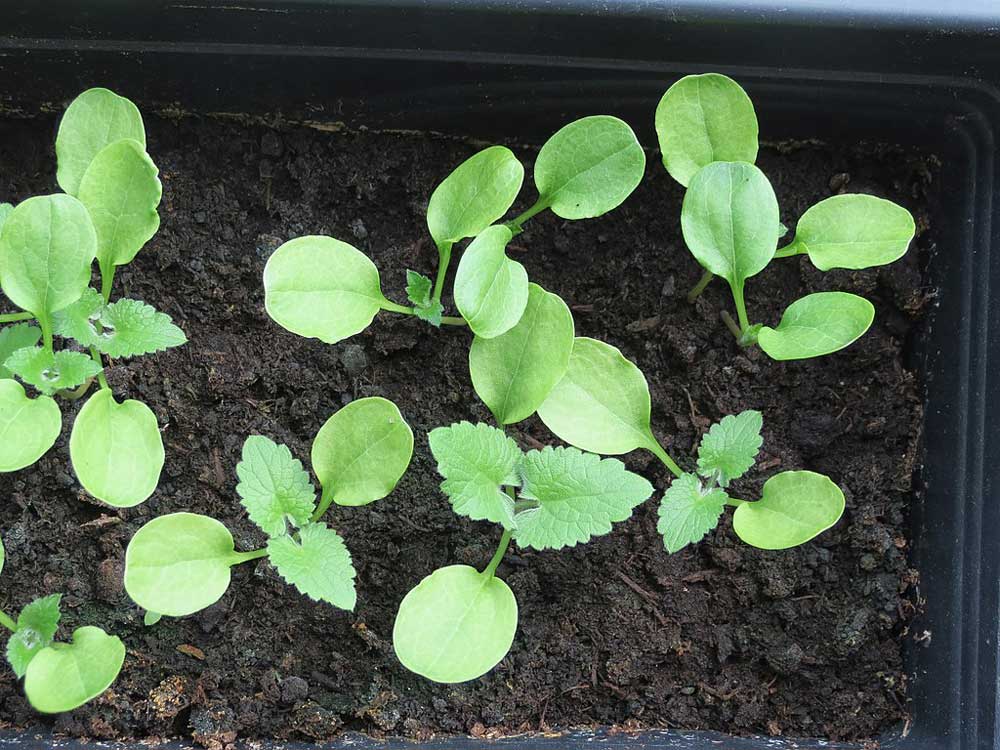
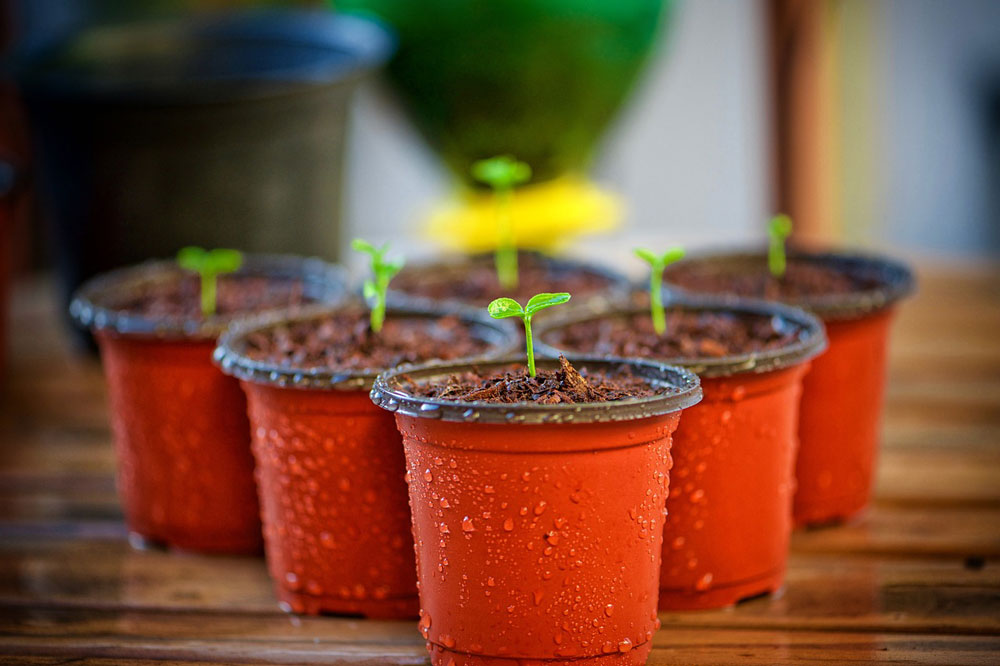
7. Germination
The first sign of germination is a radicle (which develops into the first root) emerging from the seed, but this is not always obvious as it often occurs under the soil surface. Once there are signs above the soil surface that germination has occurred remove the plastic propagation cover to allow air to circulate around the emerging seedling, ensuring that the compost is kept moist.
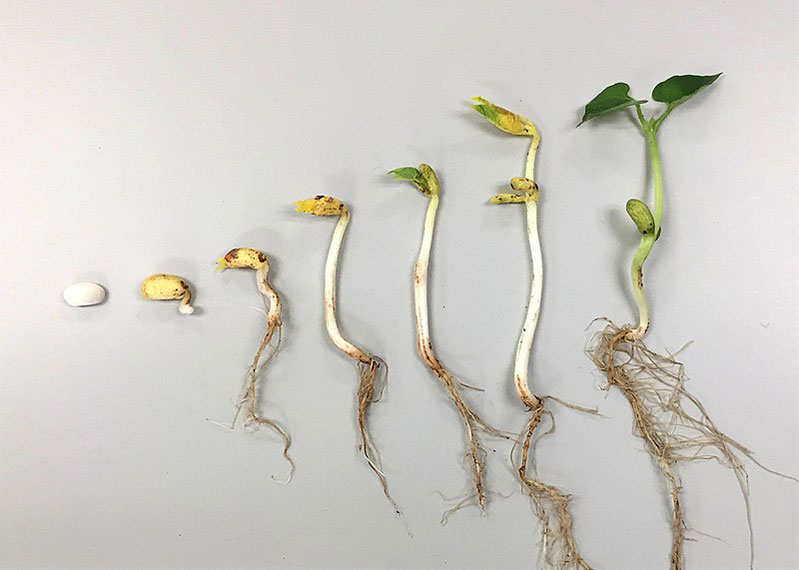
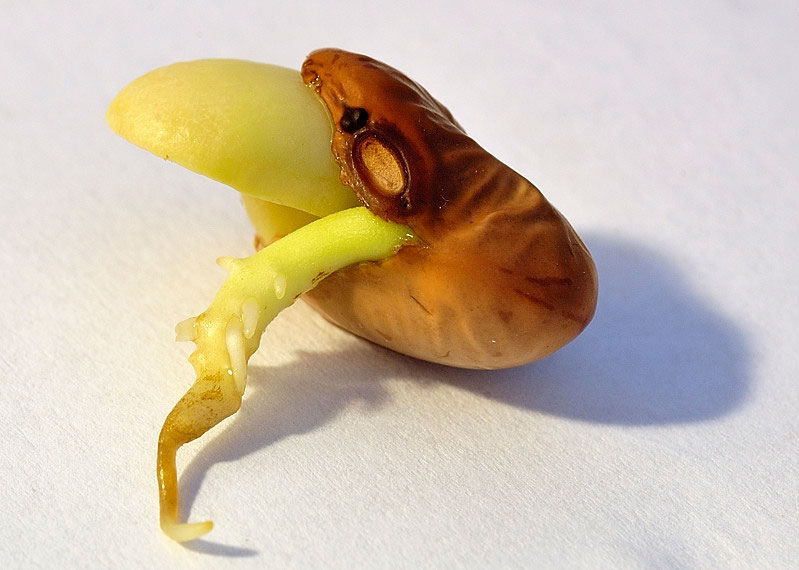
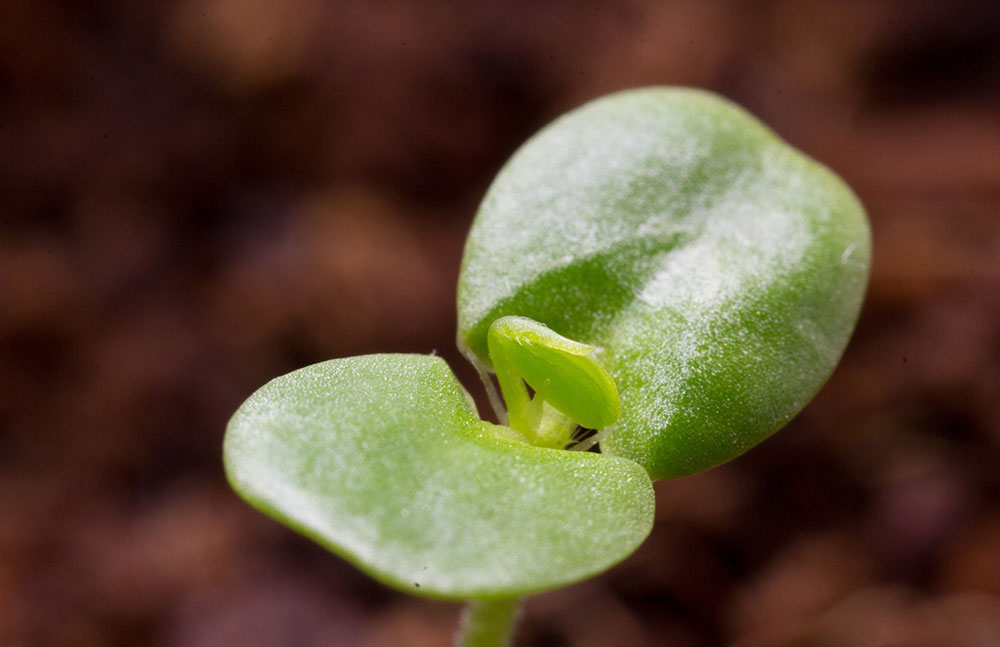
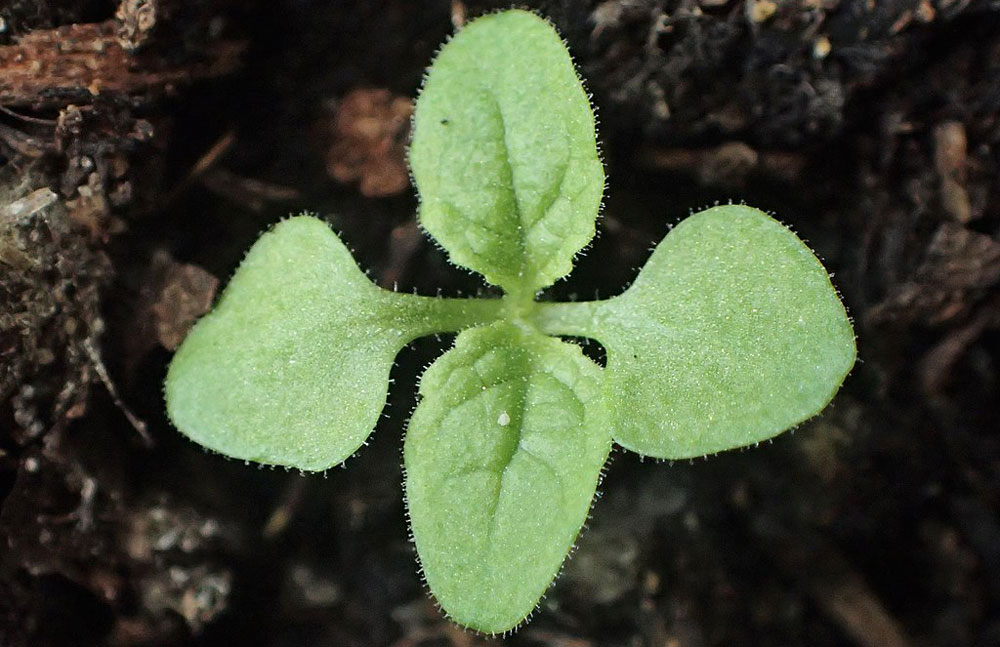
Next the shoot emerges from the seed and extends up towards the light. Either one or two cotyledons, or seed leaves, unfold.
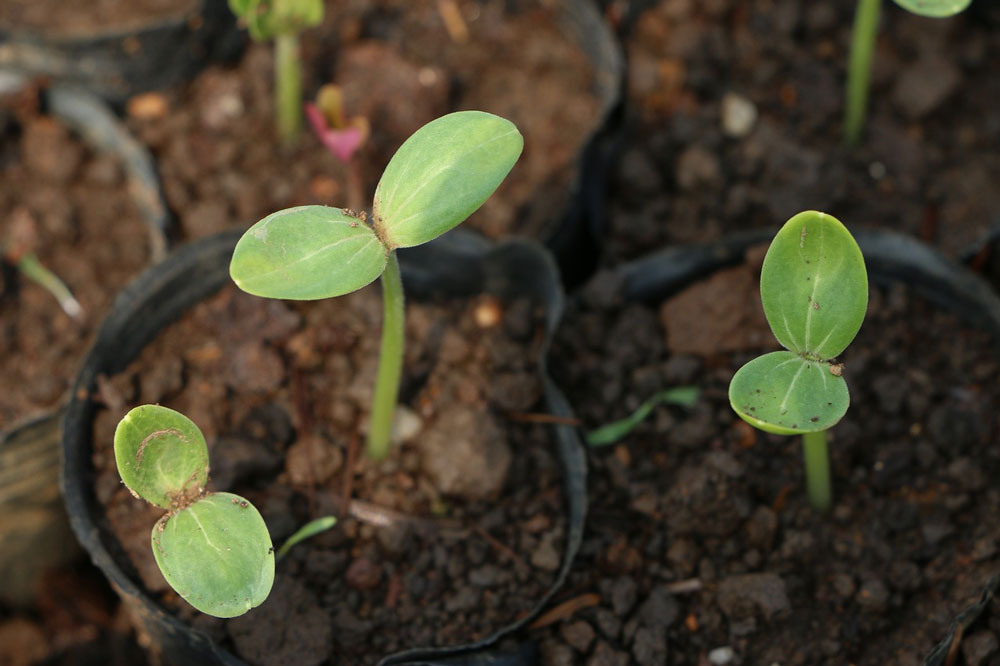
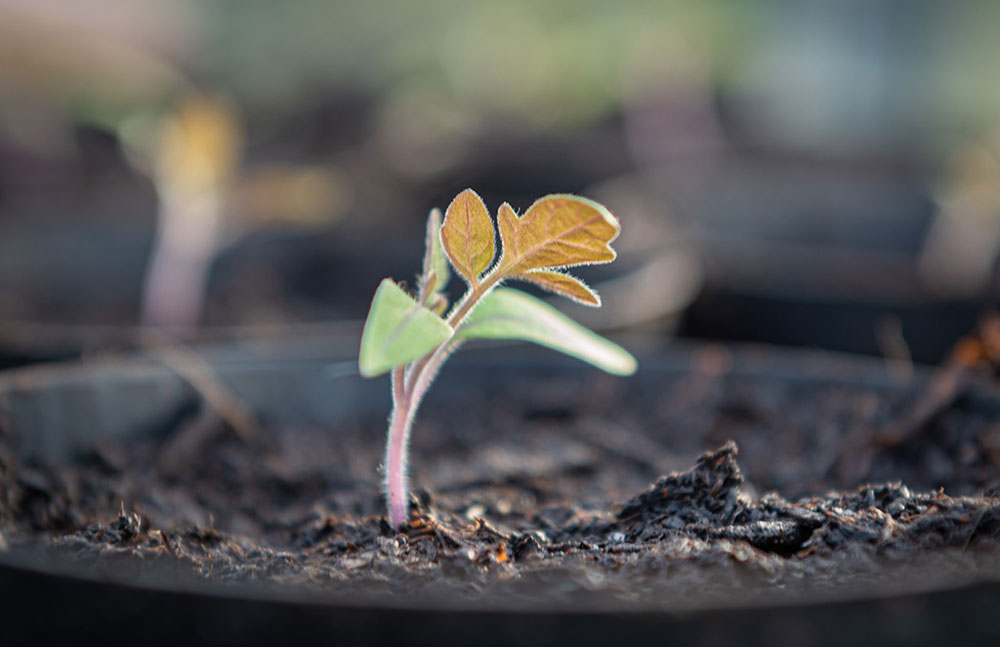
Seedlings often remain at this stage for a few days or even weeks while they develop their root structure and it can appear that they have stalled but keep them moist and give them time and you will start to see their first ‘true leaves’ start to develop between the cotyledons.
8. Aftercare
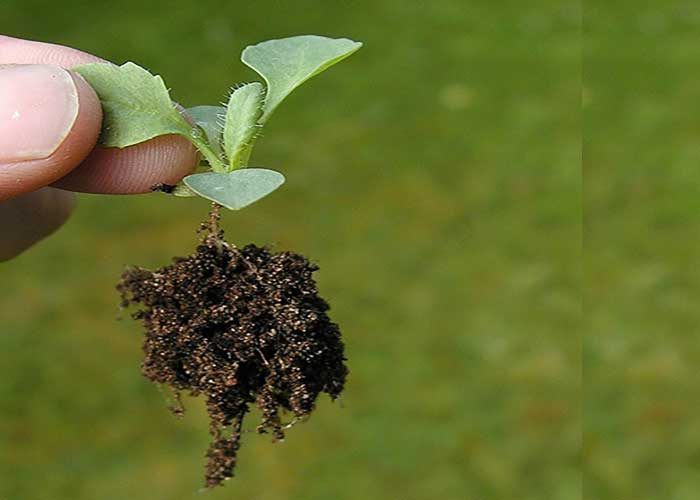
When the seedlings are large enough to handle, they can be transplanted or pricked out into bigger pots by lifting the seedlings individually, holding each by one of its true leaves.
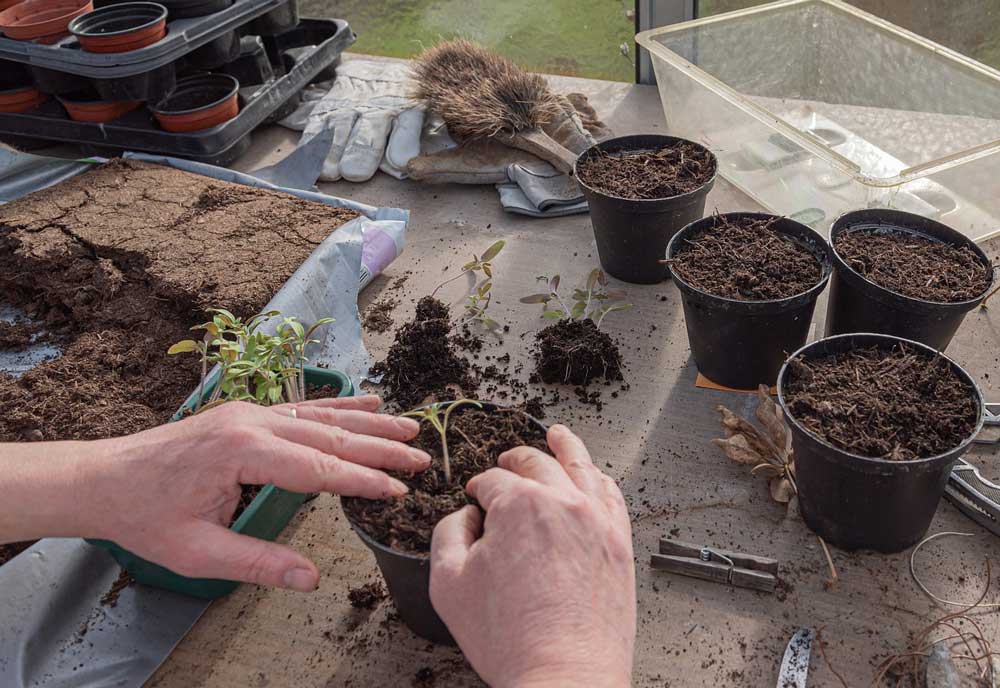
Keep as much compost around the roots as possible during transplanting and use a dibber (or a plant label or stick) to make a hole for the plant in the new pot of compost.
Once the weather is warm and the plants have grown sufficiently that they are strong enough to be moved outside, hardening off will need to take place - the gradual acclimatising of the plant to the outside by moving it into increasingly cooler situations (for example from windowsill to greenhouse to sheltered part of the garden) or by simply putting the seedlings outside in semi-shade on nice warm days.
Commercially, seedlings are moved from a warm, humid propagation tunnel into a cooler polytunnel or glasshouse to harden off before pricking out and potting on.

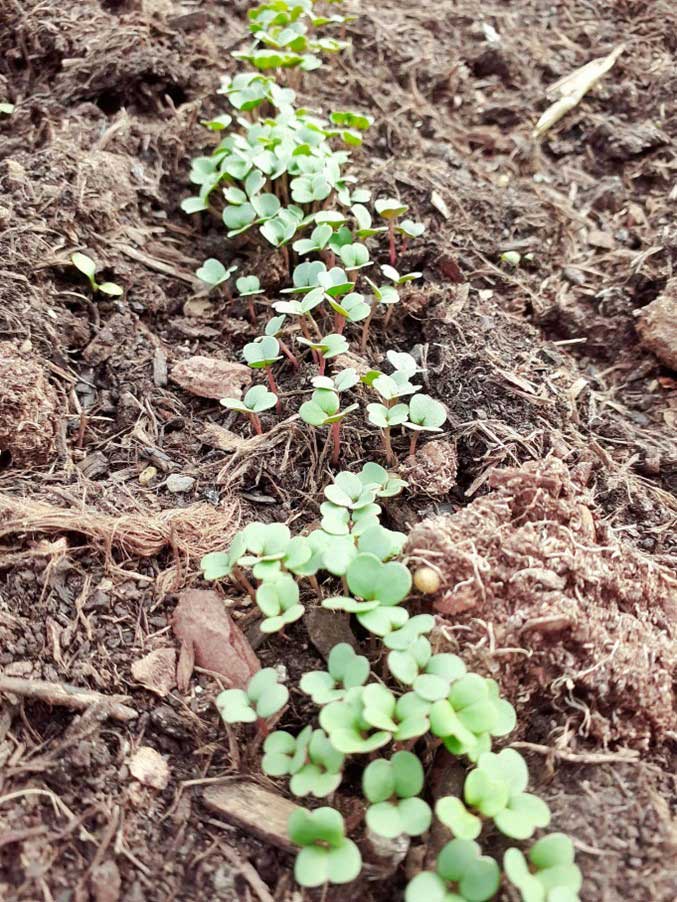
9. Sowing seed outdoors in drills
Many plants can be successfully grown from seed outdoors if a good seedbed is prepared which is free of weeds and has a granular (crumb) soil texture or compost incorporated into the top layer. Seeds can be planted outdoors from spring until autumn in the UK.
Sowing outdoors means sowing the seed in the plant's final growing place. Natural timings for germination and growth will take place, unlike indoor sowing where the seed can be tricked into early germination. Seeds can be sown outdoors when the soil is warm and moist, this usually means late spring to early summer for the start of the growing season until autumn for the end of the season in the UK.
Amber Crowley / public domain
Plants naturally scatter their seeds, and they grow where they land, however when growing seeds outdoors people often wish for a bit more control as to where each plant is.
Drills allow for easy weeding between rows as sown seedlings and weed seedlings can be differentiated. They also allow space for hoeing between the rows until the plants get tall and wide enough to cover the soil and prevent weeds growing. The soil between drills can be mulched to reduce weed growth.
Process
- To prepare the ground for seed sowing, dig over and/or remove weeds.
- When the ground is warm enough to start sowing, rake the soil to create a good tilth (crumb-like in texture) and create a shallow drill or depression in a straight line across the seed bed. The depth and distance between drills or rows is dictated by the final plant size and to avoid overcrowding, seed packet instructions will give this information.
- Irrigate before sowing, place the seeds into the length of the drill and cover gently with soil.
- Label each row.
- Apart from watering during very dry spells, nature will do the rest.
Andrew Curtis via Wikimedia / CC BY-SA 2.0
There can be problems associated with outdoor sowing, such as heavy rains causing rot or ‘dampening off’ of seedlings, and pests such as slugs, snails, mice and pigeons eating the seeds or seedlings. Extreme weather may cause damage to the seed bed or seedlings which are very susceptible to drying out, waterlogging, frost or sun scorch when young.
Visit a garden centre or shop which sells seeds next time you are in town. Read the back of the seed packets to see the different sowing instructions. Some seeds can only be sown inside as they need higher temperatures to germinate, but others can only be sown outside as they dislike being transplanted (for example, carrots). Still others can be sown inside or outside.
Note that seeds like to be sown at different depths. As a general rule, very small seeds like to be on the surface of the soil, not covered at all, whereas larger seeds like to be buried to their own depth under the soil (for example, a 1cm seed likes a covering of 1cm of soil). There are some exceptions to this as some seeds need light and others need the dark to germinate.
Also note that some seeds need soaking or cold treatments to mimic the natural weather conditions and break their dormancy before they will germinate.
10. Commercial seed growing
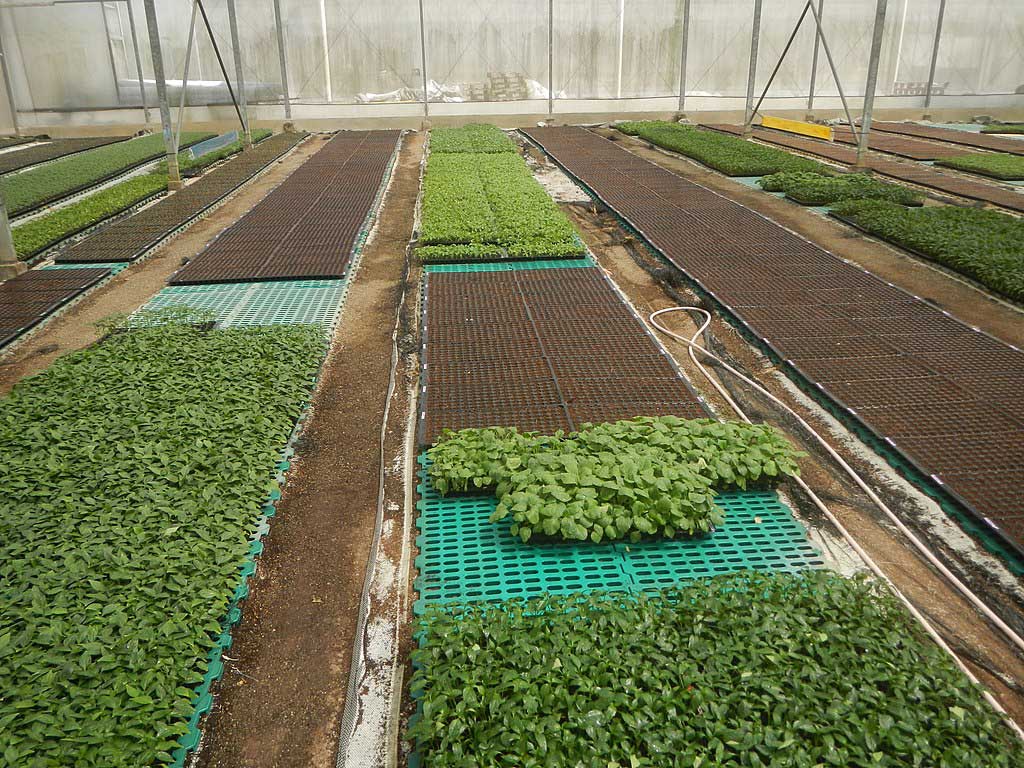
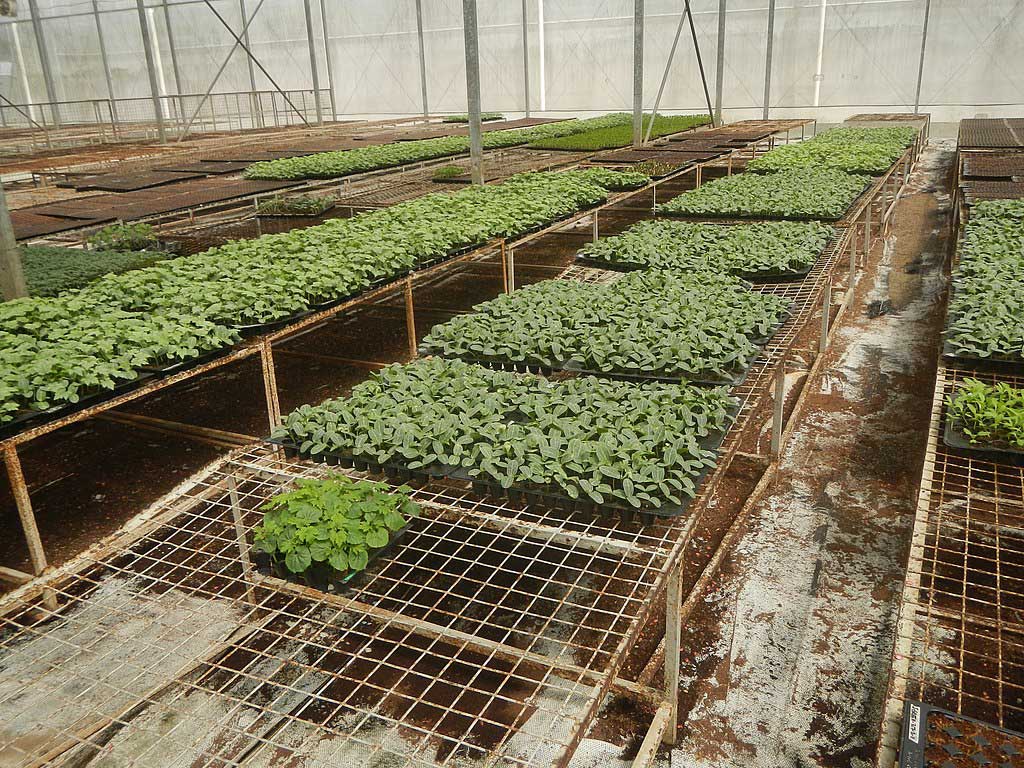
Seed can be propagated commercially for many different reasons, for example:
- to propagate plants for selling to the public such as annuals, bedding plants, herbs, vegetable seedlings etc
- for scientific research and experimental development of new plant varieties
- to reproduce plants for specific purposes such as habitat restoration
- to propagate plants for food production that are grown inside, such as tomatoes, melons, peppers, cucumbers etc.
11. Nutrition
Seedlings need to be fed as they grow and there are many options for this.
Choose a plant that you would love to grow from seed.
Write out a plan of how you would grow this plant from seed including:
- Where you would source the seed and how much it would cost.
- What type of container or what outdoor position you would grow it in.
- What compost would you use or how would you prepare the soil.
- How you would sow, what density and to what depth.
- How you would provide aftercare.
| Composted green waste |
|
|---|---|
| Manure |
|
| Organic processed fertiliser |
|
| Controlled release fertiliser |
|
| Liquid fertiliser |
|