Check, Test and Publish!
| Site: | OpenLearn Create |
| Course: | Create your own RCH Course on OpenLearn Create |
| Book: | Check, Test and Publish! |
| Printed by: | Guest user |
| Date: | Friday, 20 November 2026, 11:50 AM |
1. Final Adjustments, Testing and Publishing your RCH course

Whether you are direct authoring or working with the RCH team to get your course content onto OpenLearn Create, you will have been regularly meeting – and sharing your course drafts and work for feedback - with your RCH point of contact. Once your course content is available on OpenLearn Create, you should review the course to ensure that everything is displaying and working as intended.
If you are direct authoring, once you’ve set-up your course, you will need to make some final adjustments to ensure that learners will receive their digital badge/statement of participation on successful completion of the course and quiz. In addition, you should also double check the course functionality and that everything works as you expect. You should do this before requesting course publication.
The OpenLearn Create team have specific publication criteria that need to be achieved before publication. As we saw in Unit 1 these relate to the structure of the course, it’s functionality, accessibility and copyright. Unit 1 has covered these requirements, and they are also reflected in the RCH checklist that you have been provided with.
By the end of this unit, you should be able to:
- Set-up activity and course completion tracking, as required.
- Test – or facilitate testing of - your course content and its functionality.
You're now in the final stages of course production and we're looking forward to sharing your course with the RCH community. Exciting times!
Estimated study time for this unit: 0.5 hours.
2. Activity and Course Completion Tracking
If your course has a statement of participation, custom Moodle certificate or a badge, you will need to set up completion tracking in the Settings. This should only be done after everything else in the course is ready, including the quizzes. Some of this configuration (badges) can only be set up by someone with Course Manager permissions for a course. As a course owner you will need to work with the RCH team to complete this final part of the set-up. However, you can set-up completion and activity tracking in preparation for handover:
Setting Up Completion Tracking
Go to the Administration block on the left-hand side of the screen and click on Settings.
At the bottom of the Edit course settings page, click on Completion tracking to open the drop-down menu and change Enable completion tracking from ‘No’ to ‘Yes’.
Then click on Save and display.
Setting Up Activity Tracking
Once you’ve turned on completion tracking, you will need to set the completion criteria for any activities that you want to count towards course completion.
Select the activity you would like to add completion tracking to and click on the icon of three vertical dots next to them to reveal a drop-down menu with the choices Edit settings, Move, Availability, Duplicate, Assign roles and Delete.
Click on Edit settings.
At the bottom of the Edit settings page, click on Completion conditions.
By default, the completion conditions for all activities are set as None. This means that the activity will not be tracked and no checkbox will appear beside it.
Select either Students must manually mark the activity as done or Add requirements. If you select Add requirements, further options will appear, which will allow the activity to be marked as complete automatically, including View the activity and an option to enable an expected date of completion. For RCH courses you should set-up so that activities are marked as completed automatically.
Then click on Save and display.
There should now be a checkbox on the homepage alongside the activity you added completion tracking to. The system will add a tick to this box when the activity has been completed.
Note that if you’ve added a SCORM file to your course and want it to count towards course completion, you will need to configure the SCORM completion settings before outputting the SCORM from where it was created. Once it has been added to the course you will need to go to the SCORM package’s settings and switch on Auto-commit under the Compatibility settingsheading, you need to switch 'auto-commit' on so the SCORM can tell OpenLearn Create (Moodle) that the learner has successfully completed the SCORM activity. Information on adding a SCORM package to your course can be found elsewhere in this course.
Quiz Activity Settings
For RCH courses your end of course quiz should only be marked as complete once the learner has received a passing grade (80%).
Click on the icon of three vertical dots next to the quiz and click on Edit settings.
At the bottom of the Edit settings page, click on Completion conditions and select Add requirements to reveal extra options.
Select Receive a grade and then Passing grade to ensure that the activity will only be complete once your learners have passed the quiz.
Make sure that you have set the passing grade in the Grade drop-down menu. (By default this is set at 0.)
(Alternatively, if your learners don’t need to pass the quiz to complete your course but you still want the quiz to count towards course completion, select the View the activity option.)
Then click on Save and display.
There should now be a checkbox on the homepage alongside the quiz you added completion tracking to. The system will add a tick to this box when the activity has been completed.
Course Activity Completion
Once you have added completion tracking to each activity you want to count towards course completion, you will need to include them in the course completion settings.
Go to the Administration block on the left-hand side of the screen and click on Edit completion settings.
Open the Condition: Activity completion options by clicking on the tab. This will display a list of all the activities you have added completion tracking to.
Tick the tickboxes of all the activities you want to count towards course completion.
Under Condition requires, select ALL selected activities to be completed.
Then click on Save changes.
Setting Up a Badge
We use branded RCH digital badges for our courses. Your RCH point of contact will:
- Arrange for the appropriate digital badge to be added to your course.
- Add the appropriate description of what learners need to do to achieve the badge to your course description.
- Add the badge description and ensure that the text for the accompanying email is set-up correctly.
Before you continue with your badge and statement of participation set-up, it’s essential that you have conducted all checks to your course. Let’s now look at how to enrol other users so they can review your course.
3. Testing the Course Materials and the Quiz
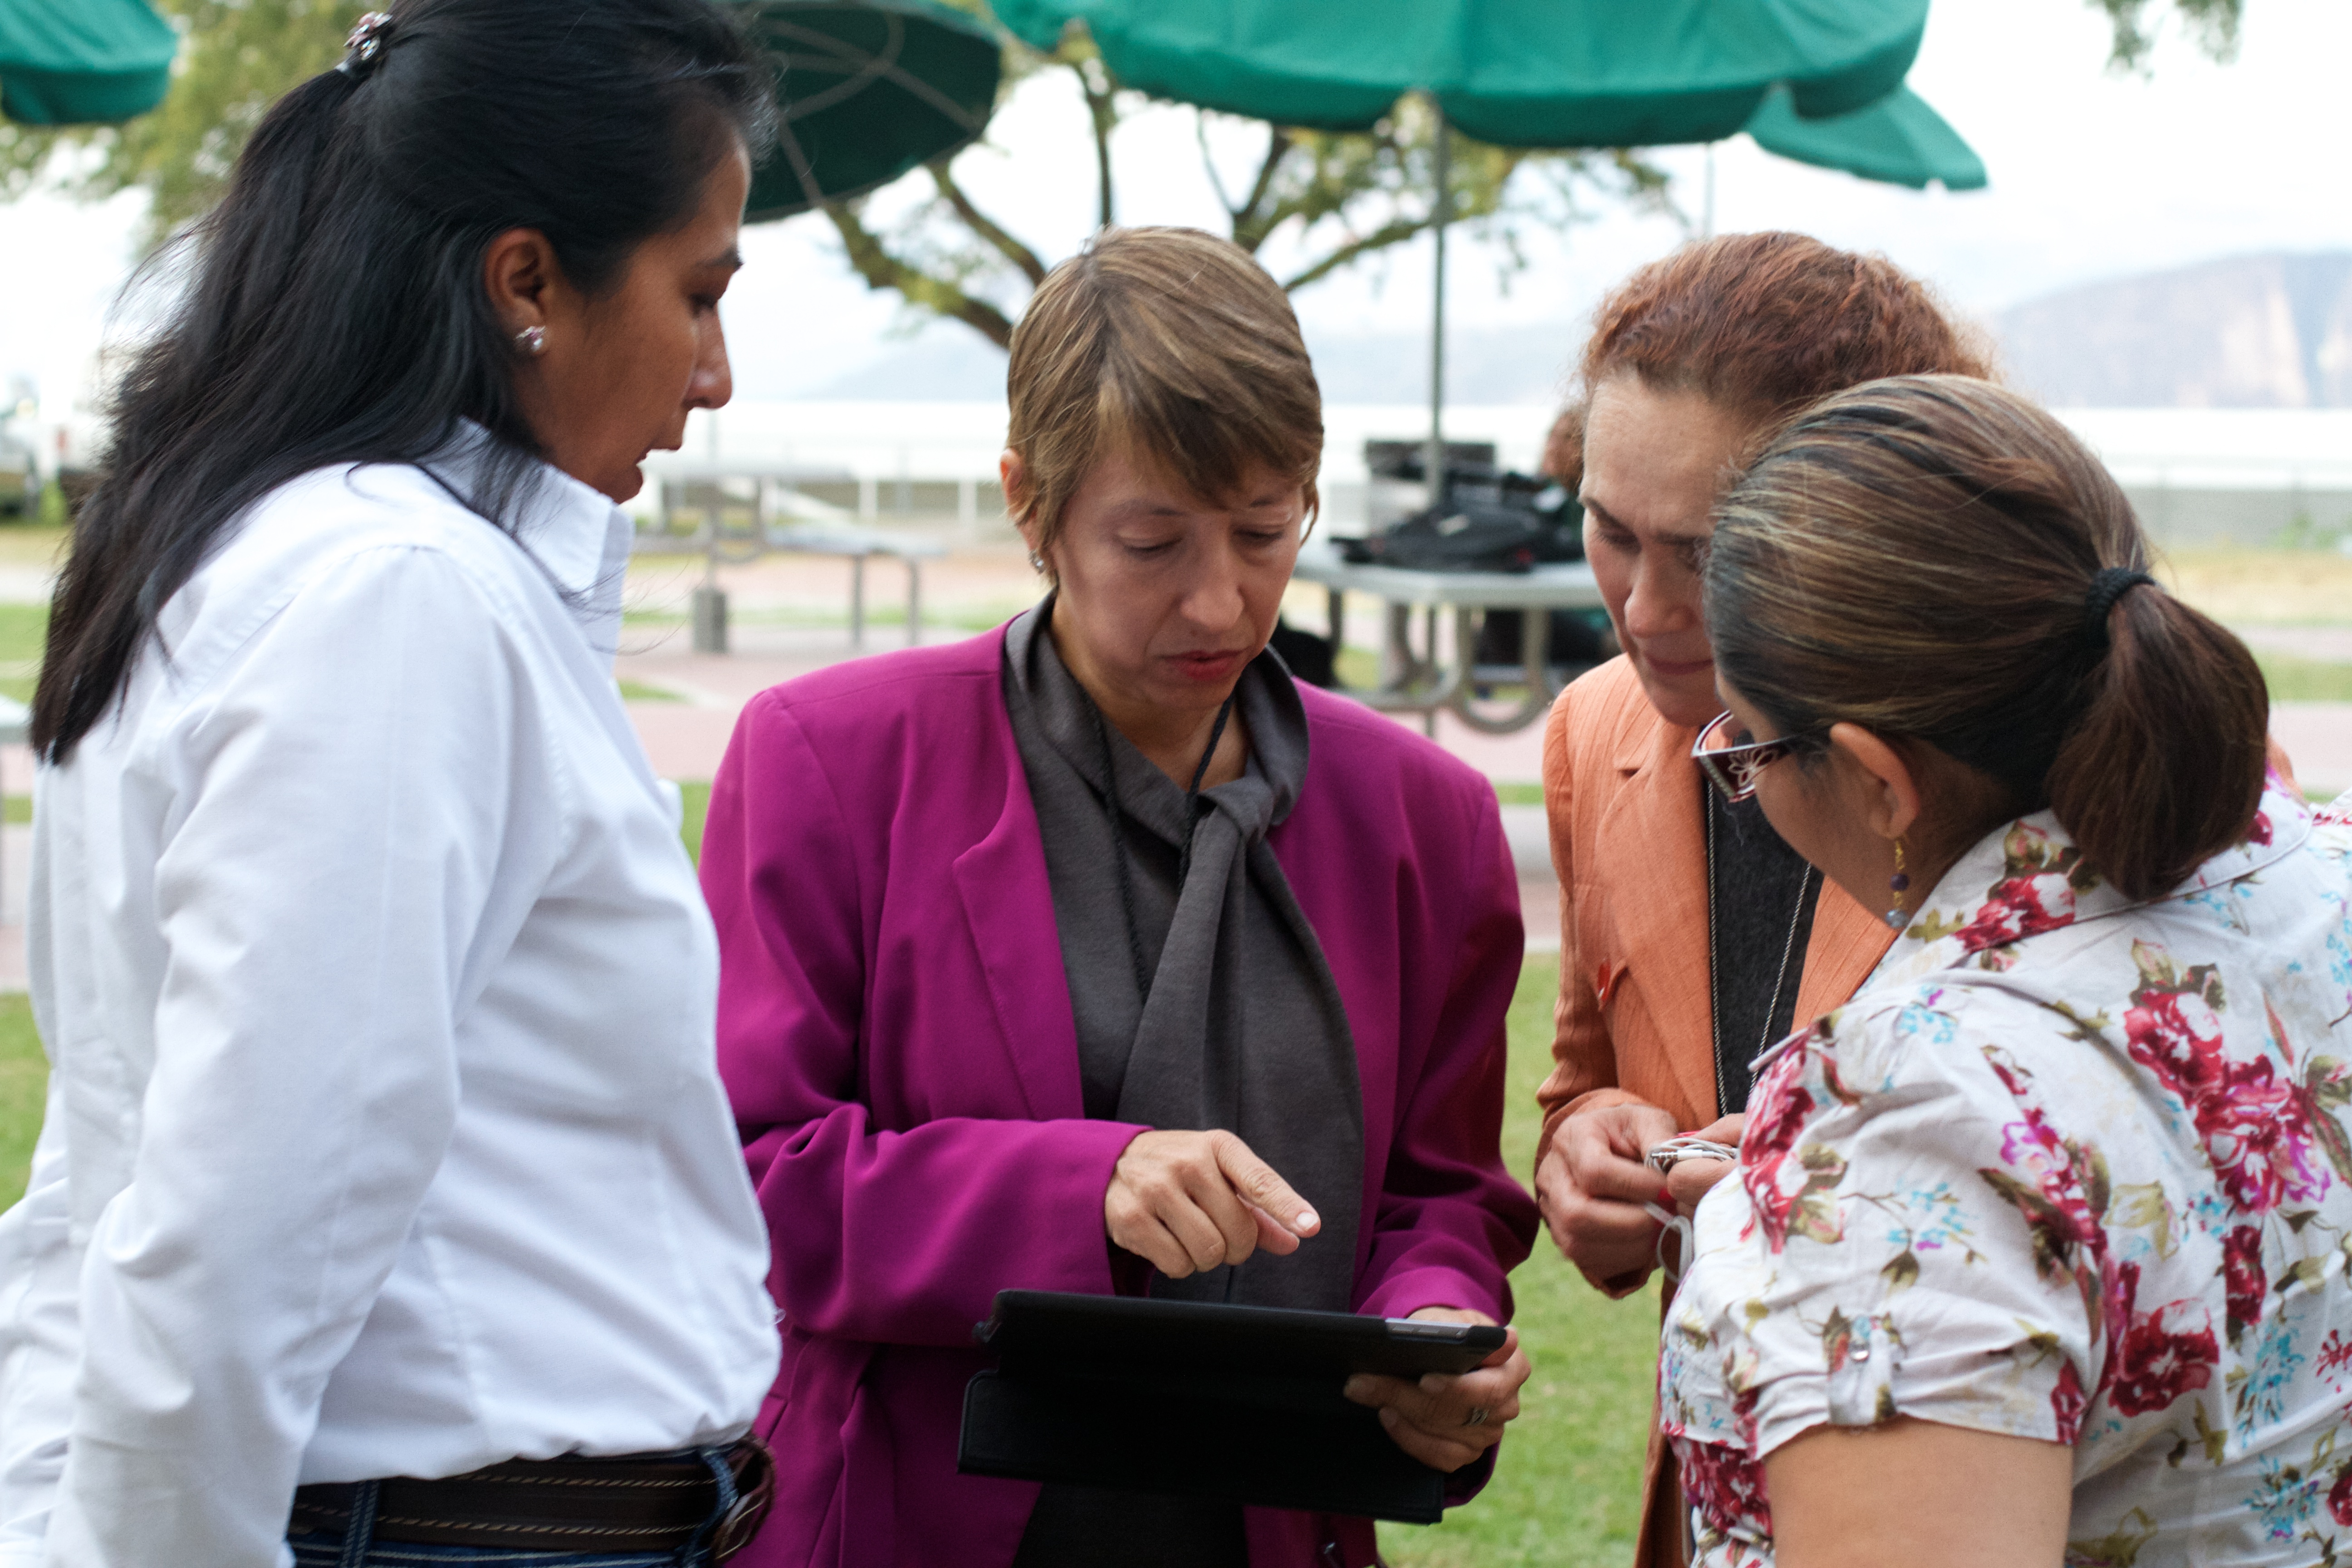
Unit 3’s Adding Activities: Setting up your Quiz and Unit 2’s Working as a team to produce your course describes how to add Collaborators to your course and what to look for when testing your quiz.
Your course content will have been expert reviewed and fact-checked as part of the RCH quality review process prior to you adding your content to OpenLearn Create. However, once the content is in-situ, it also needs to be reviewed to test that the course as a whole works as anticipated. Whether you and/or colleagues are testing the course, you should check the course as though you were a learner who wanted to complete the course. Ideally you should invite someone to else to work through the course with fresh eyes: they may not be as familiar with the content, navigation and structure as you, and they might be able to spot issues that you have missed.
When you brief someone else to review your course, it’s important to be specific about the level of changes you would like them to suggest or the comments that you would like them to offer.
Your RCH point of contact will also conduct an independent test of the course material. You should:
- Work through the course in the preferred order and note any navigational, editorial or accessibility issues. For example, are there clear links between different sections? Are there any grammatical or spelling errors? Do the figures have alt text and/or long descriptions to make them accessible to screen readers?
- Attempt the quiz, working through all the questions. If you need the quiz answers available, you can view them in with your main account by clicking on the icon of three vertical dots next to the quiz to reveal a drop-down menu, clicking on Edit settings and then Results and Review questions.
Use your main account to check whether the activities have been marked as completed by going to the Administration block and clicking on Reports and then Activity completion. This will show a list of all users and checkboxes for each activity that counts towards course completion. The checkboxes will be ticked if a user (i.e. a colleague testing the course) has completed the activity.
4. Publishing your Course
Once you are completely satisfied that everything in your course is set up correctly, we will arrange for your course badge to be enabled and your statement of participation to be set-up. The RCH team will then take your course forward for publication.
In addition to the quality checks that are part of the RCH course creation process, your course will also undergo an authorisation process to ensure that various technical features of the course are correct, and that your course complies with accessibility requirements.
To ensure that your course progresses smoothly through the authorisation process, make sure you can answer ‘Yes’ to the following questions. You will also need to complete your RCH checklist for submission to your RCH point of contact.
Course Settings
Go to the Administration block on the left-hand side of the screen and click on Settings to check the following:
- Is your Course full name the recommended 50 characters or fewer?
- Duration (hours): Will your learners be able to complete the course in the time you’ve set?
- Have your set your course’s Educational level?
- Have you set the Primary subject for your course?
- It’s not mandatory, but it may be useful to choose something in Other subjects, Primary skill and Other skills – have you done this?
- Is your Course summary sentence describing the course 30 words or fewer?
- Have you added a list of Learning outcomes?
- Have you added a Course image and Course banner with correct attribution information?
- Does the Force language setting have the correct language listed?
- Is Completion tracking set to ‘Yes’?
- Have you added any Tags?
Course Homepage
- Have you deleted the Getting started box at the top of the homepage?
- Have you added welcome text?
- Have you divided your course content into sections on the course homepage?
Course Content
- Will your learners be able to navigate through your course, in particular getting from one section to another?
- Are all the headings in your course appropriately structured and do they have unique titles?
- Where you refer to sections on the course, do you consistently use the same terminology, e.g. units and sections?
- Do all new pages begin with text, rather than an activity?
- If you’ve added links, do they work correctly and are they hidden behind the text rather than written out in full?
- If you’ve added figures, do they include alt text for someone who wouldn’t be able to see it?
- ... And do the figures have a figure number and a caption?
- If you’ve added tables, do they include an accessible heading?
- If you’ve added videos, are they an appropriate size and do they have a poster image?
- If you’ve added videos, do they include closed captions/subtitles and a transcript?
- If you’ve added audio, do they include a transcript?
- Have you added an acknowledgements page to the end of your course?
- If you’ve added a quiz, have you set the Grade to pass and Completion conditions, and have you added Overall feedback?
If you can answer ‘yes’ to these questions and you’ve completed your RCH checklist then your course is ready to handover! Please get in touch with your RCH point of contact for final adjustments, textual additions, adding your course digital badge and statement of participation, before final review.
5. Final Remarks

Congratulations! You’ve successfully published your RCH course. You should hear back from your RCH point of contact shortly regarding the timeline for your course's public release. As part of this discussion, you'll also discuss planned course promotion. If there are any further queries, colleagues will also be in touch.
In the meantime, take a moment to reflect on your RCH course author journey. What did you learn as you developed your RCH course? Was there anything surprising or new? Your experiences will undoubtedly help others who may be considering authoring content for RCH. Your RCH team will discuss opportunities for sharing your experiences of the RCH course author journey shortly. In the meantime, on behalf of the RCH team… thank you!