Part 1: Garden design techniques
| Site: | OpenLearn Create |
| Course: | Garden and planting design |
| Book: | Part 1: Garden design techniques |
| Printed by: | Guest user |
| Date: | Saturday, 11 July 2026, 5:43 PM |
1. Introduction
Introduction to section (YouTube, 2:46)
()
Garden designers use several techniques to aid them in their design process. They are more correctly called ‘techniques’ rather than ‘principles’ of design (although you do often hear this term being used) because they are skills which can be learned and improved with practice.
When you first start designing you will find that some of these skills come to you naturally and some of them are difficult to master, each designer finds some techniques easier than others and every designer has a different skill set.
For each of the techniques in the following pages you have been set an activity which should help you to develop your skill.
2. Movement
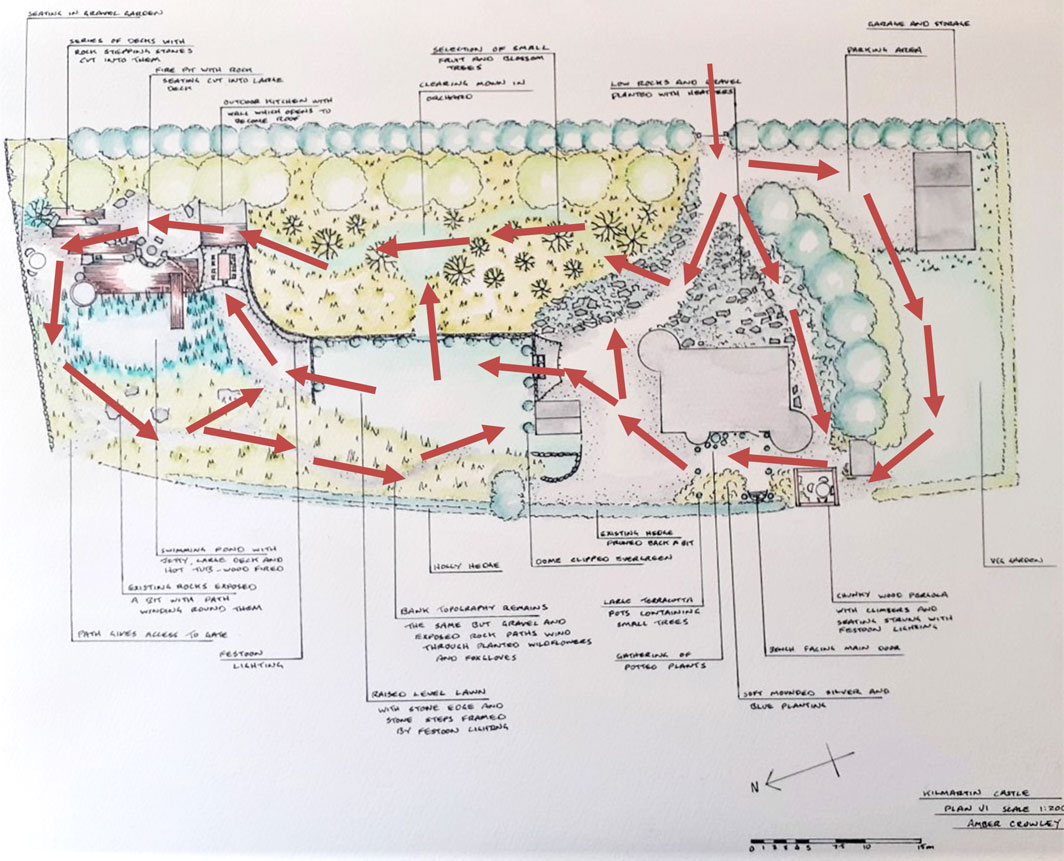
Amber Crowley / public domain
Movement is a term used to describe how people want to move around the space you design. A good design will have ‘flow’ which means that when you are in the garden you will feel a desire to move from one area to another.
So what features of a garden could make you want to move around a space? You will notice that many of the ideas on the following pages overlap and work together and that they all create movement.
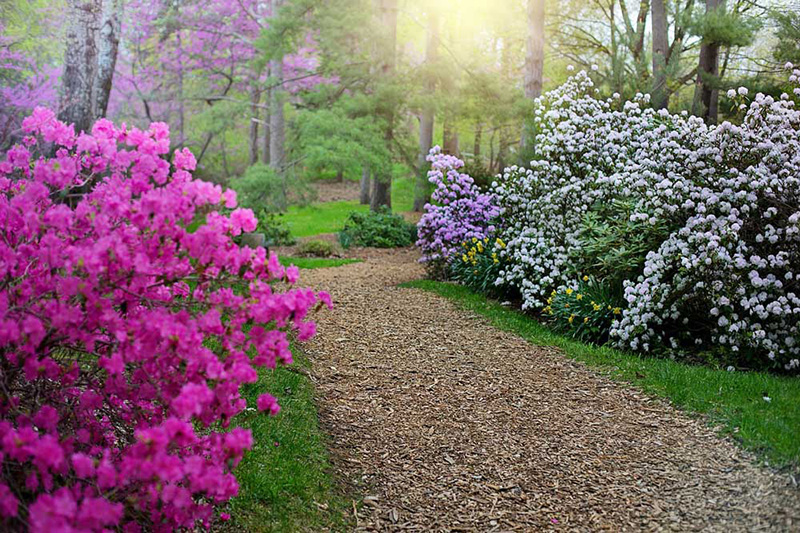
3. Narrowing and opening
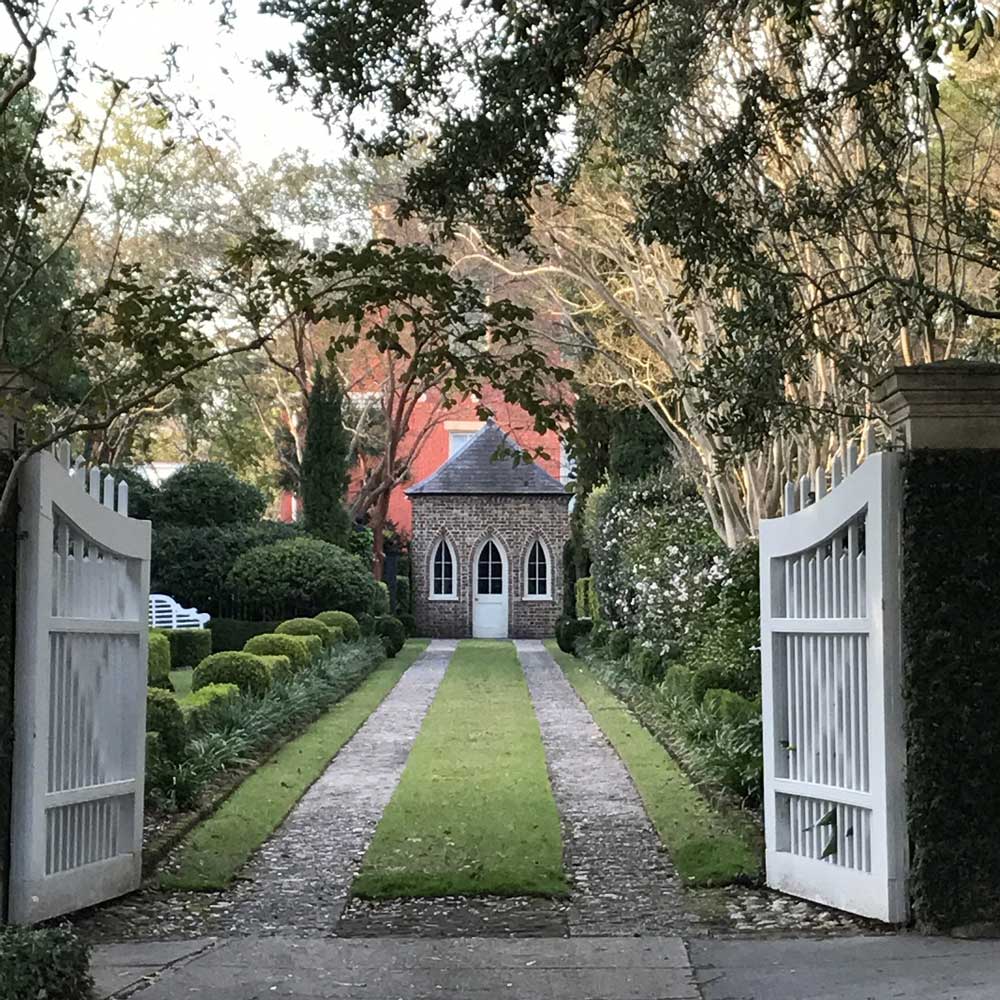
If an open space narrows down to a path width, then you will be drawn towards the narrow area:
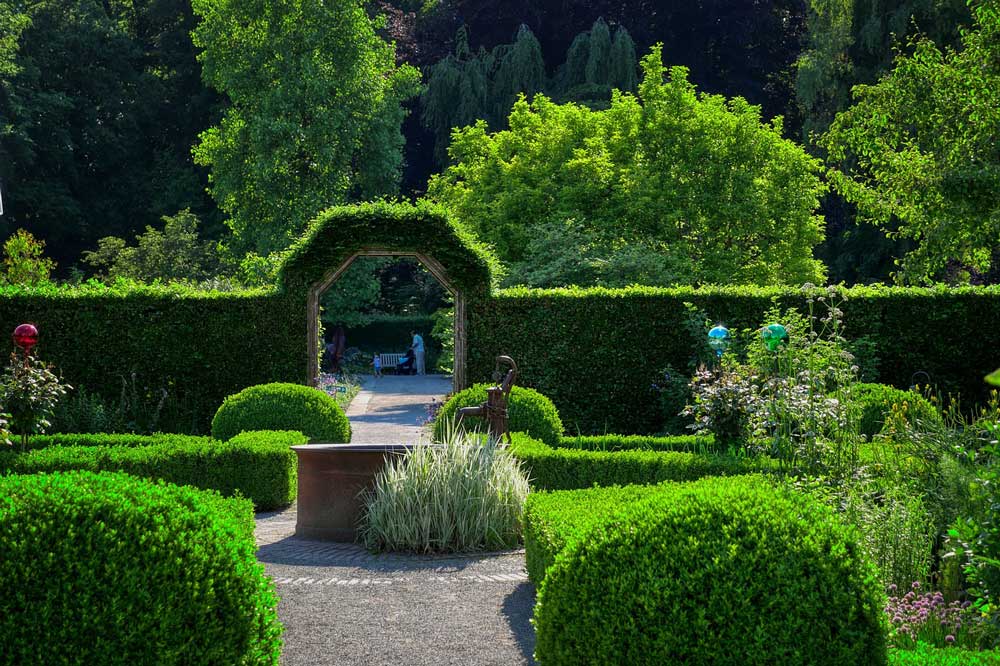
Sissinghurst Garden, for example, is famous for its garden rooms. The rooms are connected by narrow paths, arches and openings to move from one open area to another through a narrow gap and people love to explore through the different areas, intrigued to look through each opening to see what lies beyond.

Tom Hisgett via Wikimedia / CC BY 2.0
Do a Google Images or Pinterest search for ‘Sissinghurst Garden’. See how the layout of individual garden rooms draws you through narrow hedge openings from one area to the next, creating intrigue as you go.
4. Focal point
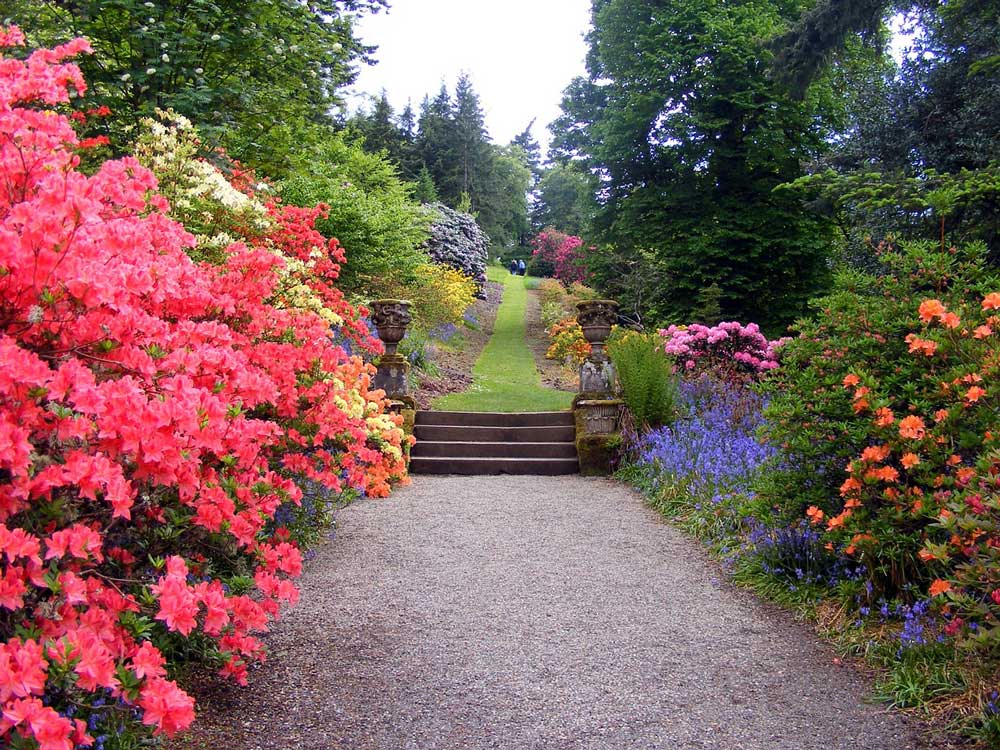
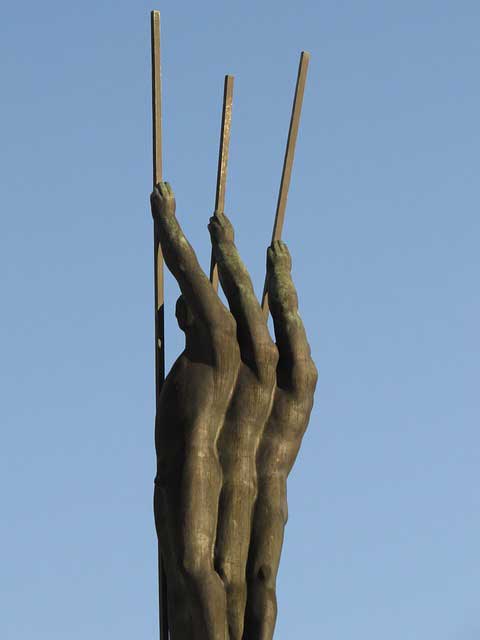
A distant focal point can attract people in that direction as they want to move closer for a better view.
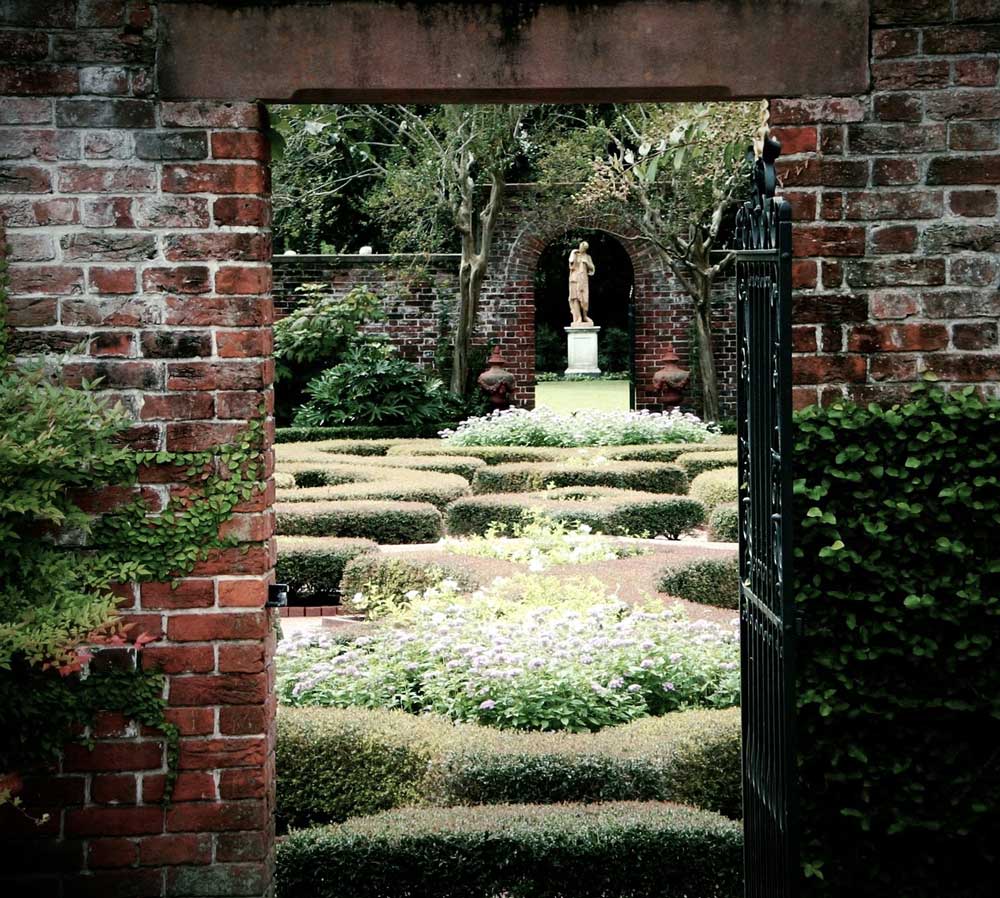
A focal point could be a statue, ornament or piece of art, or it could be a plant, tree, building or negative space such as an arch like in the example below.
Focal points can also distract from less desirable views such as unattractive buildings. A series of focal points in a view allows your eye to travel around a garden from one to the next, holding your interest. But too many focal points all crammed into a garden can create confusion for the eye as you don’t know which one to focus on, this can feel unsettling.
How do you feel about the focal points in the gardens below?

Stand in a garden, it could be your own garden, a public garden or a friend or family member’s garden. Turn slowly on the spot and notice what your eye lands on. You will notice that your eyes flick from focal point to focal point.
Some of the focal points will be appealing things such as a flower, a tree or a garden ornament.
Some of the focal points will be less appealing, an unattractive area of fence, a wheelie bin or a neighbour’s window overlooking the garden.
Now think about how you could improve the focal points for this space. Could you screen some of the less desirable views to stop them being an area of focus? Could you add any focal points to enhance views within the garden?
Repeat this process in the garden for each place you would spend time – each seating area and each view from a window or door.
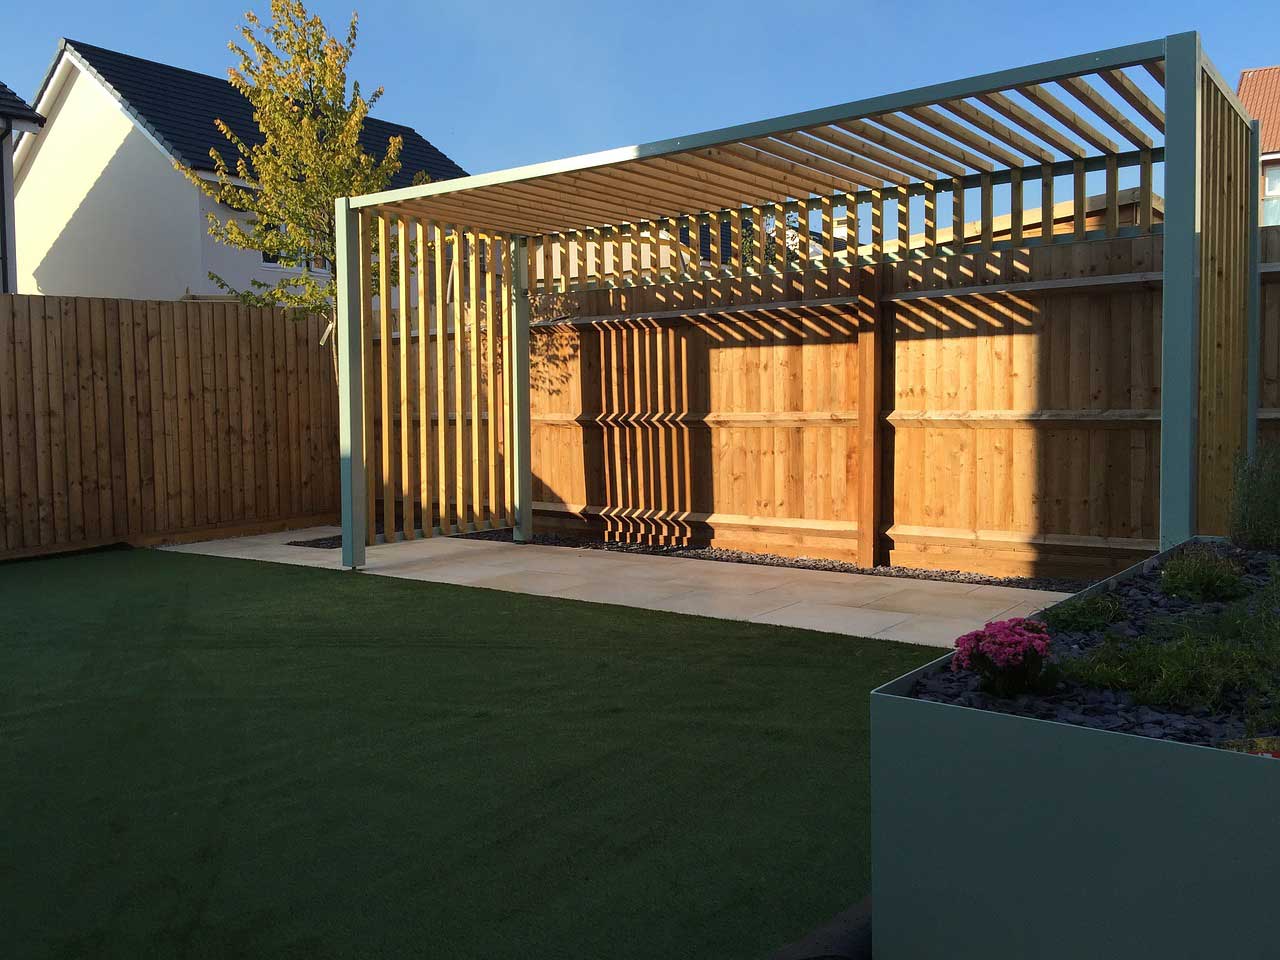
5. Enclosure
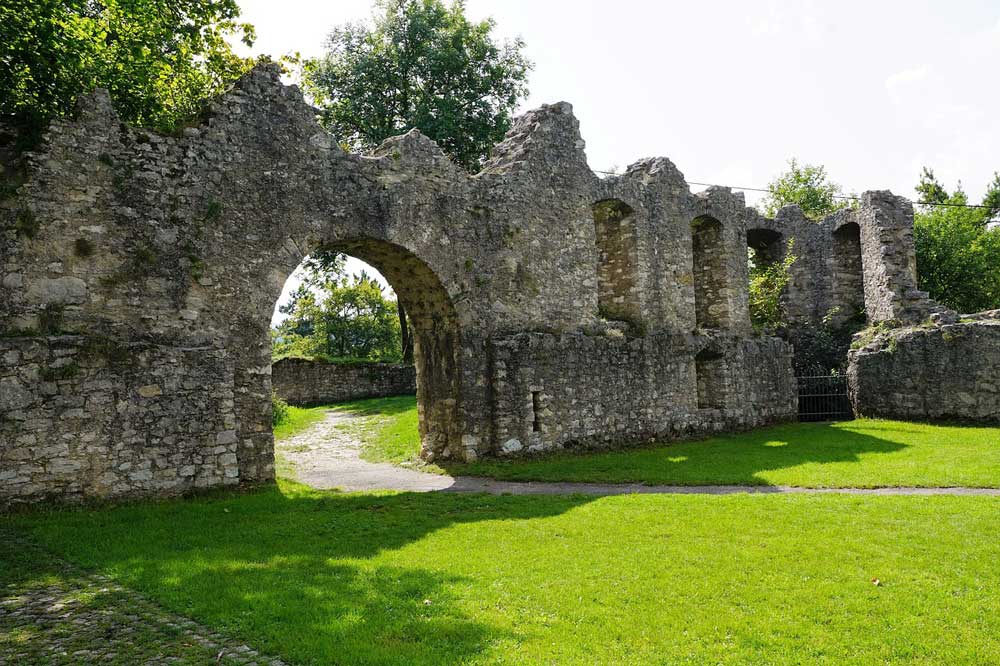
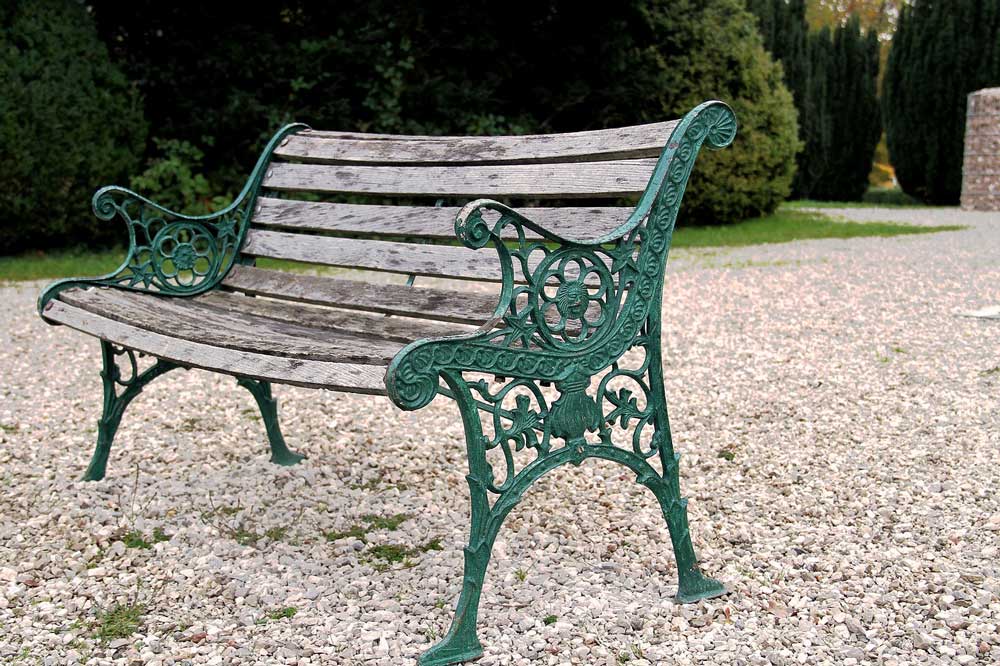
People are drawn to enclosed walkways, for example pergolas and archways. Our natural curiosity means we want to see what is on the other side and our instinct tells us that we are safe when we have some enclosure as protection, this goes back to the time when we were prey for carnivorous mammals.
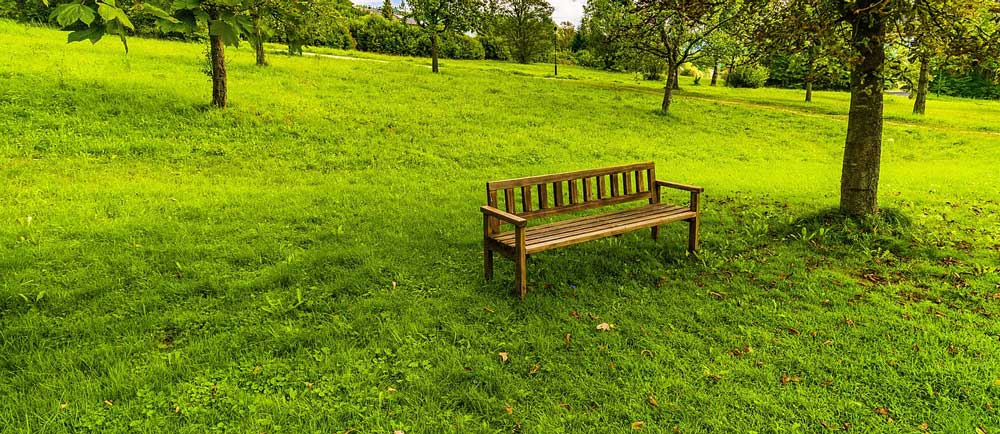
We also feel protected when we sit in a place with some enclosure. In restaurants, for example, people choose to sit at the tables that are round the walls first rather than at the tables in the middle of the room - we feel more secure when we have a wall behind us so that we can be safe from predator attack from behind but can look out at our surroundings in front of us.
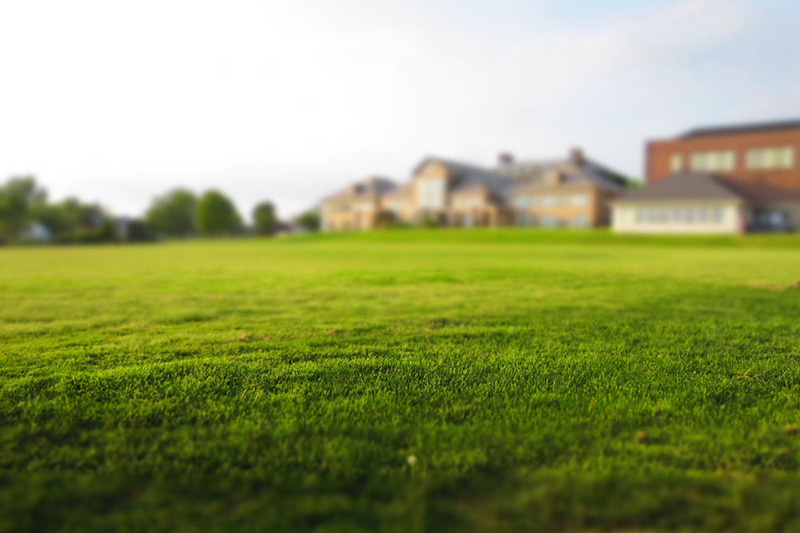
Most people would rather sit here with the enclosure behind them:
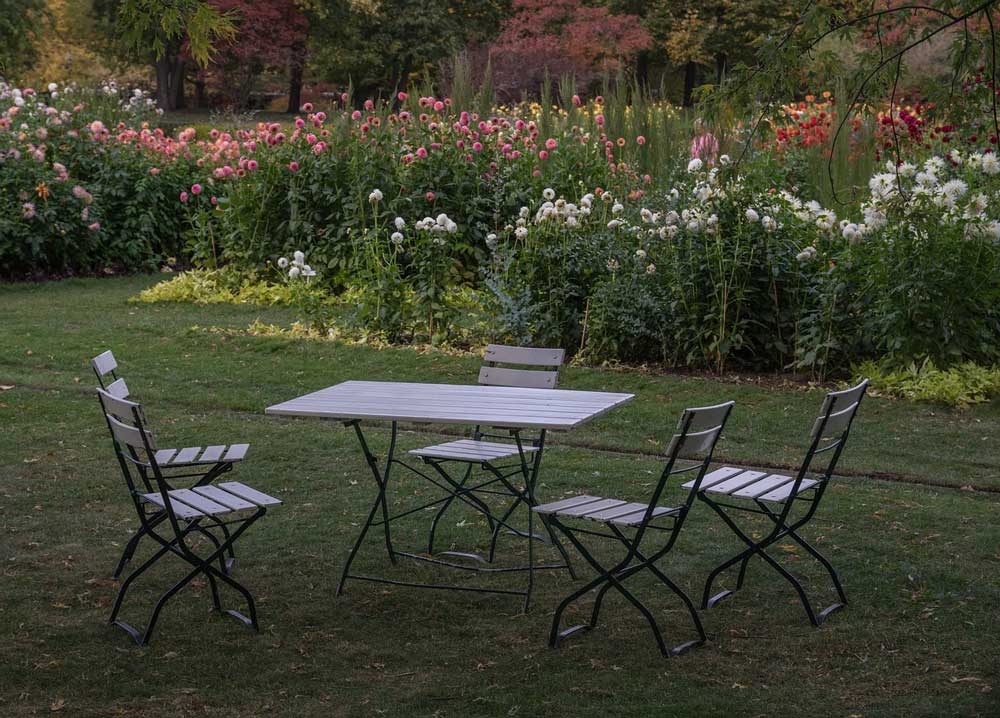
Than in this more exposed position:
But too much enclosure and we can feel claustrophobic or trapped in, if there is no clear route to be able to run away, and too many predator hiding places, once again we can feel vulnerable.
The answer is in the balance between open space and enclosure. Some enclosure behind a seating area, with a view in front across the garden, would feel like a very appealing area to spend time in.

6. Rhythm
Rhythm is created when a feature is repeated and the line that is created forms a pattern that is appealing to follow with your eye - this creates a sense of flow around a garden.

Close together and upright repeated elements create an exciting and dynamic rhythm, they create a strong focal point.
Widely spread and lower repeated elements create a calmer, more sedate rhythm.
Use rhythm in a garden to give a sense of direction to movement, alongside a path or connecting two areas of the garden together.
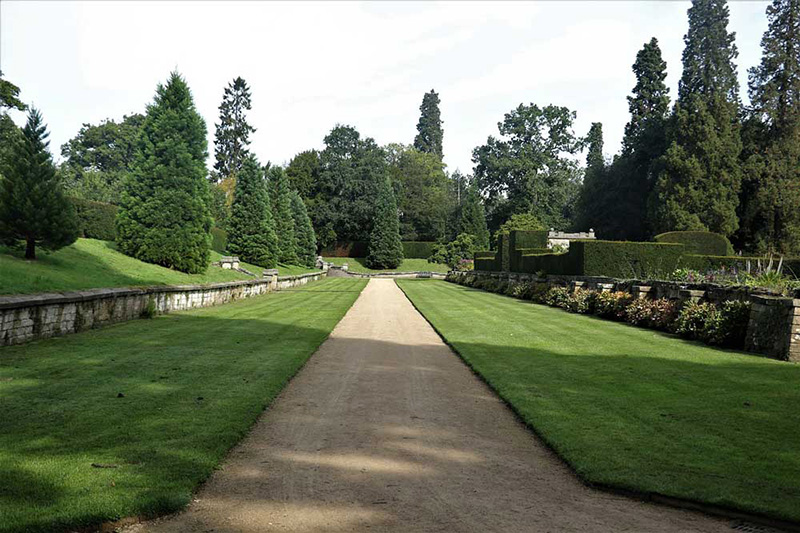
7. Paths
It is generally more appealing to walk along a path than across an open space and so paths create a desire to move which adds flow to a garden. Paths create a strong directional flow.
Most people would feel more desire to walk along this path than across this open space:
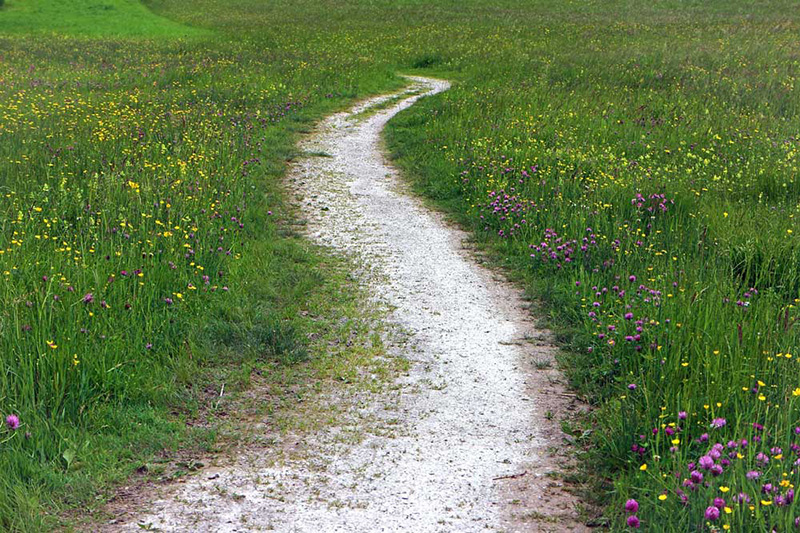
Paths often have more appeal if you cannot see where they lead to. Most people would find the path on the left more enticing than the path on the right:
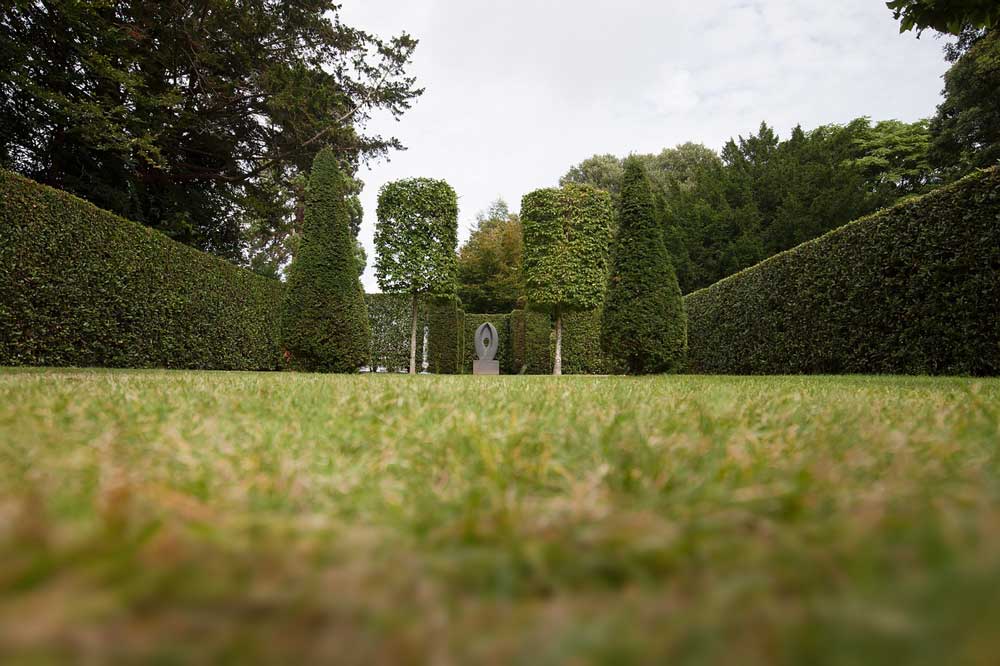
8. Framing or symmetry
If you have three or more objects in a row you create rhythm and your eye travels along the line, but if you have just two objects your eye settles on the space between them that they frame and you are drawn to the space in the middle. This effect is strongest if the two features are symmetrical.
Visit a public garden, park or other large garden.
Choose a random location, turn on the spot and see which direction feels desirable to walk in. Think about why you want to go that way. Is it a path leading you along? A rhythm of a line of trees? Is there a focal point to move towards or an arch to go through? Make a note of the elements that attract you in that direction. Also, why is it less desirable to move in the other directions? If you were designing this space, what would you do to make those directions more desirable?
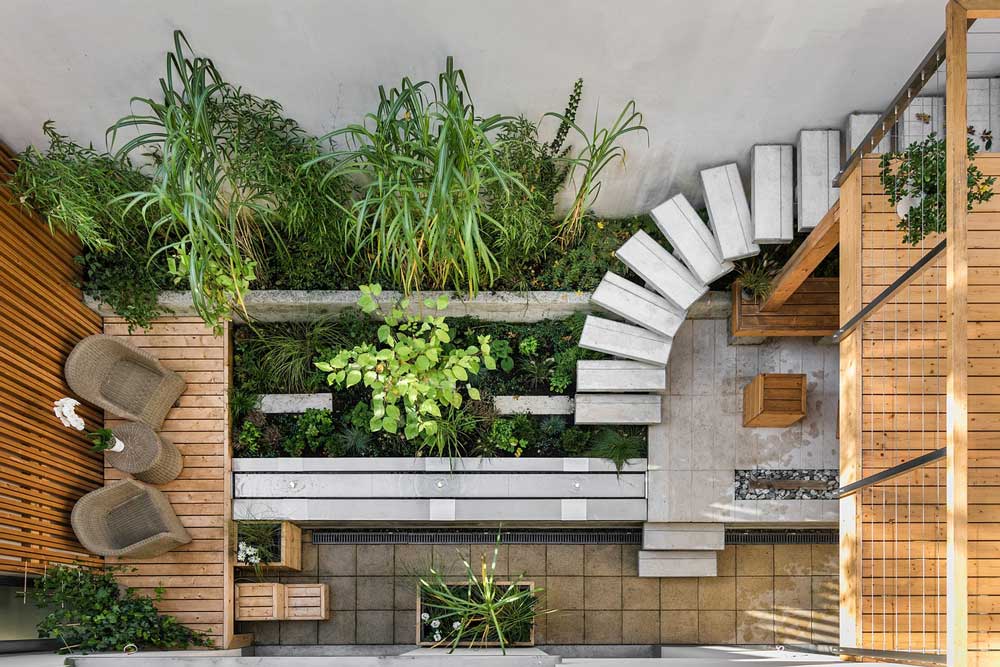
9. Spatial awareness
A major challenge for designers when drawing plans in 2D on paper is to be able to imagine that design in 3D and what it will feel like to walk through and sit in that space once it is built. Computer aided design (CAD) is a tool which many designers use as they can design in 3D and view the garden from multiple angles as they design it.
Look at this garden in plan view and then from the other two angles, it would be hard to imagine what all the different levels look like just from a 2D plan.

- Roughly sketch a very simple garden design in plan view, which contains a lawn, pond, tree, arch and a single flower bed. Use any shapes you like and don’t get hung up on the details, you can always try again if you don’t like it!
- Sketch the design again but this time from the viewpoint of sitting on a bench under the tree. What is your view like? Add to your sketch to improve the movement, think about the view from that bench, add focal point(s), rhythm, maybe a path or some enclosure.
- Sketch the design again but this time from the viewpoint of looking through the arch. If you were walking through that arch, what would you discover on the other side? How could you make that view more appealing?
What did you discover about your design when you drew it from the different angles?
10. Composition
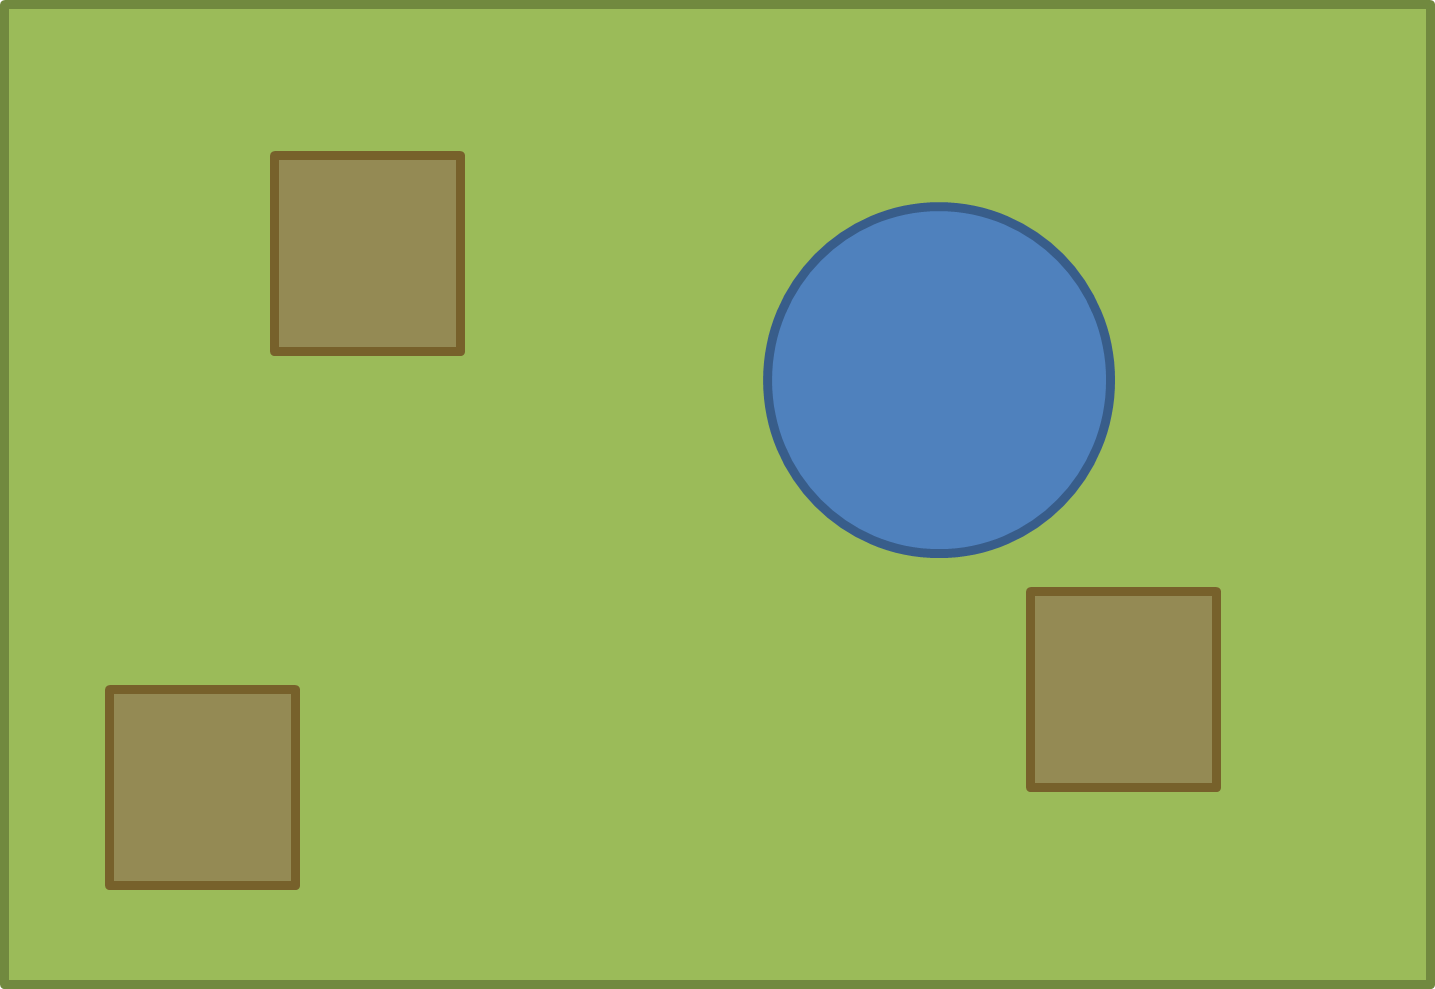
The technique of composition is to make the garden appear to be all one, single, unified design rather than a series of separate features which are unrelated to each other.
This would not be a good composition; the shapes and layout do not relate to each other:
These would be better examples of compositions using the same shapes:
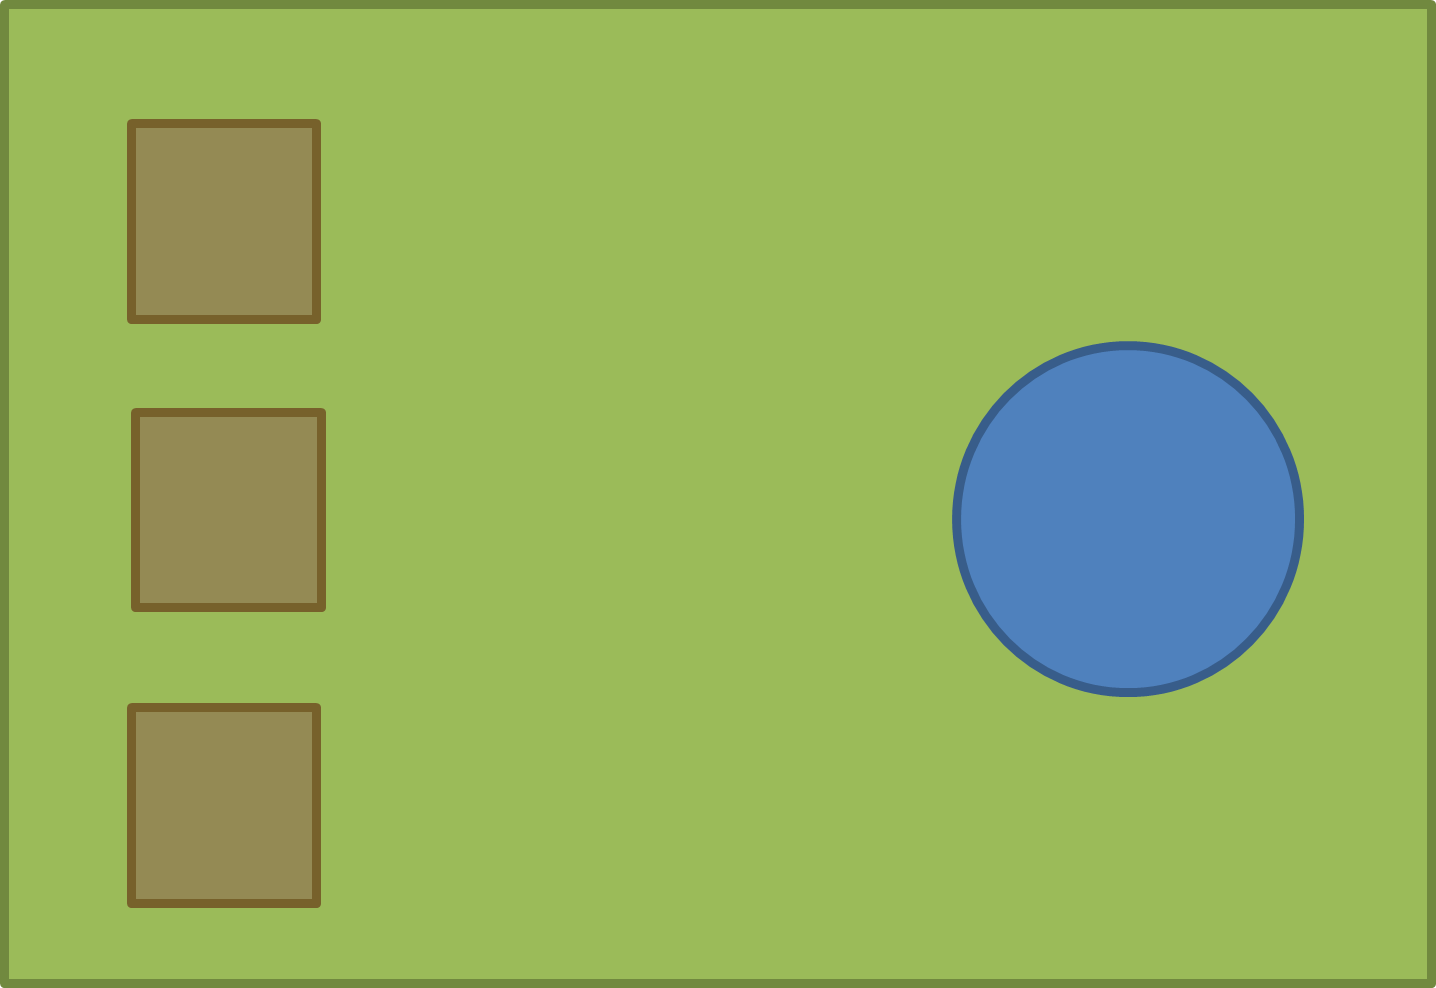
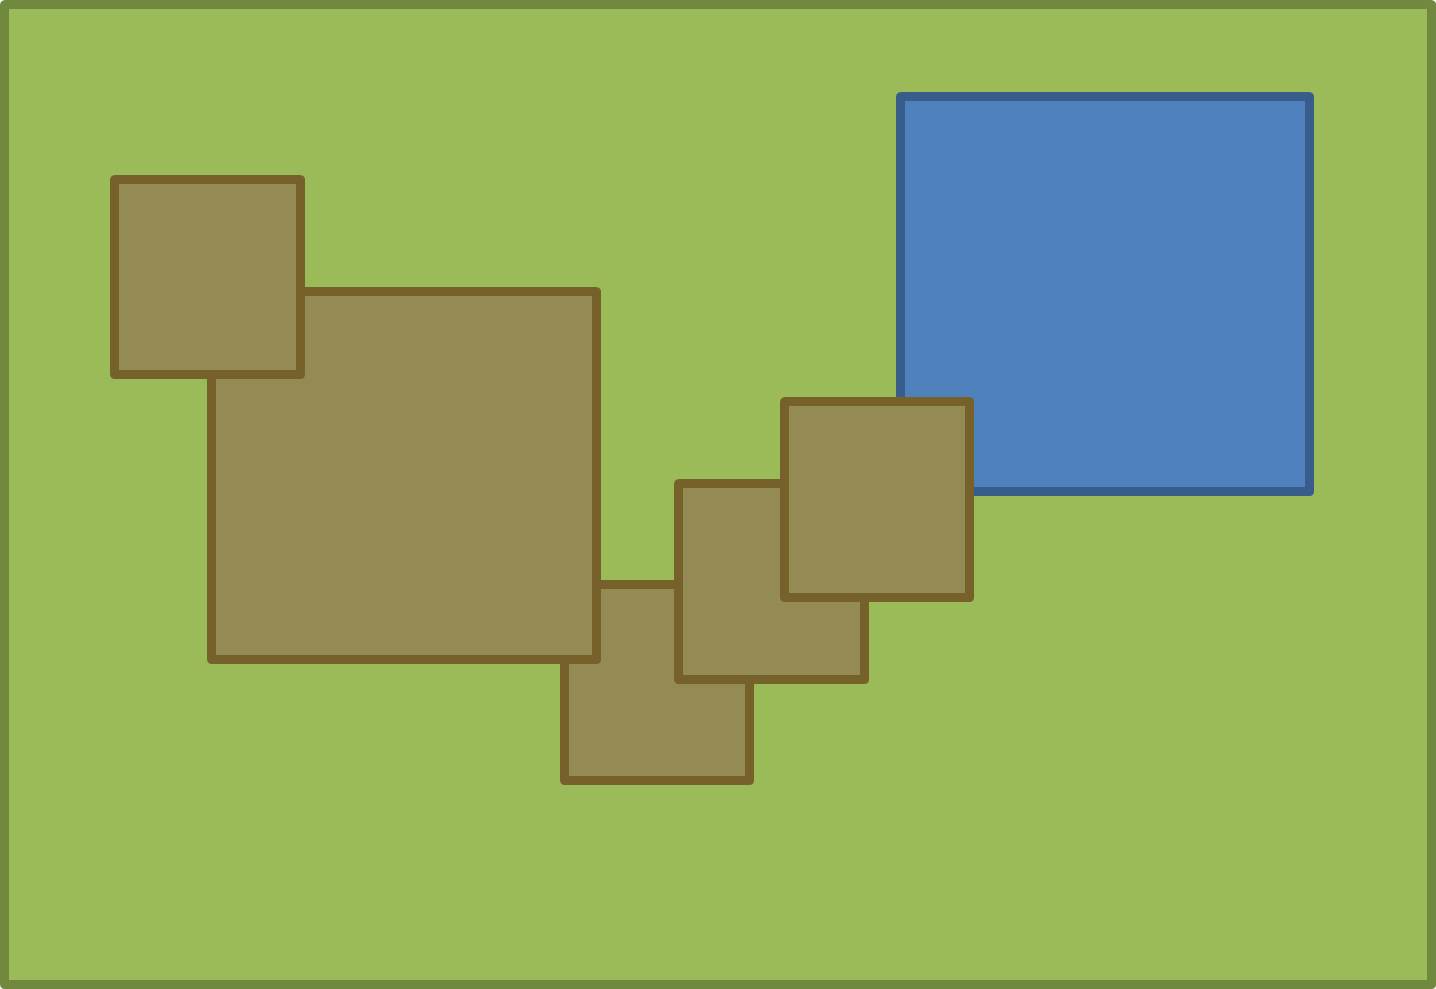
Repeating shapes and overlapping them is a simple way to unify a composition.
When shapes and features in a design overlap it is called interlock.
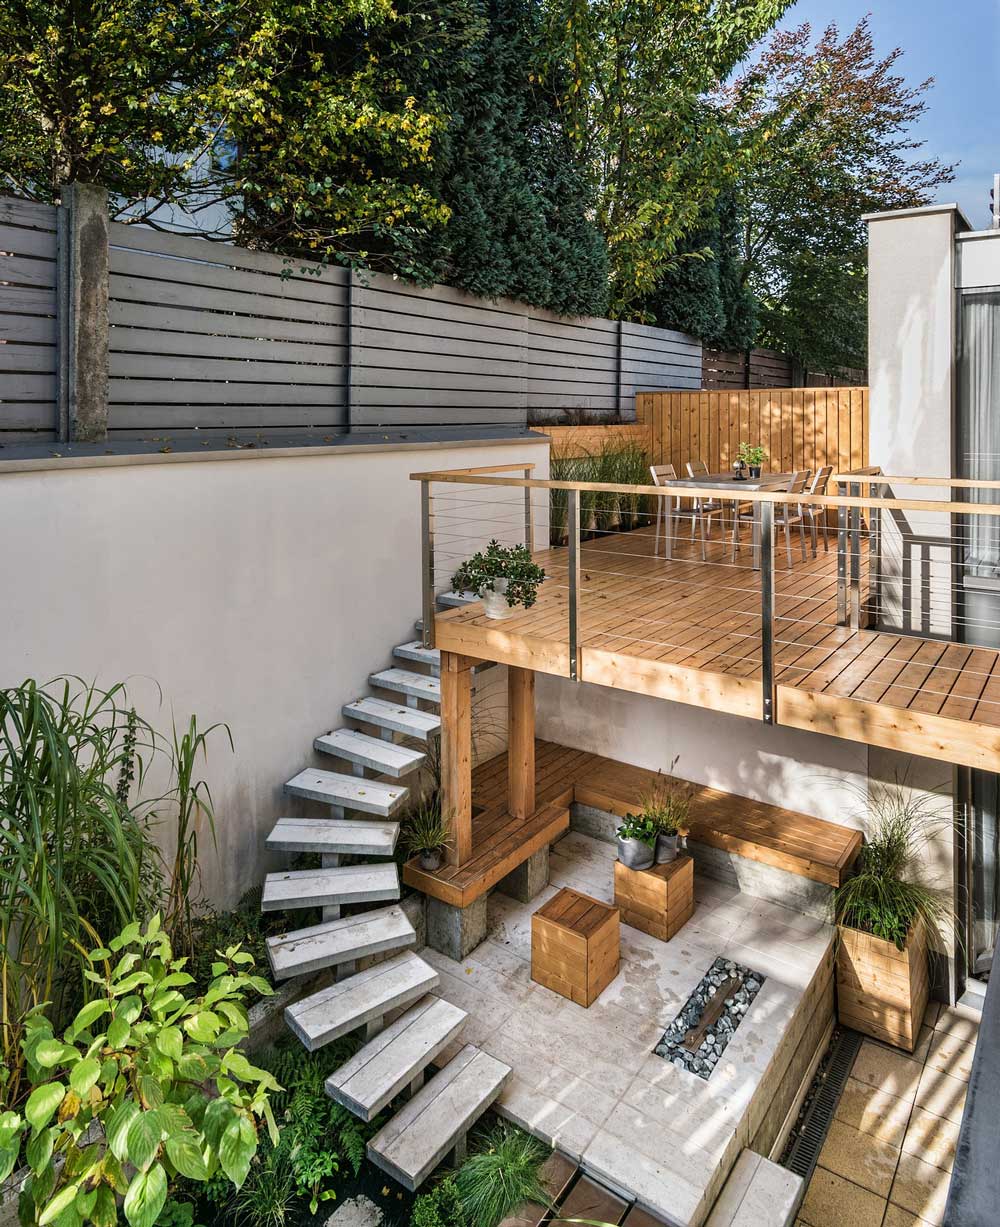
Another technique is to repeat materials, so instead of having a wooden deck, stone path, brick wall and rendered house you use the same material in several places in the garden which ties the design together like in this example:

The decking and use of wood is on both sides of the garden, tying the design together.
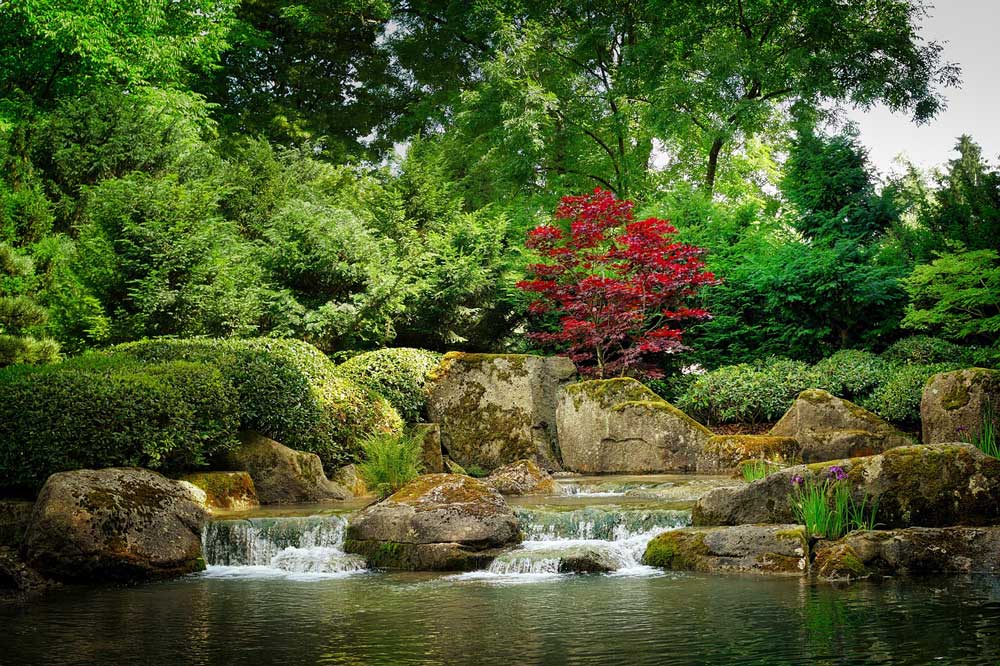
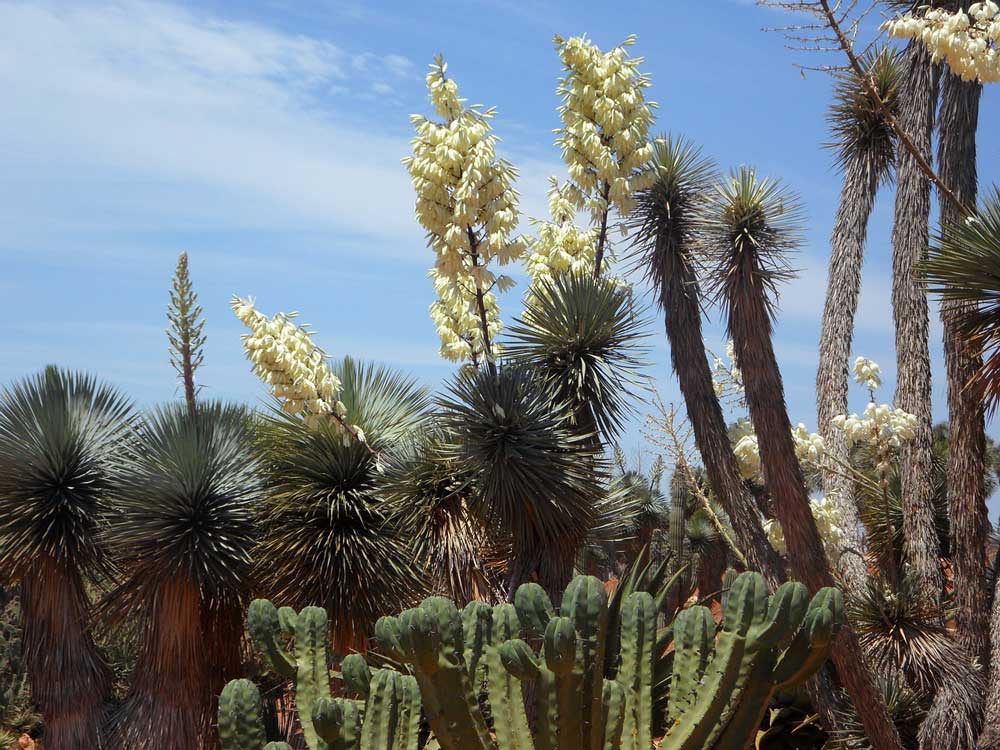
Maintaining a similar planting style throughout a design also improves the composition, this can be done by sticking to a texture, such as large leaved jungle planting or spikey architectural planting:

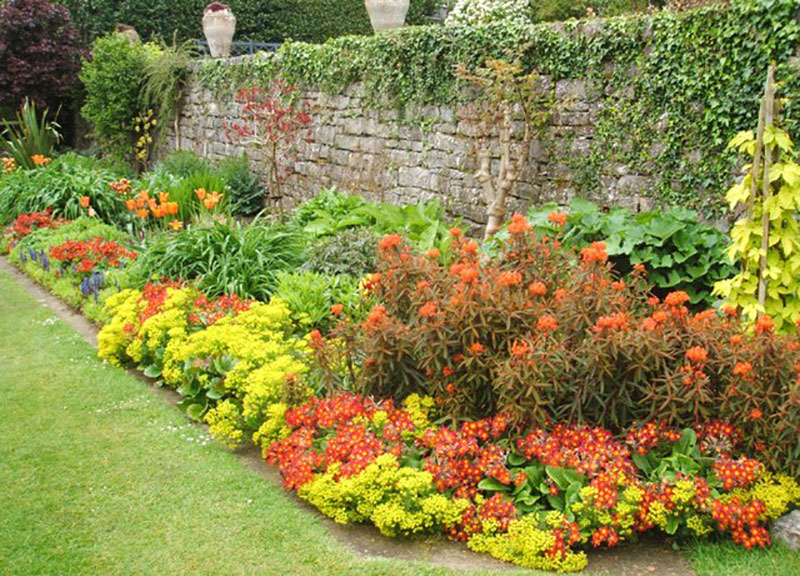
Or sticking to a colour palette such as cool, or hot colours:
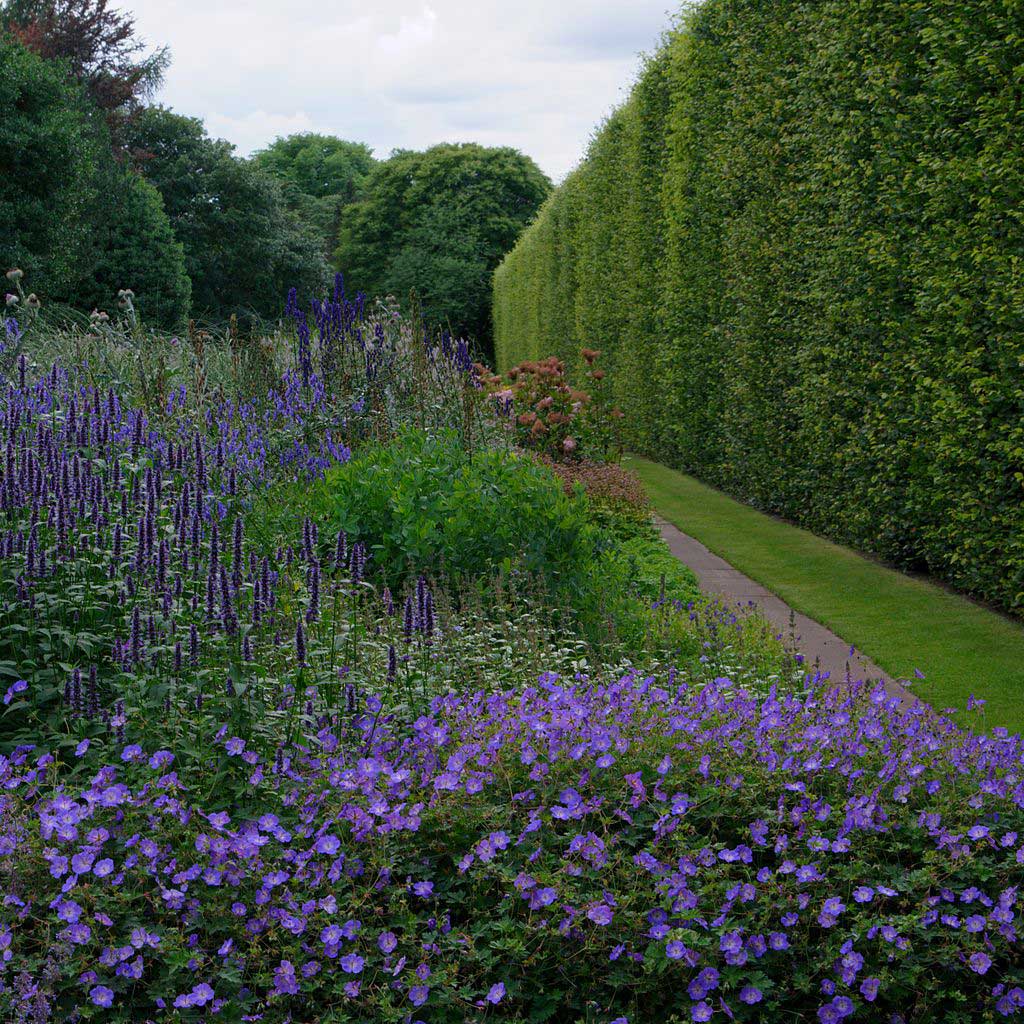
Mussklprozz via Wikimedia / CC BY-SA 3.0
Use a piece of blank paper, anything without lines or squares on it.
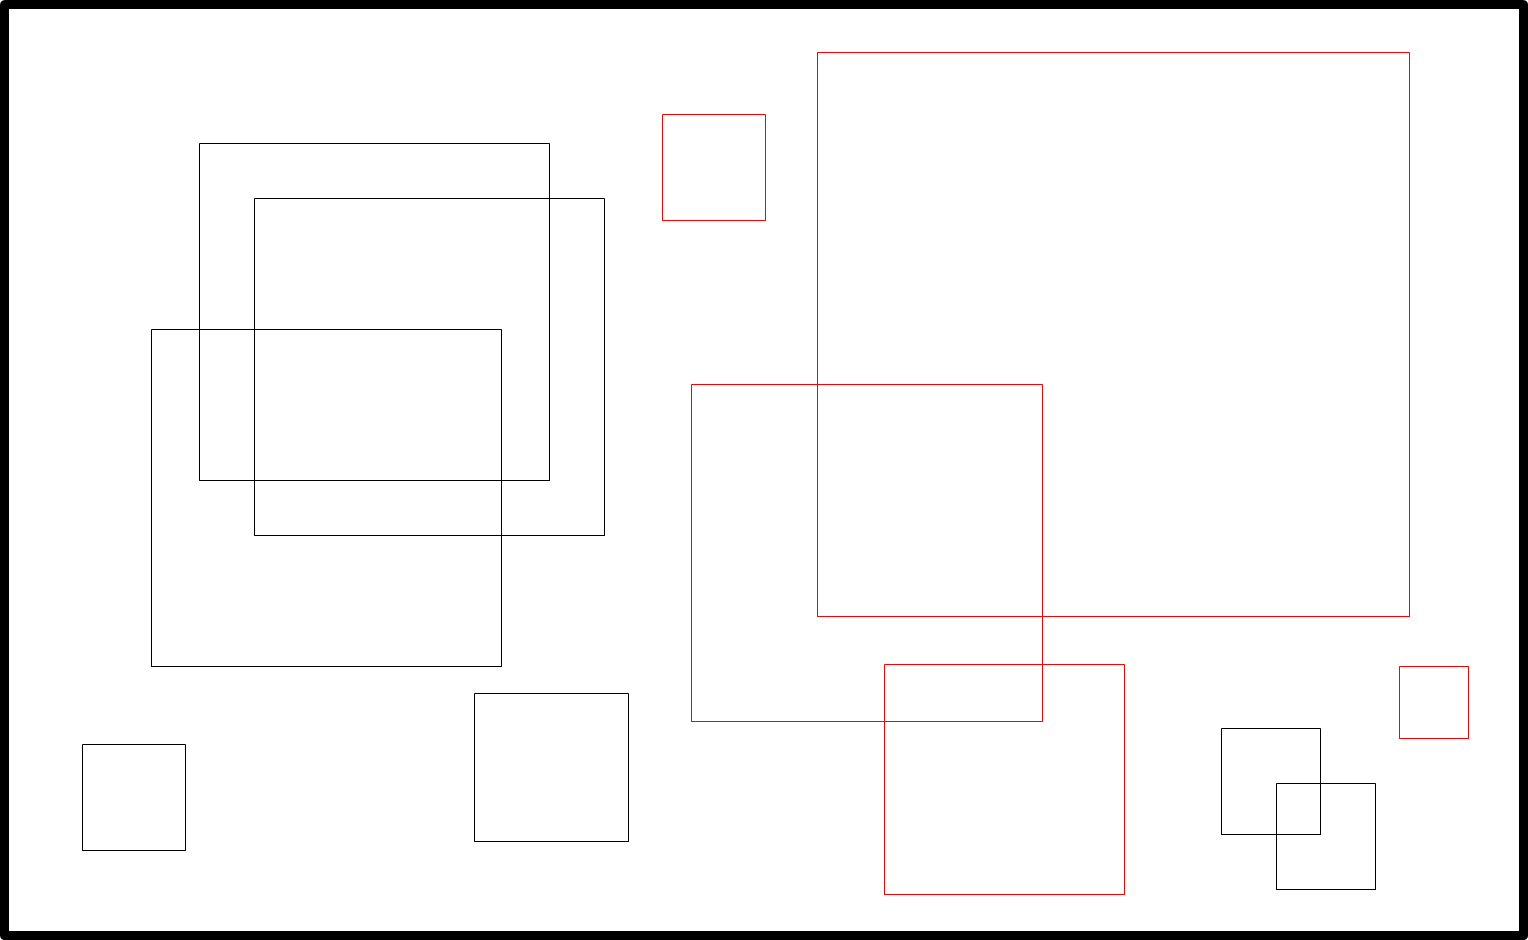
Draw a square on it, any size and in any position.
Draw more squares, some the same size, some different sizes. Some on their own, some overlapping e.g.

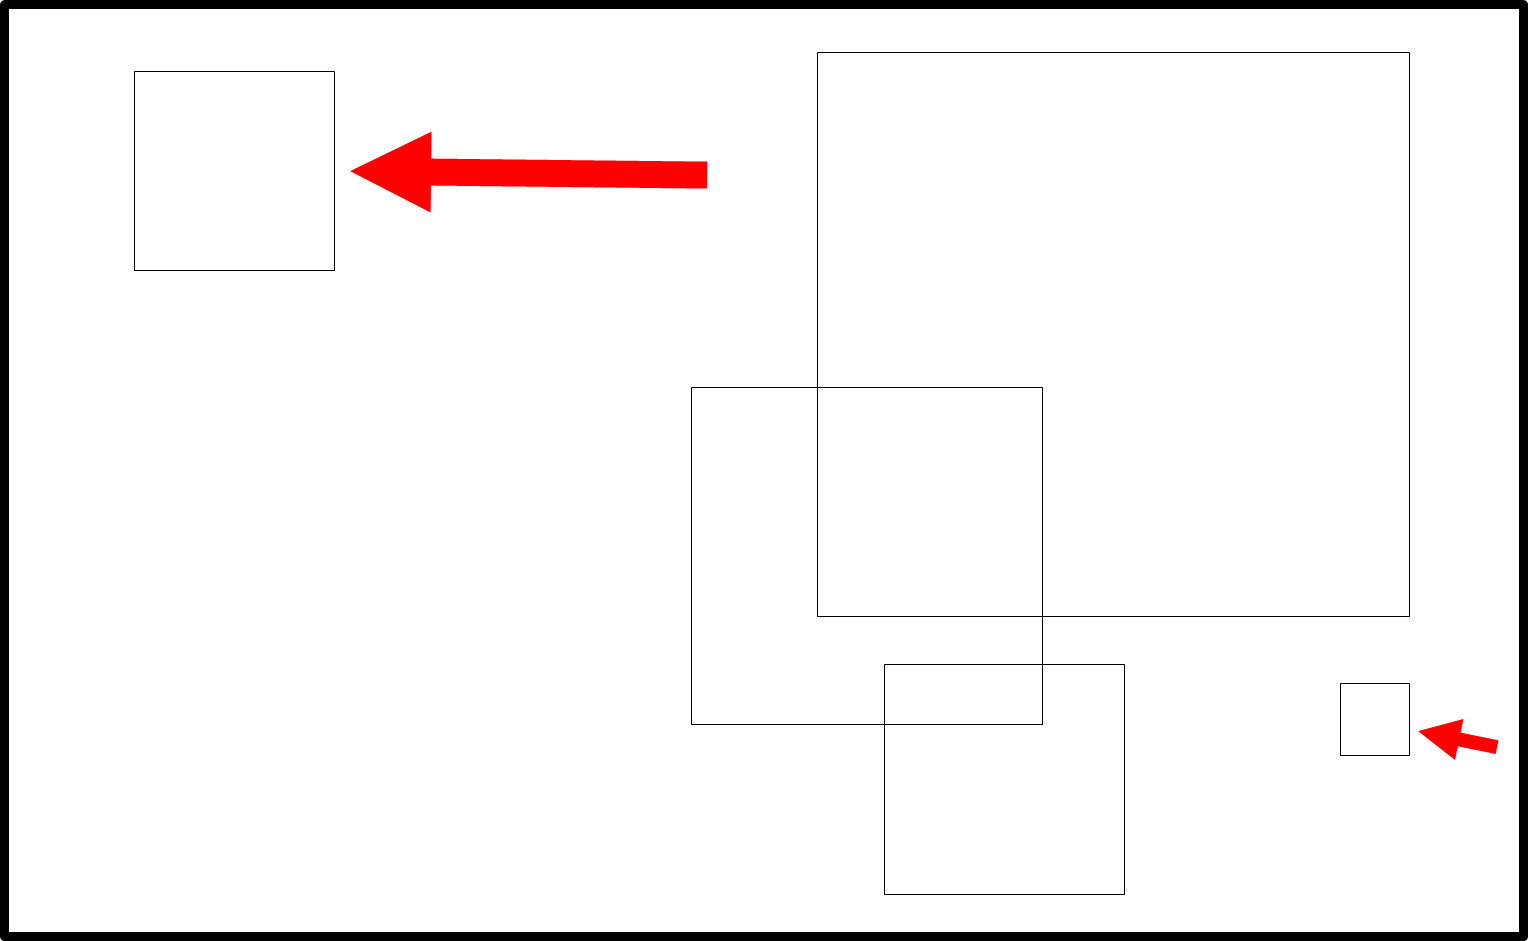
Choose a section from your drawing that you like and copy it (or trace it) onto another piece of paper – it doesn’t have to be perfect, a sketch is fine.
Example:
I like this section of my sketch:
So I would copy it out like this:

Feel free to move some of the squares if something about them bothers you.
Example:
I have lined up my two small squares with the edges of my big one and moved one over into the empty space and enlarged it a bit:
Now decide what these shapes could be if this were a garden.
Example:
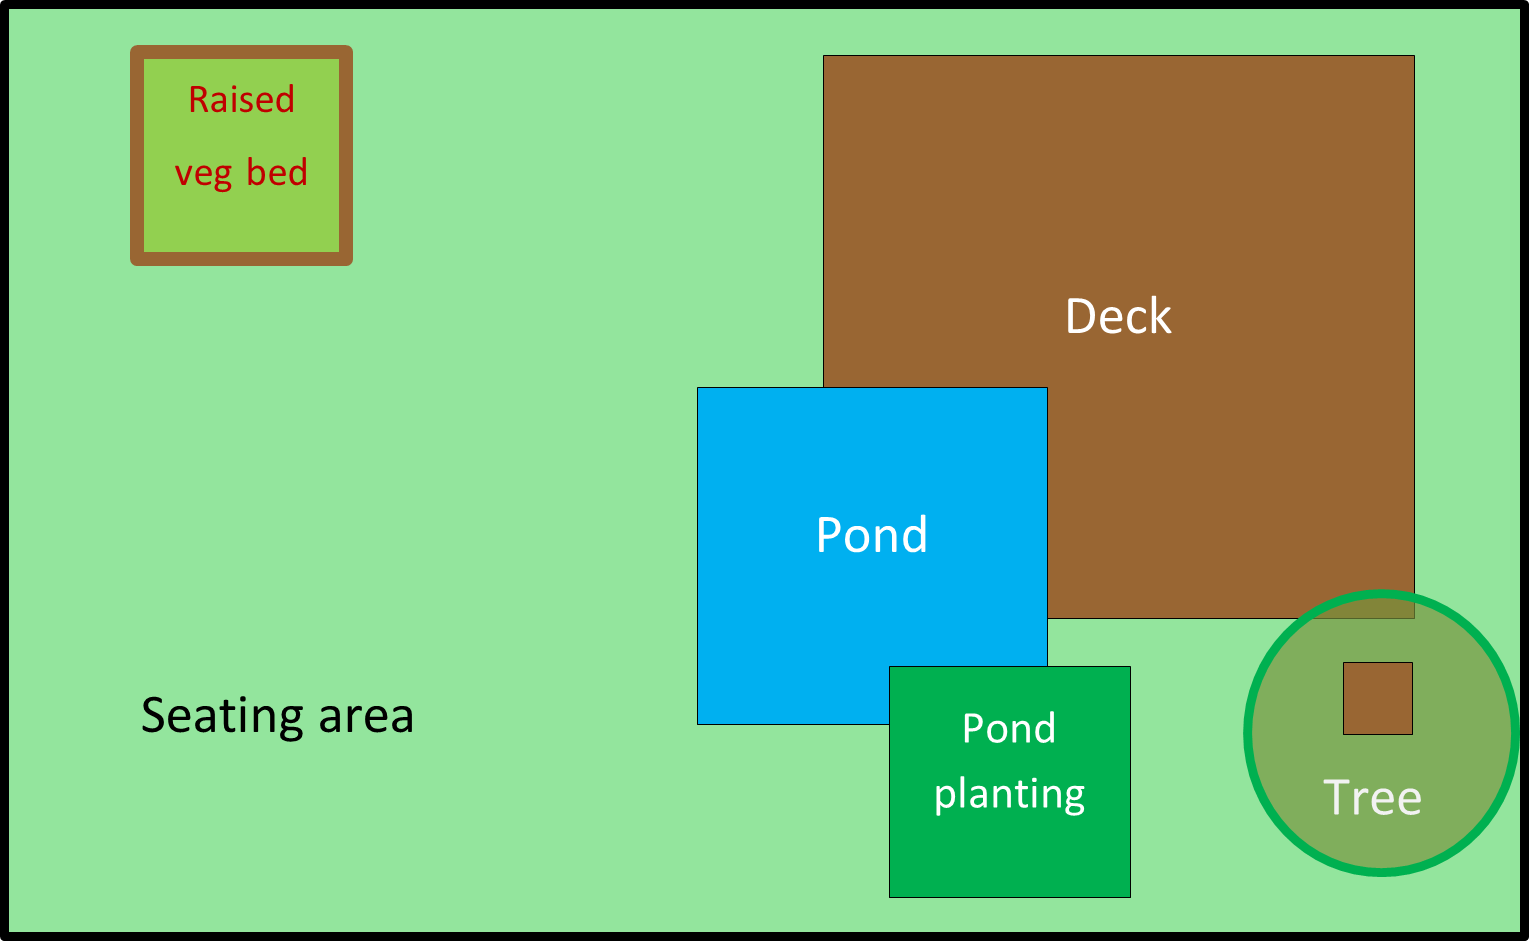
This is very basic, but it is a great way to learn about combining shapes.
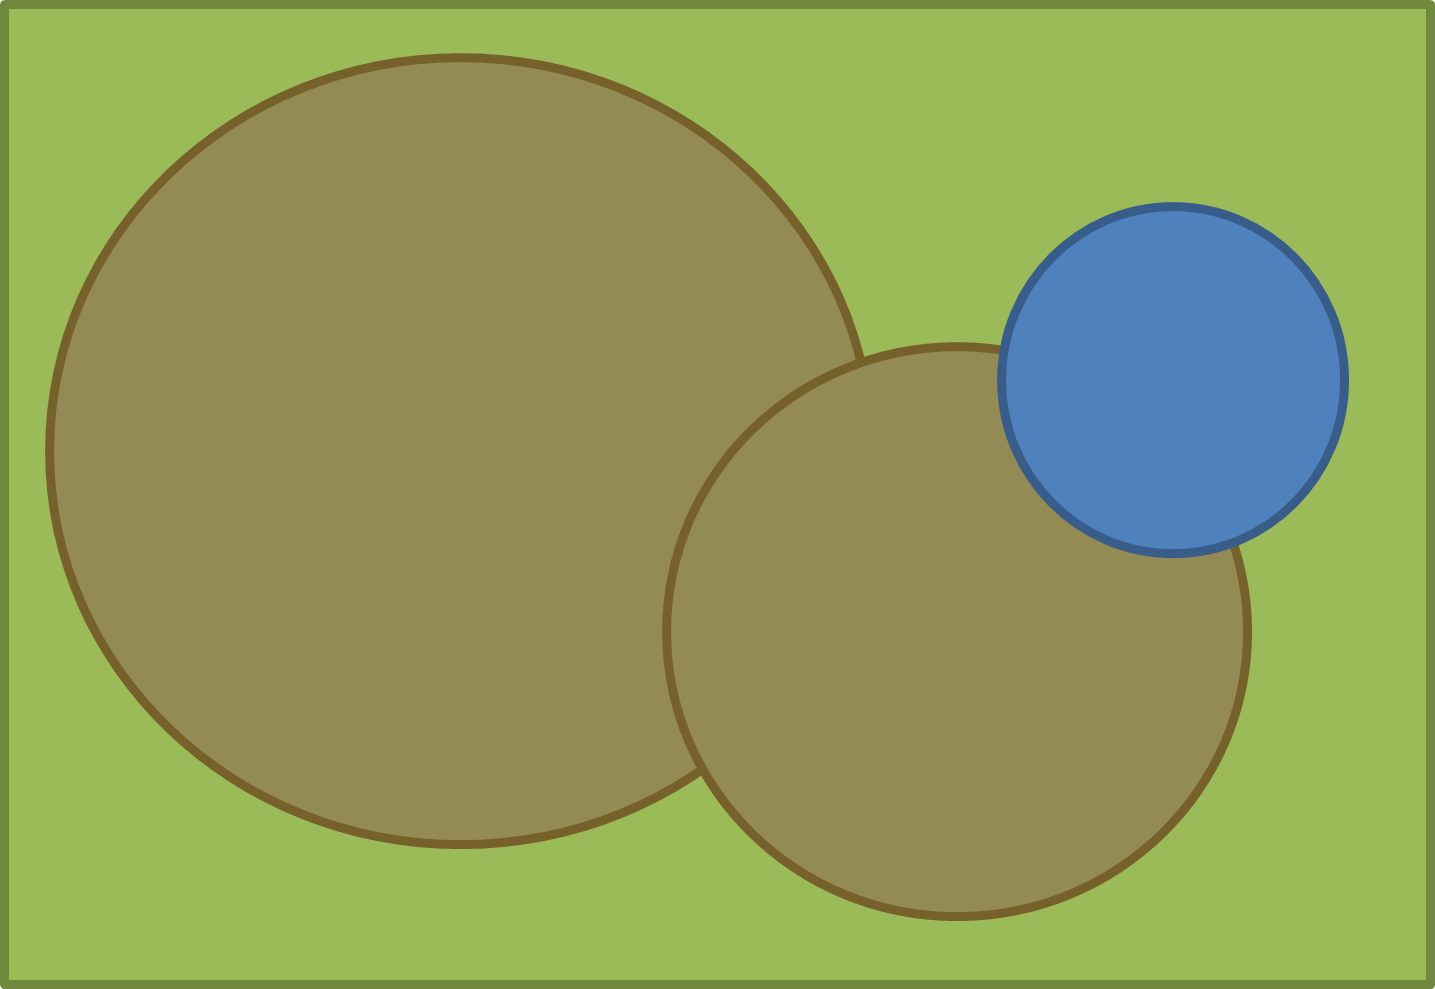
Repeat this process with circles.
Repeat this process with any other shapes you like, for example, ovals, rectangles, triangles.
Repeat this process with a mix of shapes, for example, squares and circles, or ovals and rectangles.
- Find an example of a garden on the internet which uses materials to tie the composition together e.g. repeated use of wood, stone or white rendered walls. Use Google Image or Pinterest searches to help you.
- Find an example of a garden which uses shapes to tie the composition together. Use search terms such as ‘garden circles’ or ‘garden squares’.
- Find an example of a garden which uses planting to tie the composition together. Use search terms such as ‘blue garden’, ‘red garden’ or ‘cool colours garden’.
11. Perspective
Amber Crowley / public domain
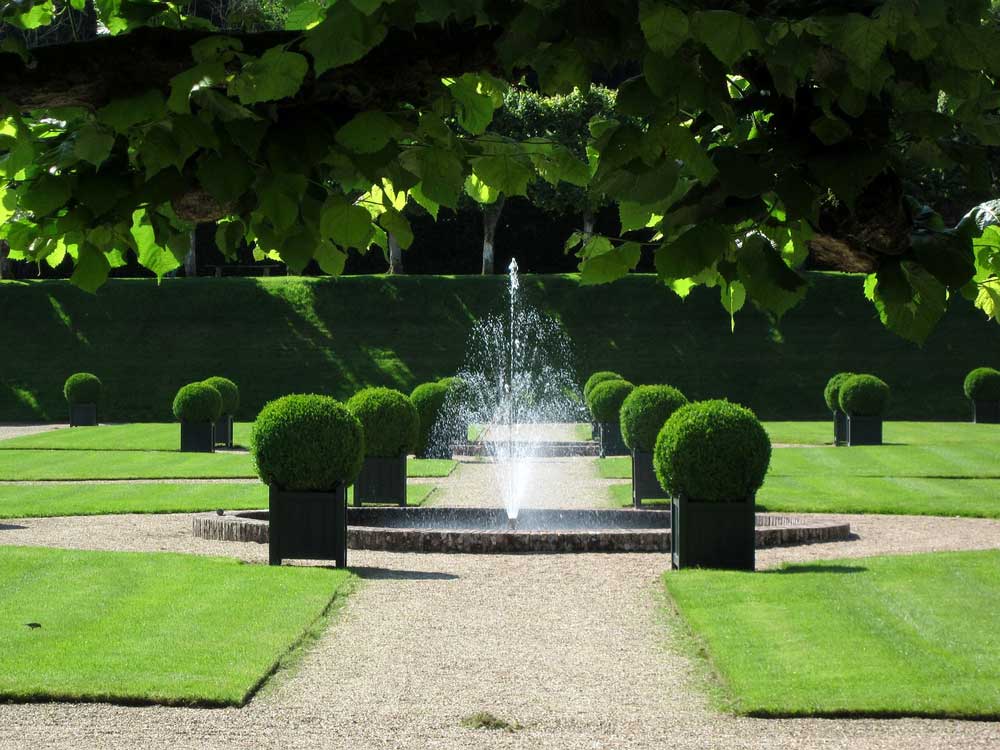
Some basics about perspective that apply to garden design:
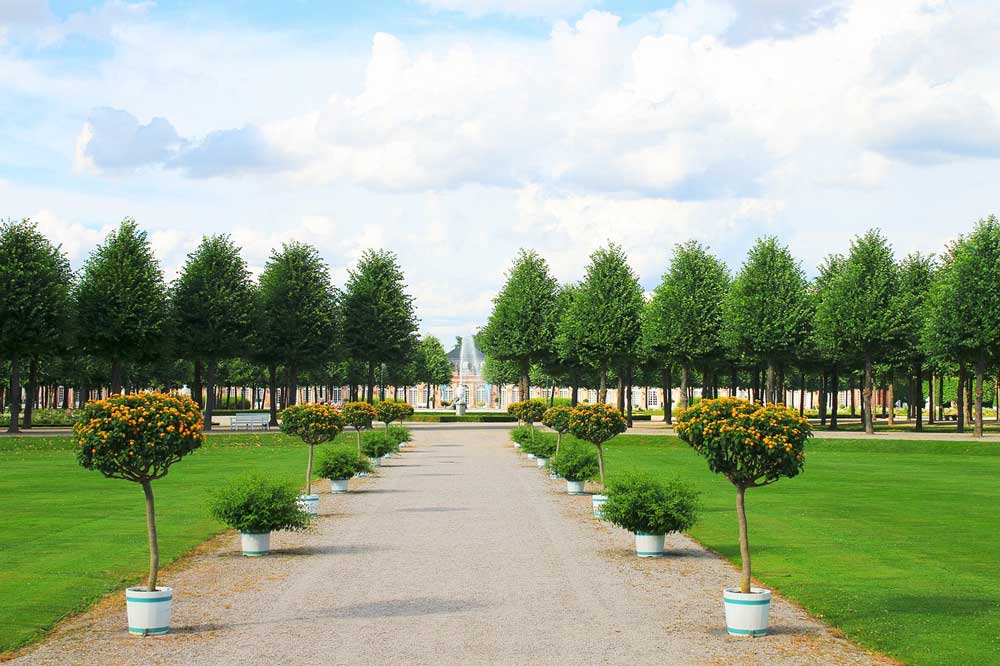
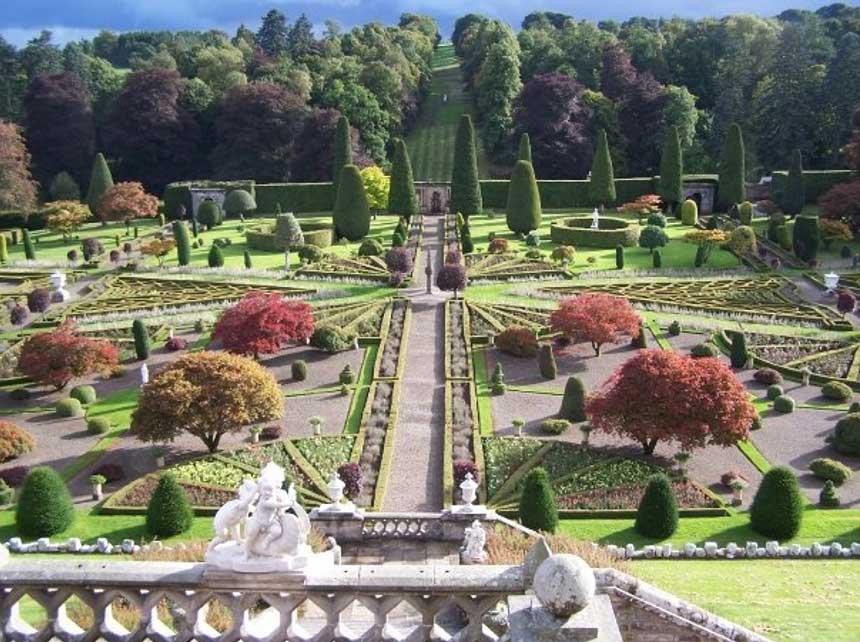
Objects in the distance look smaller than objects close to. In this picture the topiary cones look smaller in the distance than the ones nearer the camera:
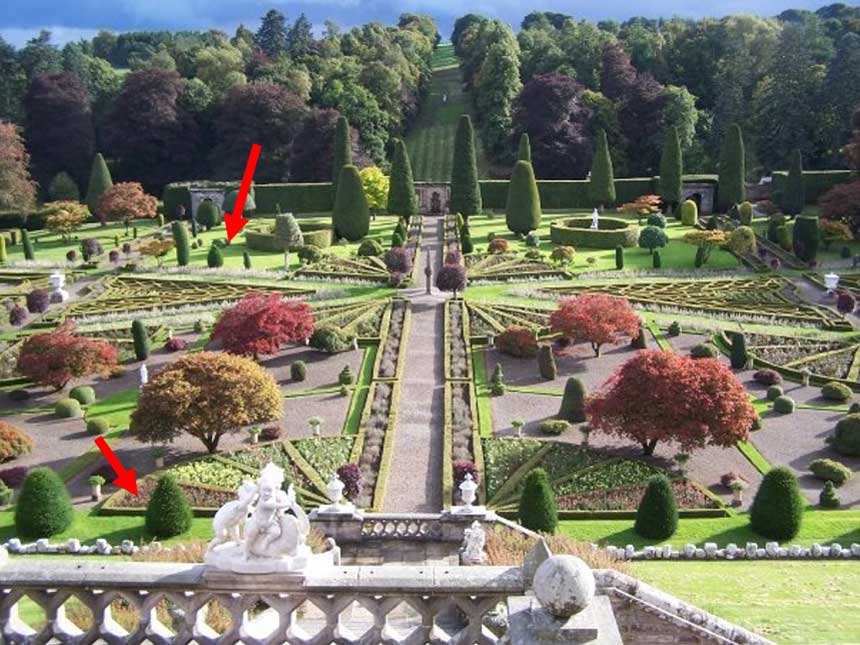
Amber Crowley / public domain
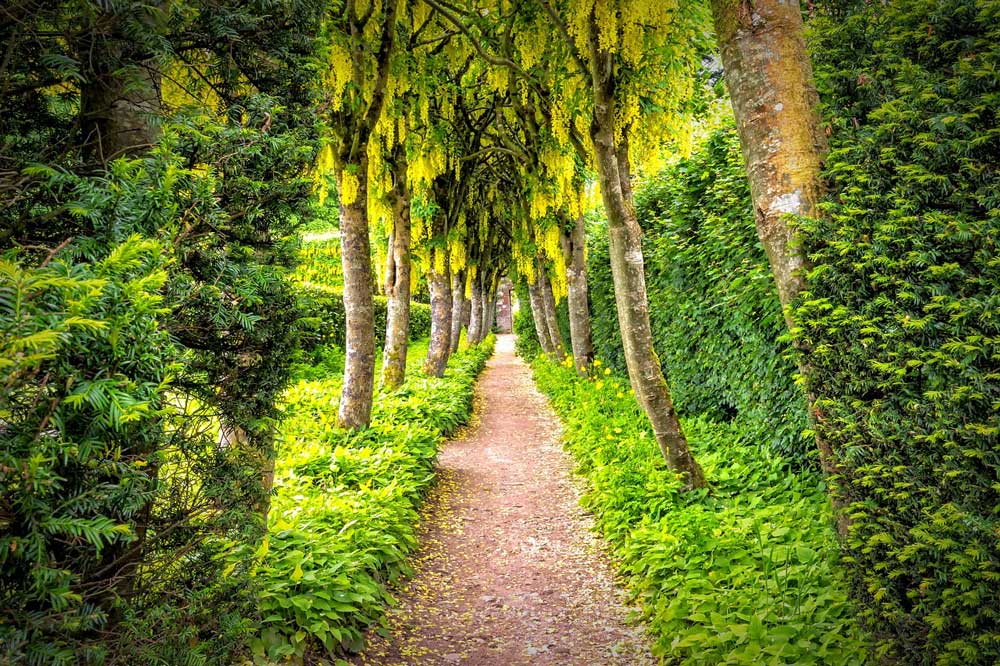
Parallel lines look like they converge to a single point in the distance like the paths in this picture:

Amber Crowley / public domain
Understanding perspective is important in garden design to enable you to envisage what a finished design will look like, particularly in a big garden.
Find three examples of gardens on the internet in which you think perspective has been considered in the design.
Example:
A garden in which topiary trees recede into the distance creating lines which lead the eye to a focal point in the distance.
12. Screening
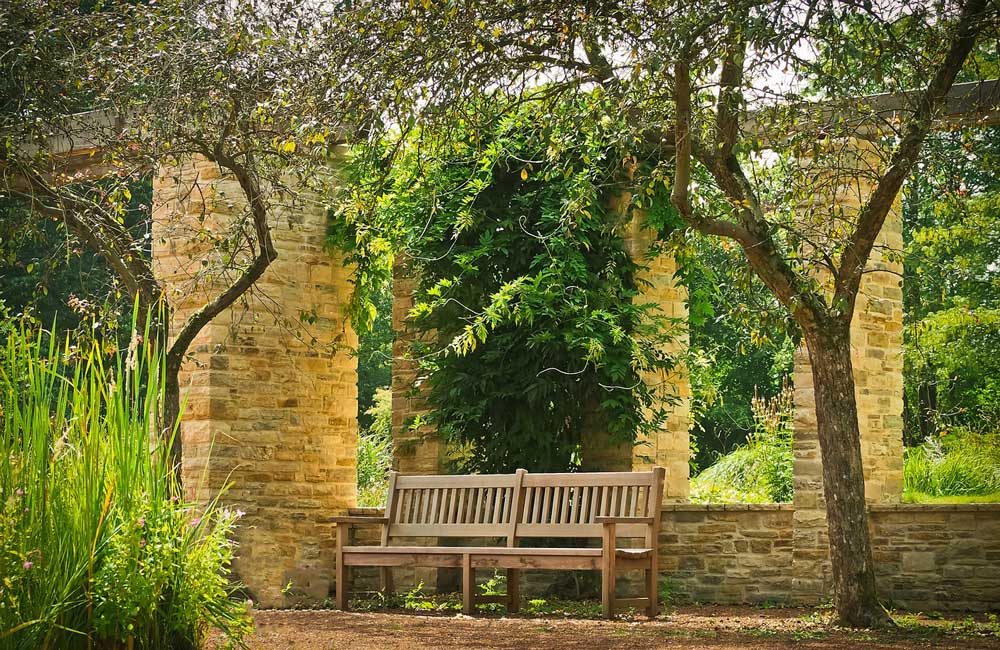
Screening in a garden is important to block unpleasant views, create privacy and to create enclosure. Screens such as walls and fences are often considered for garden boundaries where they also serve the purpose of containing or keeping out animals and children.
Screens can also be used to great effect in other places in the garden, creating enclosure for a seating area, or creating privacy from being viewed from windows above with a pergola for example.
When choosing a screening material consider what height and density it needs to be.
Are you trying to block the view from standing or sitting eye level (for example from people walking past on a pavement) or from windows above (for example in a courtyard garden)?
Does the screening need to be dense and permanent? If so, you might want to consider using evergreen planting or hard landscaping as your screen material. If the screen is to create a sense of enclosure but does not need to block a view entirely, more diaphanous deciduous plants could be used which allow light through. Screens can create a lot of shade, so consider their position carefully.
Think of one planting and one hard landscaping screening solution for each of these locations to create privacy and enclosure for the seating areas.
Consider:
- how the choice of materials will influence the style of the design
- how the choice of materials and the screen height will block light.