
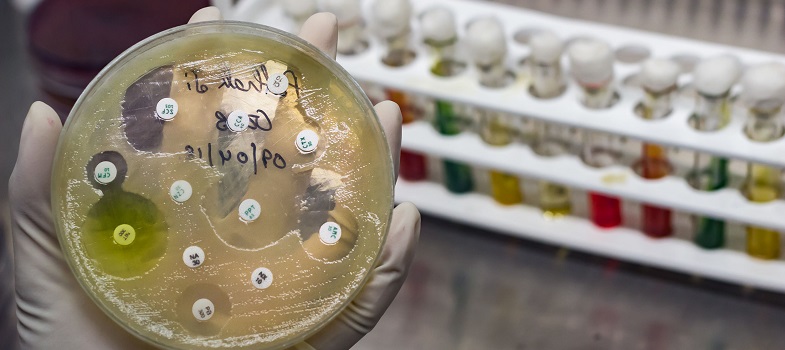
3.1 Performing the Kirby-Bauer method
A bacterial culture is diluted to a defined standard. It is then spread uniformly across a culture plate and filter paper disks impregnated with a specified concentration of the antibiotics are added. Once the disk is applied to the surface of the plate, the antibiotic diffuses into the surrounding media, creating a gradient of antibiotic with the highest concentration nearest the disk.
Following incubation, if the pathogen is susceptible to an antibiotic agent, there will be an area around the disk where bacteria are unable to grow due to the concentration of antibiotic. However, the further the antibiotic diffuses away from the disk, the lower its concentration in the agar is, until it has dropped below the MIC for the given bacterial-antibiotic combination. In this part of the agar it will no longer be able to inhibit the growth of the susceptible bacteria.
This results in a clear zone, where the concentration of antibiotic is high enough to prevent the growth of susceptible bacteria. This clear area is known as a
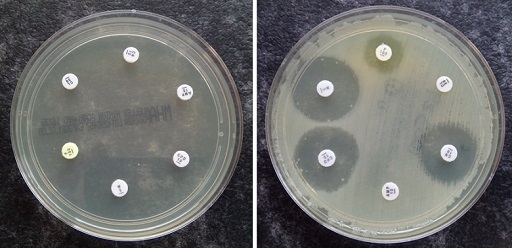
Once the size of the zone of inhibition has been measured it must be compared to a database of zone diameter breakpoints to determine whether the bacteria are susceptible or resistant to the antibiotic in question. (You will look at how this is done in Section 3.3.)
EUCAST and the CLSI publish guidance for how to perform disk diffusion tests, and the following sections are based on this guidance. Note that you should have SOPs in your workplace derived from the guidelines. The SOPs should include written step-by-step instructions, which everyone doing the tests has to follow. Note also that
The list below shows the key stages of the disk diffusion test. The first three stages include a video from EUCAST demonstrating this stage.
If you can, you should watch Videos 1–3 now. If however you are unable to access these videos, slides 1–21 of a slidecast of EUCAST’s disk diffusion method cover these first three stages (EUCAST, 2020a).
- Prepare and standardise the inoculum:
- Inoculate the plate:
- Apply antibiotic disks and incubate:
- Measure the zones of inhibition.
- Interpret the results.
You will look at stages 4 and 5 later in this module. Note that how each step is performed may depend on the pathogen-antibiotic combination being tested. For example, the type of culture plate and the incubation time may vary for different pathogens. Your workplace’s SOP should describe in detail how to perform each stage for all the pathogen-antibiotic combinations that you are working with.
3 Performing phenotypic AST: the disk diffusion test
