1.2 Save images in FITS format
This short video clip talks you through the process of retrieving your COAST images and saving them to FITS format. Detailed instructions are given in the activity that follows.

Transcript
Activity 1 Retrieve your COAST images in FITS format
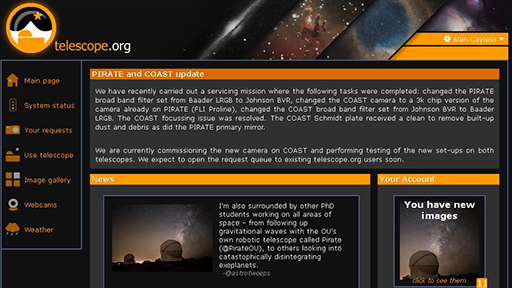
- Log in to your telescope.org account and go to the Your requests section of the website to select one of your variable star images. Remember, any images that have been taken will show as Complete. Any images that are still in the queue will be shown as Waiting – you will need to check back later to see if these have been completed.
- From the list, click on the first completed image that you want to work with. This takes you to the View tab.
- To confirm any details about the image, such as filter and exposure time, click on the Data tab. This lists some of the information from the FITS header. You may wish to make a note of these details, although they will also be in the header of the saved FITS file.
- Click on the Edit tab. You do not need to make any adjustments to the image, as the FITS format will store the raw data.
- To save your image, click on the floppy disk icon top right (E). Select fits and then Save File to save a copy of the image to your computer. Remember to keep a note of where you have saved it and the filename of the image.
- Repeat for each of the images that you want to save. If you have used exposure bracketing you should have four images with exposure times of 15, 30, 60 and 120 seconds. Save all four.
Having saved all of your images as FITS files you will probably find that you cannot view them directly on your computer. FITS files are designed to work in specialised astronomical analysis software so don’t worry if your computer doesn’t recognise them.
In the next section you will learn how to use a web-based astronomical data processing tool to make the measurements that you need.
