2 Creating a tricky topic quiz
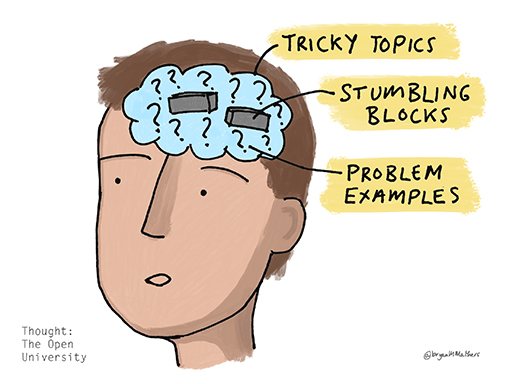
In Weeks 2 and 3 you saw how the tricky topic process supported you in identifying a tricky topic and breaking it down into smaller, more manageable chunks or ‘stumbling blocks’. The process also supported you in identifying students’ problems or ‘problem examples’ which are examples of the students’ barriers to understanding one or many stumbling blocks. In Week 2 you also used the problem distiller which further supported you to reflect on why students have these problems by categorising the problem examples and stumbling blocks according to the theoretically underpinned classifications and developed a structure for your tricky topic.
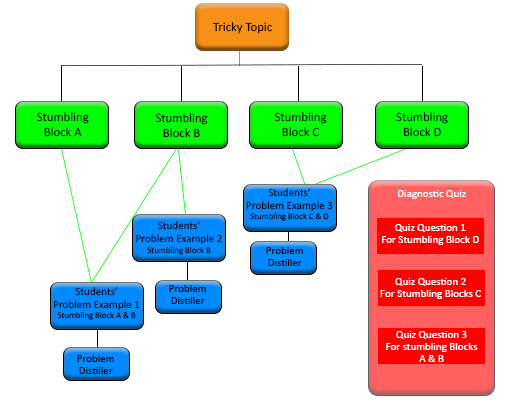
You then spent two weeks (Weeks 4 and 5) developing your knowledge of learning design in order to design interventions which adequately address the needs of learners. All this work led you to be able to identify what sort of interventions might help your students to overcome their barriers to understanding (in Week 6). This week you are going to design a quiz which will evaluate that intervention by targeting questions in order to identify gaps in students’ knowledge of specific stumbling blocks. The visualisation in Figure 3 shows how the different tasks of the tricky topic process are all mapped together and how this then relates to creating quiz questions with different complexity. For example a question that links to several stumbling blocks is more complex ‘tricky’ than one that relates to only one stumbling block. Although, obviously, you will need to have sufficient questions assessing individual stumbling block to be able to evaluate the students’ understanding of it.
Look back at the structure of your tricky topic which you created in Activity 5 of Week 3. Then work through the next section before actually creating some quiz questions for your tricky topic in Activity 1.


