1.1.2 Asset and Portal work
When the
- copyright owner
- location of image (website URL where the original image sits)
- a copy of the image.
Of course, the more detail that we can provide to the Licencing team the better, and the quicker you will get your assets to clear. More about this can be found in ‘The Production Portal: a guide for ‘Projects’ users [Tip: hold Ctrl and click a link to open it in a new tab. (Hide tip)] ’ and ‘Examples of portal listings and checklist’.
Once you have uploaded all the assets, go back to the asset register and compare it to the course content. This is to check you have captured all the assets needed.
Images will need to be resized appropriately, depending on what they are going to be used for:
| Image type | Image size |
|---|---|
| Course banner (OLC) | 785 x 350 pixels (width x height) |
| Course image (OLC) | 670 x 500 pixels (width x height) |
| Collection image (OLC) | 850 x 398 pixels (width x height) |
| 600 pixels wide or less (it can be any height) | |
| Web thumbnail (XML to be rendered to OLC) | Maximised image can be any size 600 px wide or less (.small dog image) |
| 580 pixels wide (it can be any height) | |
| Web thumbnail (XML to be rendered to Learn9) | 1082 pixels wide (view larger image) 580 px wide (.small dog image) |
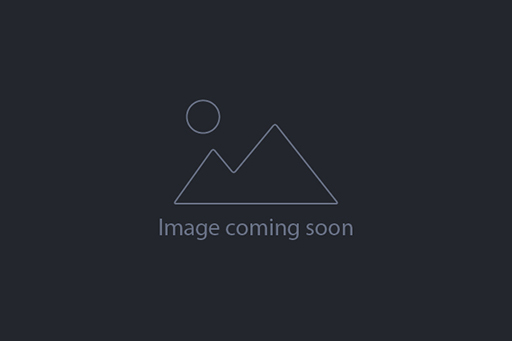
If the assets are not yet ready, then you should add a placeholder in the appropriate spot. For example, if there is an image that is in the process of image research, the DPA can insert this placeholder image:
If an asset is a stock image then you can insert a watermarked, low-resolution version of the image which will then be replaced by a high-resolution image when it has been cleared by Rights. Another way of showing that we are waiting for clearance to use an image is by using an editor comment.
Image shall be inserted once copyright has been cleared and high-resolution image is provided.1.1 The stages of a project