

2.1 Binoculars
Transcript
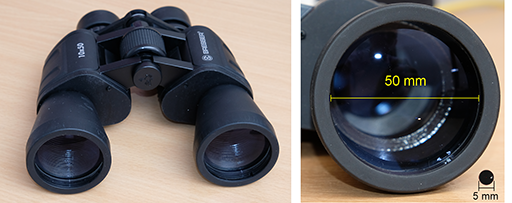
As mentioned in the video, a simple and cost-effective way of taking a big step forward is to use binoculars. You may already have a pair for sports or nature activities, or can perhaps borrow some from a friend or relative. Binoculars are often described in terms of their magnification and aperture (i.e. the diameter of the main objective lens). A typical pair may have a specification ofof 10 × 50, with the ‘10’ meaning that they magnify the image 10 times, and the ‘50’ indicating that the aperture of the objective lens on each side is 50 mm.
Activity _unit3.3.1 Activity 4 Observing with binoculars
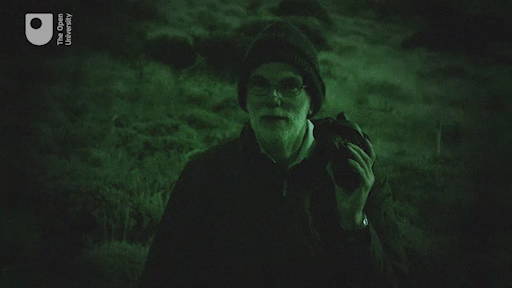
If you have (or can borrow) a pair of binoculars then you can see the huge difference they make to your view of the sky. You will see far more detail when looking at any part of the sky, but for best results try scanning along the section of the sky that is visible through the thickest part of our own galaxy the Milky Way. As with Activity 2, the same safety considerations apply.
- To plan your observations, set Stellarium to your location (Activity 1 of Week 1 will remind you how to do this) by finding your nearest town or city in the list of preset locations or by using your latitude and longitude if you know them.
- Set the date and time to the time you plan to observe, then identify which of the following constellations Stellarium shows as being visible at that time: Auriga, Cassiopeia, Cygnus, Aquila, Scorpius, Crux, Vela and Monoceros. The Milky Way passes through all of these constellations so make a note of which ones are visible and where to find them in the sky.
- Now head back out to your chosen observing site and identify those constellations in the sky. If your site is dark enough and you allow your eyes time to become dark-adapted you may even be able to see the faint band of the Milky Way with your naked eyes.
Now try looking at the same part of the sky with your binoculars – you should see many more stars than with your eyes alone.
Take a few moments to compare your views of your chosen areas of sky – using your eyes and with binoculars. What differences do you notice?
Answer
Although you can see many more stars through the binoculars, you have probably also noticed that it is very difficult to hold the image still. This is because the binoculars magnify any small movements of your hands, as well as magnifying the image. Another effect of the magnification is that it is much harder to identify exactly where you are looking, as the magnified view through the binoculars is of only a very small part of the sky. Both of these factors will be of great importance when observing with larger telescopes. As you will now appreciate, a solid and steady mount together with an accurate means of pointing in a specific direction will be required.