

3 Collecting your first image
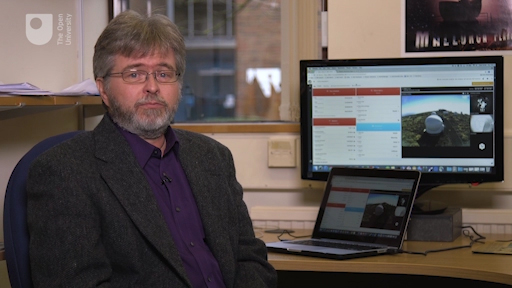
Transcript
By now, if the weather has been clear in Tenerife, your image along with many others that have been requested will have worked its way up the queue and you may already have received a message to tell you that your image is ready.
If not, don’t worry: As Ulrich explains in the video, the weather is not always clear in Tenerife; sometimes it can be misty or cloudy, in which case it may take a little longer before COAST can take your image.
Once it has been taken, your image will be stored along with many others taken on the same evening. The video shows the many different objects that COAST will have taken images of – galaxies, nebulae and star clusters – depending on the requests sent in by different users. Among these will be your image, and this will be waiting for you when you next log on to telescope.org.
Activity _unit5.4.1 Activity 5 Retrieving your completed image
- To retrieve your image, log in to the telescope.org website using the login information that you have been given.
- Look for the announcement ‘You have new images’ on the right-hand side of the telescope.org page. Click here to view a list of your completed images. You can also get to this list by clicking ‘Your requests’ on the left-hand side.
- On the list any images that have been taken will show as ‘Complete’. Any images still in the queue and not yet taken will be shown as ‘Waiting’. You will need to check back later to see if these have been completed.
- Click on one of the completed images to view it. This takes you to a ‘View’ window.
- To save your image, click on ‘edit’ at the top of the viewing window, then click on the floppy disk icon top right. Select ‘image’ and then ‘save file’ to save a copy of the image to your computer. Remember to keep a note of where you have saved it,as well as the filename of the image. (It would be a good idea to set up a work folder for all of your images so that you can find them easily).
- If you have requested more than one image, click on each one in turn to view in the same way.
- If you are happy with your images, then you are done! However, as Alan mentioned in an earlier video, you can often use the results from your first image to improve things. If you have time you may want to experiment with the settings. For instance, to adjust the exposure: if your images are quite dark you could try requesting more images with longer exposures. If your first images are too bright, you could try shorter exposures. As you refine your technique you should find that your images improve, each time using what you have learned from one set of images to help you plan for the next ones.
There are a number of other options in the ‘edit’ window, which you will look at later in the course. For now, you have your first image of a Messier object!