

5.1 The principles of video editing
The IN PRACTICE activity below shows a tutorial that you might like to share with your groups to help them familiarise themselves with some of the main principles of video editing.
IN PRACTICE: Introducing the principles of video editing
A good way of introducing the principles of video editing is to illustrate the idea of a video cut by ‘splicing’ together two pieces of till roll with scotch tape, where one piece of till roll represents a wide shot of a garden, the other a close-up of a person.
Show the same process on OpenShot (or whichever editing software you are using) by dragging a shot onto the timeline, bringing another next to it, and playing the resulting edit.
There are online tutorials to help you get to grips with the technical aspects of editing with software like OpenShot. The video below is one example you might find helpful.
Transcript: Video 4
[APPLAUSE]
[MUSIC PLAYING]
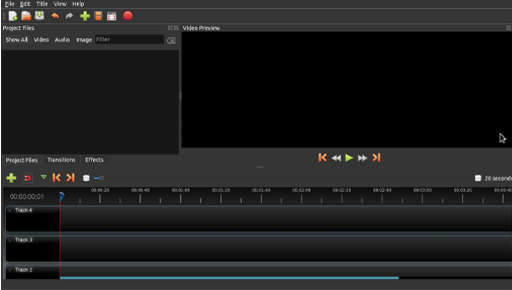
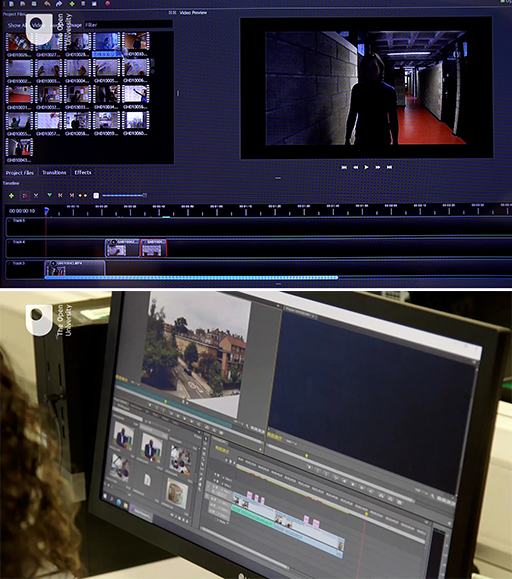
Video editing software has a timeline with tracks for sound and visuals, a play-head, which allows you to scroll manually over the shots, and a window in which you can preview the video you are making. The timeline allows you to slide one shot next to another and add layers of sound and pictures. If you have multiple video tracks, the play-head only ‘sees’ the topmost one, so only one shot will show at any one time. As it develops, a timeline starts to look like a chequerboard.
In the editing process, young people will be working with the shooting script they developed earlier in the workshop. This will help them decide which content to include, and in what order. A good way to start is by creating an ‘assembly’ – placing all the footage they’ve created roughly in order, without worrying about style. This will let them make decisions about which take to use, or if a scene needs to be moved. Importantly, it will let them know quickly if there is a technical problem that means a shot can’t be used, like noise or bad focus, or if something is missing altogether.