

5.2 Developing the edit
If the young participants did not manage to get all the film shots that they had hoped for, or if they would like to include additional or different materials than originally planned, they will need to work together to find solutions (see IN PRACTICE, below). Making these structural decisions early in the editing process means that the group will be free to use the remaining time to work on the details of the edit without the risk of producing an unfinished docutube that doesn’t quite make sense.
IN PRACTICE: Creative solutions
A docutube is not long – nevertheless, accidents and issues do happen on film shoots and edits, and it is not unusual to find that something a group planned to use to make their docutube work isn’t available, or is unusable for some unexpected reason. Here are some practical suggestions for what to do if this happens:
A voice-over is an easy way to add missing information, or to connect sections together. This can usually be recorded straight onto the video at the editing stage.
Sound and vision do not need to come from the same source – if a location shot has too much wind noise, for example, you can take that audio off and replace with music or a voice over. And you can cut away from a talking head to show a location shot, but keep the audio as a voice over.
Consider using still photographs or images from the clippings to illustrate what is being talked about – this can be very effective!
Members of the team can still shoot extra ‘pick up’ shots while others are editing, to fill any gaps – for example, talking heads, shots of their fellow participants at work, or even drawings or props.
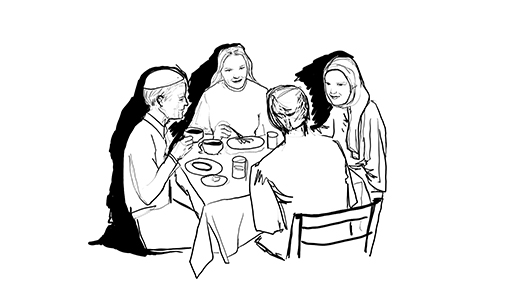 Figure 9 A drawing can be a substitute for a shot that went wrong or when people do not want to appear on film
Remember that the main aim of a docutube is to communicate effectively and provide evidence of learning about religious peace and toleration. Encourage your groups to put together the materials in a way that gets across an argument or a key message and builds a clear and concise narrative or story. The way in which a film is introduced and concluded can be quite important here. A good way of introducing a docutube can be to pose a question at the start of the film and then come back to it at the end of the film. Young people could also consider recording a voiceover that can weave a clear narrative through their docutube.
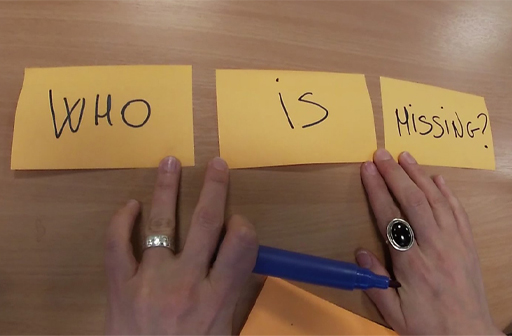
In order to link their docutubes to a specific RETOPEA clipping, groups could consider integrating screen shots of the relevant clipping on the RETOPEA website into their film. They can also use captions (if available in the editing software they are using) to explain what the viewer is looking at, or to introduce a new section. Images of handwritten text or (sped-up) film footage of someone writing key questions, statements or section headings on a piece of paper or on sticky notes can also be quite effective (see Figure 9).
It is important that you remind groups to save their work regularly as they go along, so their work is not accidentally lost.
Once the edit is completed – or you have run out of time! – the video should be ‘rendered’, that is, exported as a self-contained, playable video. Bear in mind that rendering the edited docutubes might need some time as the files will be quite big. It is recommended that they are exported at 1920 x 1080 in .mp4 format, if possible, for maximum compatibility.