1.2 How histological slides are produced
A number of distinct steps are involved in producing histological slides, ready for analysis. Some of these steps are described below.
Fixation
As they die, cells release enzymes that start to break down components of the tissue. This is a process termed autolysis.
The degree of breakdown depends on the tissue and what has happened. For example, post-mortem tissue is not usually taken until several hours or days after the person has died, and this would have undergone much more autolysis than a surgical specimen. Also, different components of tissue vary in their sensitivity to enzymatic digestion. A histologist has to be aware of all these processes and distinguish between changes that are due to a disease and those due to tissue autolysis.
However, it is important that the original structure of the tissue is preserved before it reaches the histology laboratory, so that it can be fully analysed. To minimise tissue breakdown, samples are often placed in a solution of fixative, in a process known as fixation.
Different fixation procedures are required depending on what method is needed for a later step in this process, namely staining. (You will read about staining shortly.) Because of this, it is important to know what techniques will subsequently be applied to a tissue sample when it is taken.
In addition to preventing autolysis, fixation may serve to retain the structure of the tissue and limit microbial growth that could otherwise make analysis more difficult.
Embedding
Tissue that has been received in the laboratory then needs to be prepared for sectioning (the process of cutting it into very thin sections so it can be viewed with a microscope). A variety of instruments are used to cut the sections and the protocol depends on the application.
In most cases the tissue requires embedding in a medium, which allows thin sections to be cut cleanly. Most tissues for routine histology are embedded in wax. This occurs when water is removed from the tissue and progressively replaced by wax, which can be solidified later to make a tissue block.
The tissue is progressively dehydrated by immersing it in successively higher concentrations of alcohol before transfer to the organic solvent (e.g. xylene) and finally embedding in wax. In a large histology laboratory, much of this tissue processing is automated, to save time and to produce consistent results.
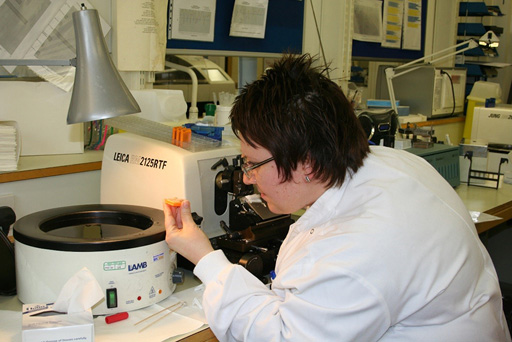
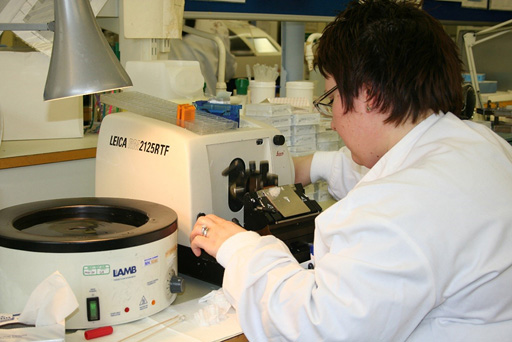
Sectioning
A number of devices are available for cutting tissue into sections for analysis:
- a microtome: cuts thin sections (1–50 μm) from fixed tissue
- a vibratome: uses a vibrating blade to cut thicker sections (100–200 μm) from fresh or fixed tissue
- a cryostat: cuts sections from deep-frozen blocks, usually of unfixed tissue.
Most sectioning in routine histopathology departments is done with a microtome producing sections of ~3 μm thickness, from tissue that has been embedded in wax, as Figures 2 and 3 below show.