4.3 Skill 3: Design 4 tiles
Great job on mastering the creation of a single tile! Now, let’s make a few additional tiles so that you can create a larger pattern.
In this skill, you are going to create four tiles that you will use for your pattern design. Work iteratively and tweak the colours and/or coordinates for the tiles.
At the end, you will need to save your four tiles in your codesnippet text file. If you have not made that file yet, go back to Principle 1: Tweaking code and watch the video on how to do that.
I created some numerical tile designs using the dot-to-dot system. Take a look at the code for each tile to make sure you understand how the digits are drawn, and then use Programs 8-11 to create four tiles.
Now work through the following activity to create your own tile designs.
Activity 6 Design and save four different tiles
Your task is to create and save four separate tile designs.
Use the four tile editor windows (Programs 8–11) to make your tiles. Create your first design and then copy and paste your tile design into the next window to tweak the colours and coordinates for the next tile. Adding or removing a single vertex can create a very different design.
Scroll up and down this page to look at your four tiles together. Note that when your tiles are arranged into a pattern later, you won’t see the grey background and numbered coordinates.
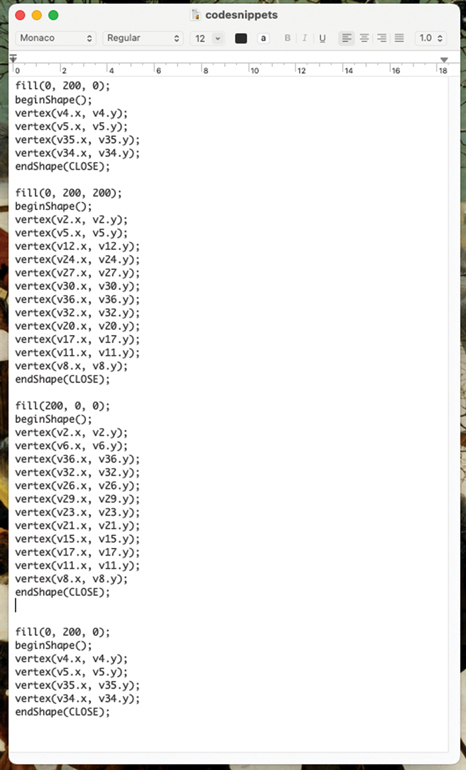
When you are happy with your tile designs, copy and paste the codesnippet for each tile into your codesnippet text file and save the file. At the end of this exercise, you need to have the code for all four tiles within your text file. You should only copy the code that defines your tile design, not all the other miscellaneous code that makes the tile-maker program run.
Check that your codesnippet text file looks a bit like the following figure. You will need your four different tile designs later in the next skills session.