
It is best to work your way through this course in the order of the sections. Read the Tips and Checklist sections where they appear and then the background readings. At the end of each section are a list of learning outcomes with tasks you need to undertake to show you have met the outcome, together with directions to use parts of the readings as required. This link shows all the learning outcomes and task for the course collected together. The assessments are reflective, you are asked to enter your responses in your blog in the course where you will record your analysis, design, development and implementation ideas about your digital assessment planning.
Make sure you read the Course Description page, especially the section called "Is this Course Right for You?" and the section called "Before We Start: Understanding the Problem Space".
Design Tools
We recommend keeping an assessment design 'scrapbook' to jot down ideas as they come to you. The logbook and scrapbook and be paper or digital or both (both is probably best). We provide a simple redesign template to help you structure your design activities. It is provided in the form of word document so that you can edit si to suit your own needs - think of it as a starting point.
The idea behind the template is very simple – to provide a common basis for describing an e-assessment design problem, the proposed solution, and a common way of sharing this with others. It also doubles up as a very useful Verification / Quality Assurance tool by enabling the recording of the changes made and how the verifier / inspector can find the information they need. Besides this, the template provides a useful tool for reflection and collaboration.
The assessment tasks are reflective; as each task asks you about your own context and directs you to gather the information needed in order to analyse, design and build your e-assessment. You will be adding each reflective piece to your personal blog for this course. In this way you shall build up a narrative record of the steps you are taking in converting your existing paper assessment into an e-assessment. As you complete each section of the course you can repeat it as needed if things change or you discover new things about your context.
Recording your Course progress
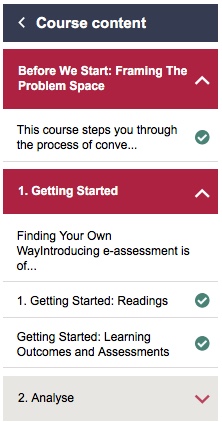
To record your progress and get a 100% progress score, you should click on the pale grey circle to the right of the icons to convert them into a green tick to show you have read through them as shown in these different course views below - this will provide your course progress score and help you keep on track.

Gaining Your Digital Badge
To get your badge for this course you will need to have and completed your blog entries as described in the Learning Outcomes and Assessments part of section each section. After you have completed one blog entry you should automatically receive your badge. This is based on trust! It is in your own interest to create all the blog entries required. Some people may feel this is easiest by adding their entries into one (long) blog post. After you have completed you course we suggest that you copy all your blog entries into your favourite word processing programme to keep for your own use.
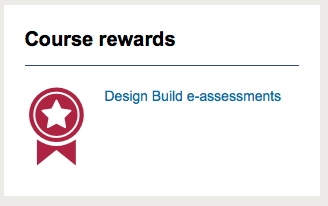
You should receive an email telling you that your badge has been created. To see your badge you need to go to the "Course rewards" section at the bottom of the left hand navigation panel and click on the Design Build e-assessments link as show below:
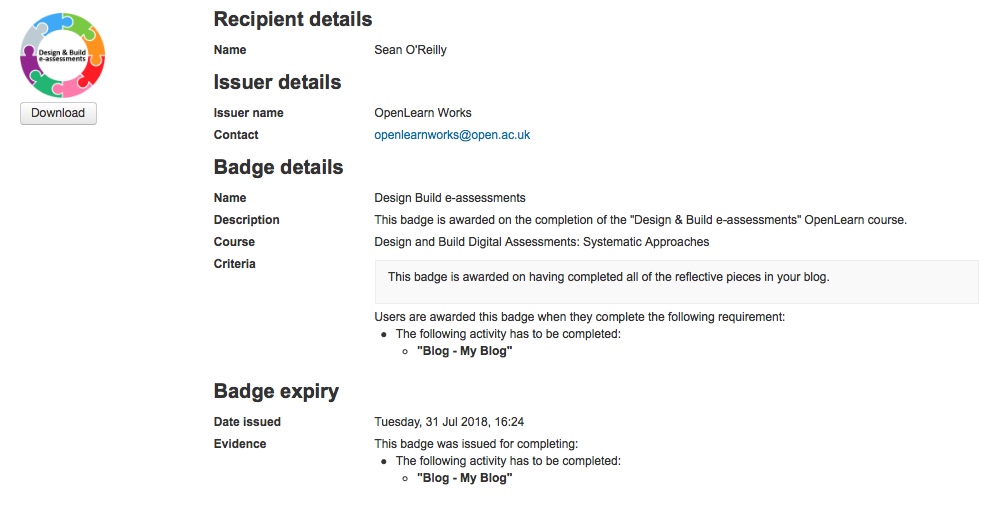
Below is shown an example of the Course rewards badge page:
 This course steps you through the process of converting one of your own existing paper-based assessments into an e-assessment from beginning to end. It covers typical problems to look out for when introducing e-assessment and provides tips, checklists and design
 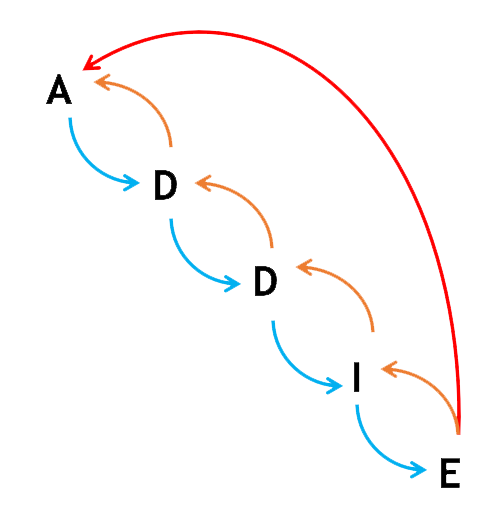 in a pragmatic way – an approach associated with engineering disciplines. To support us in this activity we have chosen to adopt the widely
  The concept of a problem space is useful when tackling e-assessment – it comes from the disciplines of design and engineering – its a way of recognising that there may be a number interconnected problems that need to be identified and solved to resolve the bigger problem. That is certainly the case with digital assessment, below is a starter set of sub problems to get you thinking:


 model of lecturers doing everything themselves is not sustainable