3 Making your own games
Once you become more confident and competent in using games at appropriate times in your teaching you will begin to want to adapt existing games. These adaptations could be specific to your learning intentions and also match your students’ interests better. They also provide you with activities that you can give to groups to play while you work with a section of your class. This is helpful if you have a large class. Once you have made many games, they will be available to be used at different times, such as when students finish their work. Doing this will raise student concentration and motivation. The next two activities follow on from each other so try to do them close together, if possible.
Activity 4: Making your own game
You are to design and make your own game about electricity to use with one of your classes. To do this you might like to look at Resources 1 and 3 first, to remind yourself of the types of game you could make. Then you need to consider the following questions:
- What do I want my students to learn from playing the game?
- What content do I want to incorporate into the game? Is it about the properties of electricity, or is it more about what electricity is used for or how it is produced? This will affect what type of game you might select to make.
- Do I want to use a game similar to those in Resource 3 or devise something different? Do I want it to be a sedentary game or a physical game that the students could play outside that explores electricity?
- Do I want to set the game in a particular context, e.g. with static electricity thinking about the best material to make a comb for the hair?
- What instructions do I need to write on how to play the game? Do I have to do different instructions for my special educational needs students?
- How long should they have to play such a game?
- Will the game involve all the students? You may want to read the key resource ‘Involving all [Tip: hold Ctrl and click a link to open it in a new tab. (Hide tip)] ’ to understand more about what this really means in your classroom.
- When and how can I make the game? What resources do I need to gather to make the game? Could my students help bring resources in to make the game?
- Could they help make the bits for the game? When?
- How can I store the games to keep them safe and protected from damage for use over and over again?
Video: Involving all |
Activity 5: Testing your game
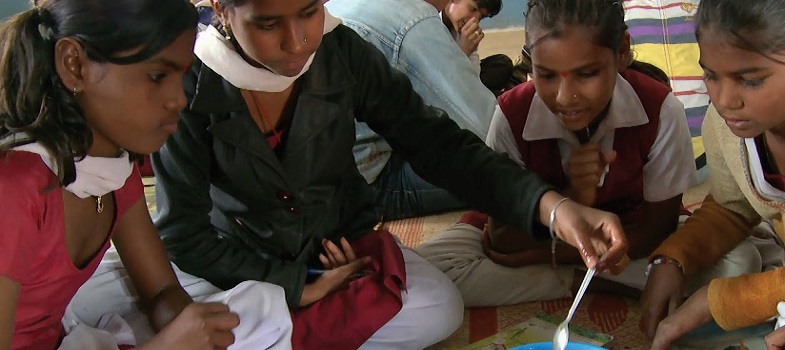
Ask your students to play your game. Explain the rules and the purpose of the game before they play. When they have finished, ask for their constructive feedback:
- What did they think they learned from playing the game?
- Were the instructions clear?
- Did I give them long enough to play the game?
- Would they play the game again?
- How could the game be improved?
Pause for thought
|
Making and testing your game will have shown how exciting students find games. It is even more exciting for them in a lesson because it is not what they would normally expect. You will also have had clear indications of what they thought and so can modify the game where appropriate.
This will help to improve your games expertise so that you can extend the use of games to other science topics such as looking at life processes. For example, a board game about digestion could help your students remember the stages in digestion.
2 Being resourceful
